28 Easy Christmas Nails to Try at Home This Holiday Season
A holiday manicure does not need a salon appointment, a steady artist’s hand, or an afternoon of free time. Most of the designs people save and share in December are built from simple moves — a rich solid color, a strip of tape used as a guide, a few dots from the end of a bobby pin, or one accent nail doing all the festive work. This collection of easy Christmas nails leans on exactly those tricks. You will find the classics, like glossy red and candy cane stripes, alongside quieter options such as matte cranberry, a sheer champagne shimmer, and nude nails with a single tiny holly sprig. Every idea works with regular polish, a basic dotting tool, and whatever brushes you already own, and each one notes the nail shapes and lengths it suits best, so you can pick a design that fits your real life — short nails included.
1. Classic Glossy Red
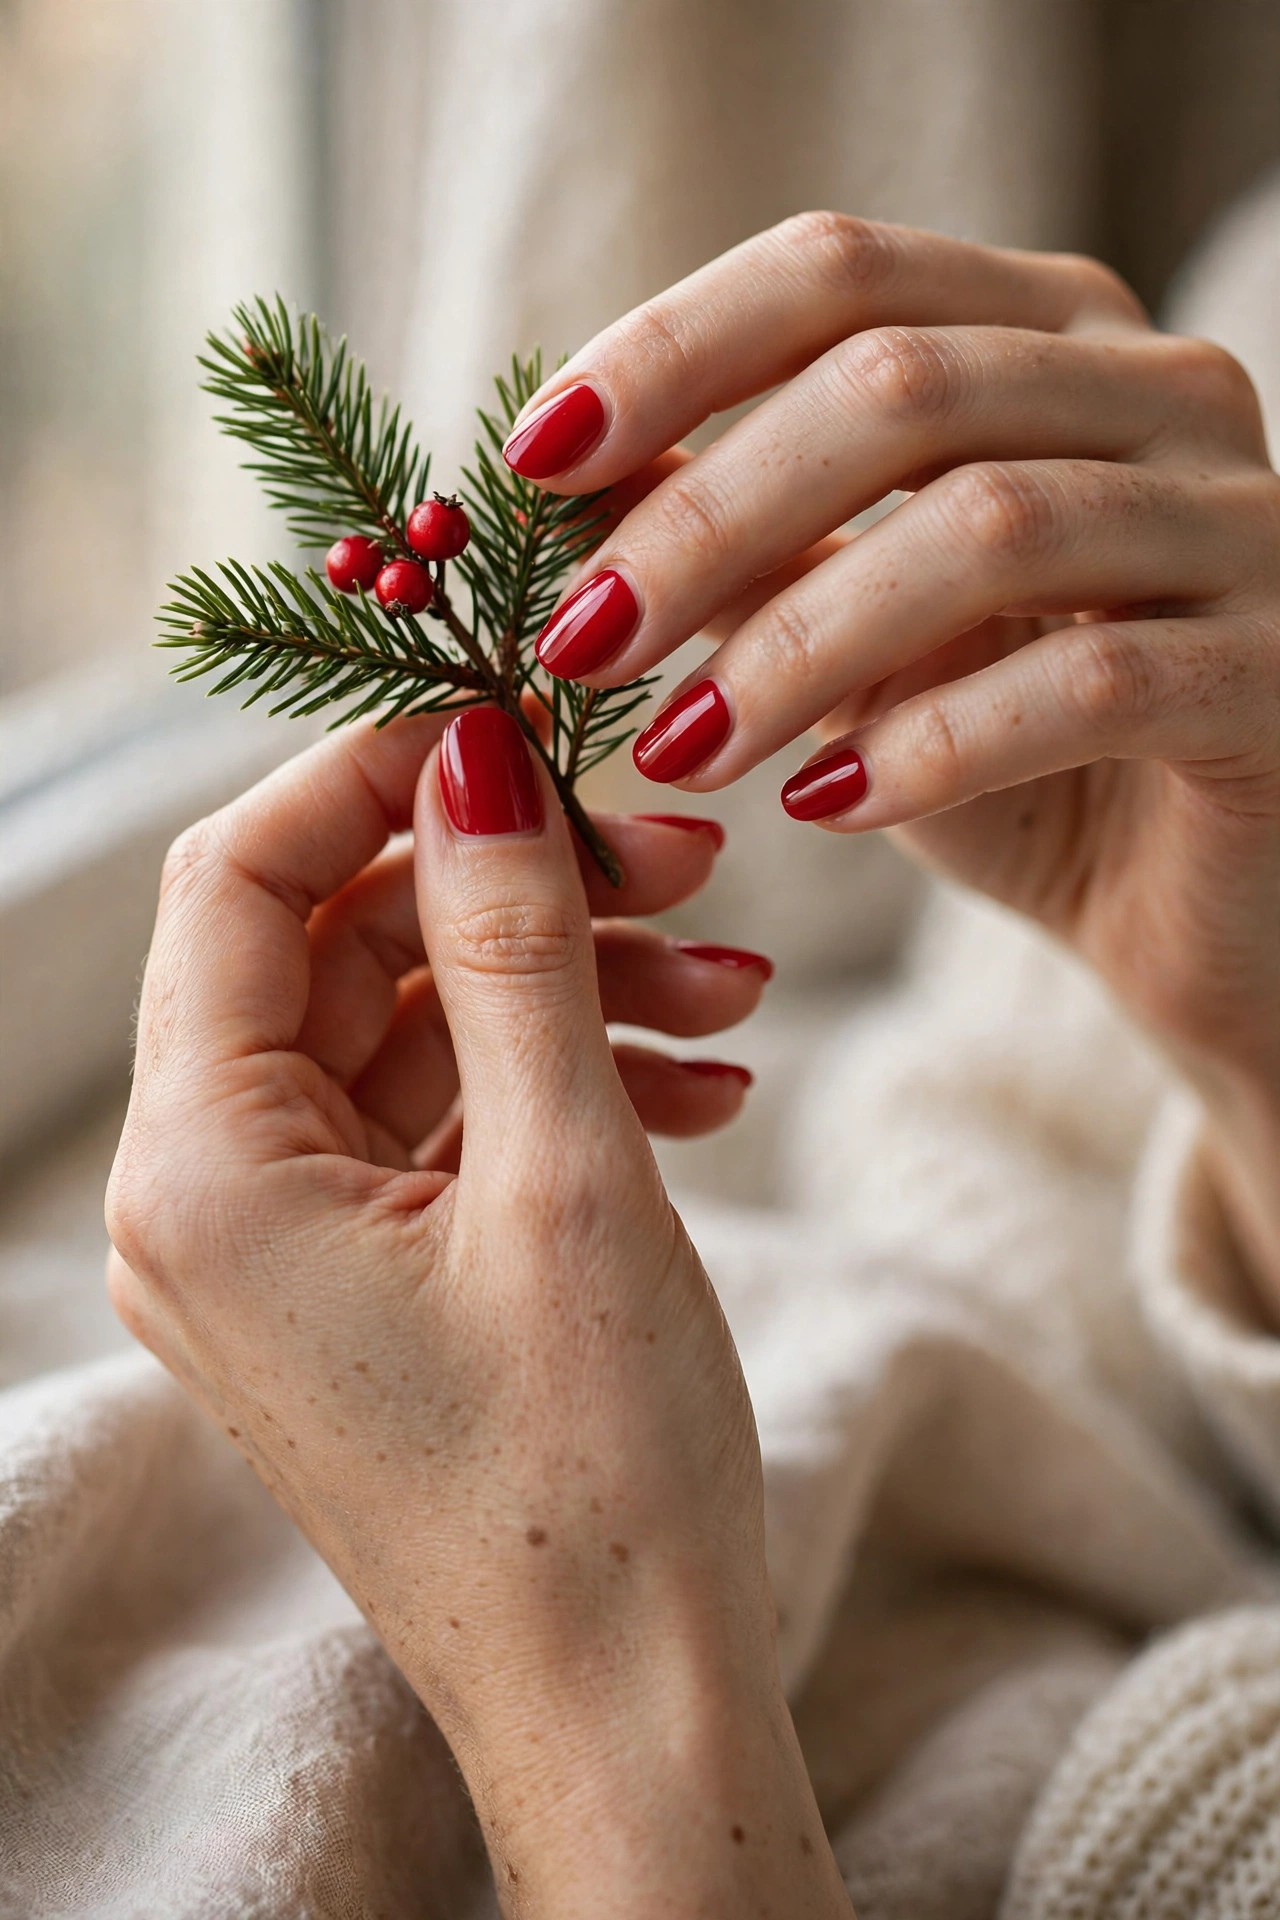
Some manicures never need improving. A true, blue-leaning Christmas red with a high-gloss top coat looks finished on every hand, photographs beautifully against greenery and gift wrap, and works as well for an office party as it does for Christmas morning. The only real technique here is patience: two thin coats rather than one thick one, a few minutes of drying between them, and a careful clean-up around the cuticles with a small brush dipped in remover. It suits short square nails, medium almonds, and longer oval shapes equally, and it wears gracefully because small chips are easy to touch up with the same bottle. If red feels bold for everyday wear, this is the one week of the year when it reads as completely classic rather than loud.
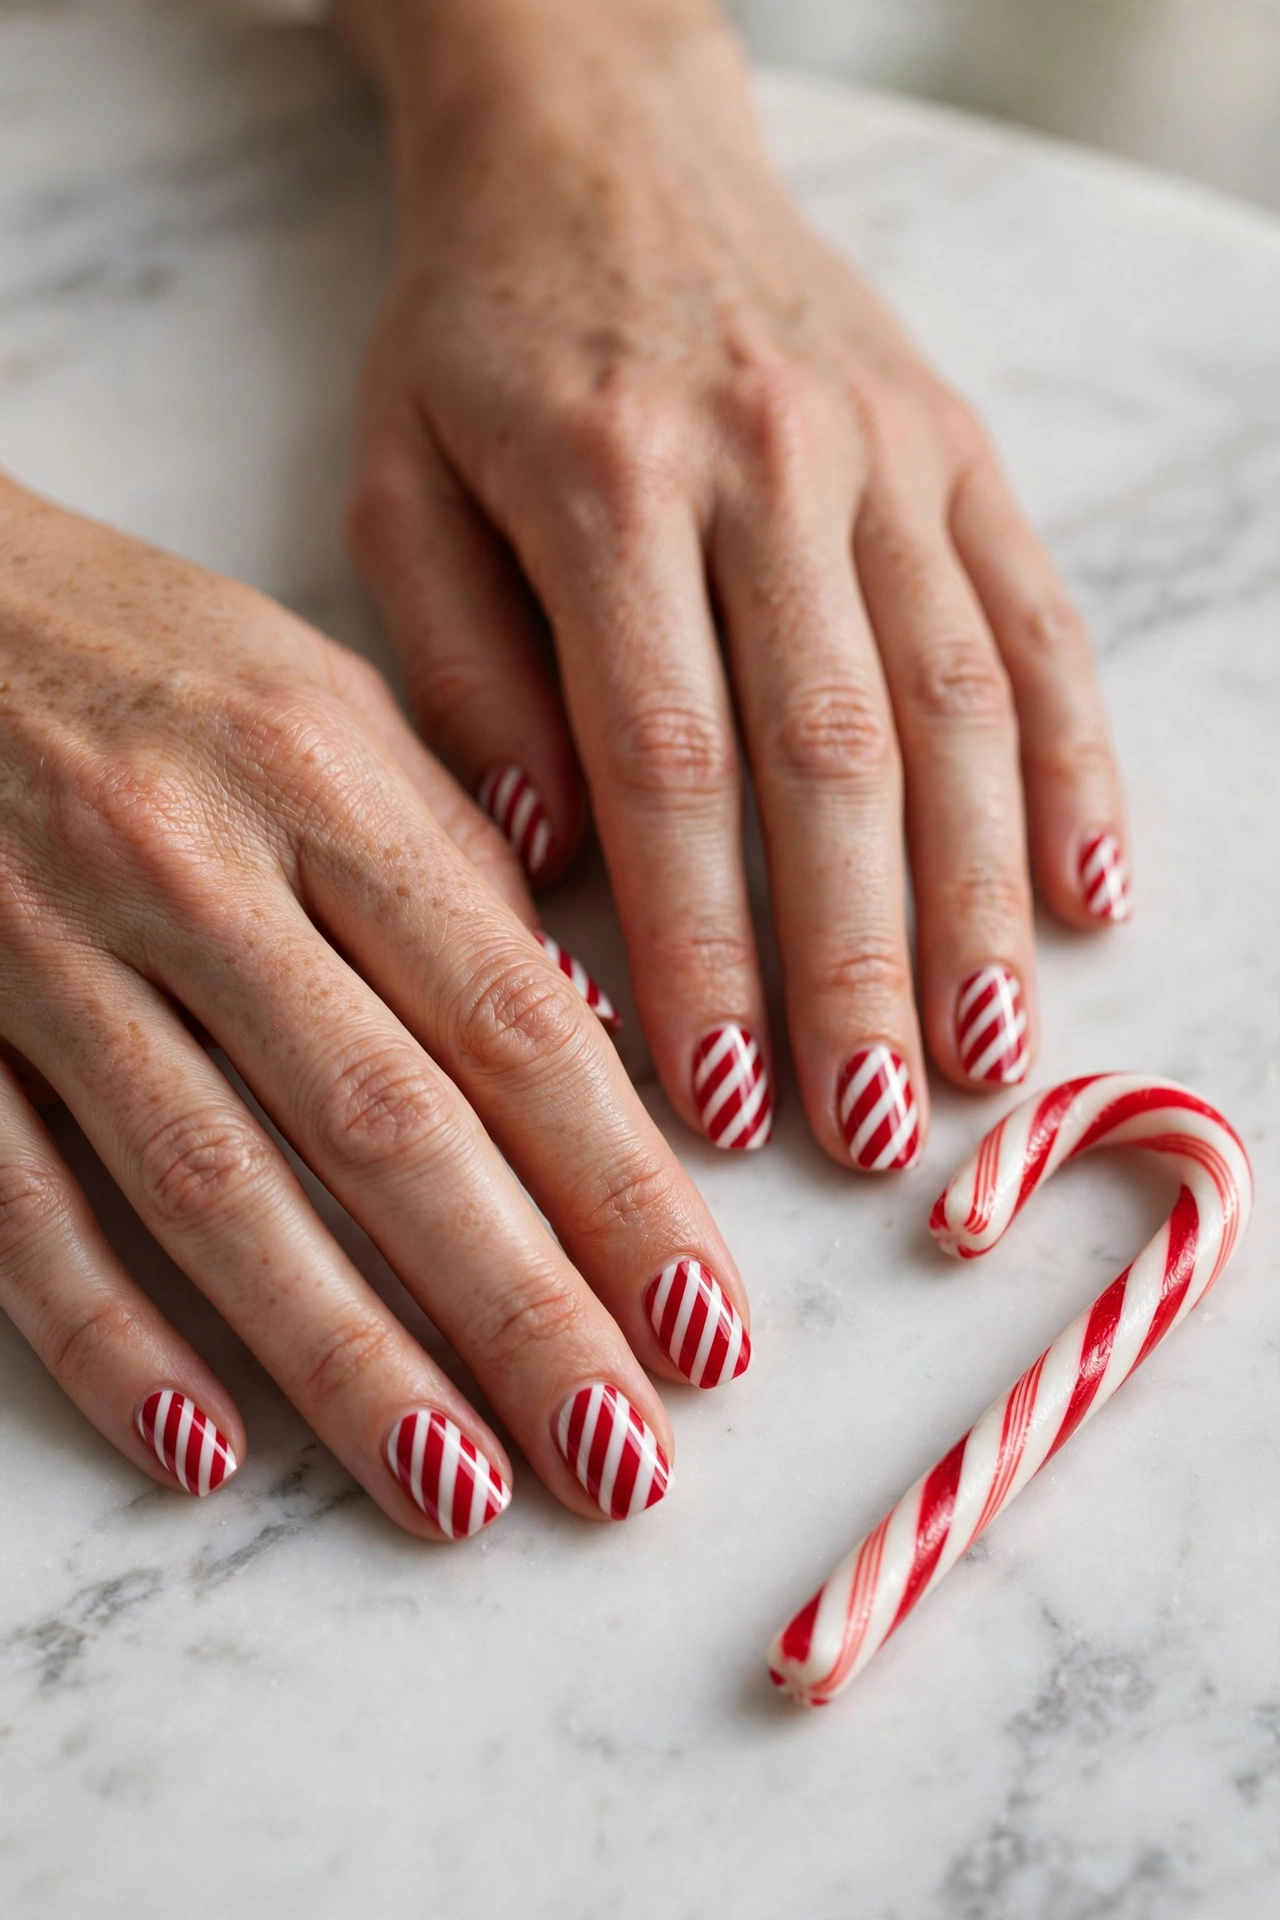
2. Candy Cane Stripes
Candy cane nails look intricate, but the stripes do not have to be painted freehand. Start with a white base and let it dry fully, then lay down thin strips of nail striping tape diagonally across each nail, paint classic red over the top, and peel the tape away while the red is still slightly wet. What remains is a clean set of diagonal stripes that looks far more precise than it felt to create. A glossy top coat seals the edges so the design survives a week of holiday cooking and wrapping. This one reads best on medium-length square or squoval nails, where the stripes have room to run. If tape feels fiddly, a striping brush dragged in one confident stroke per stripe gets a similar, slightly softer result.
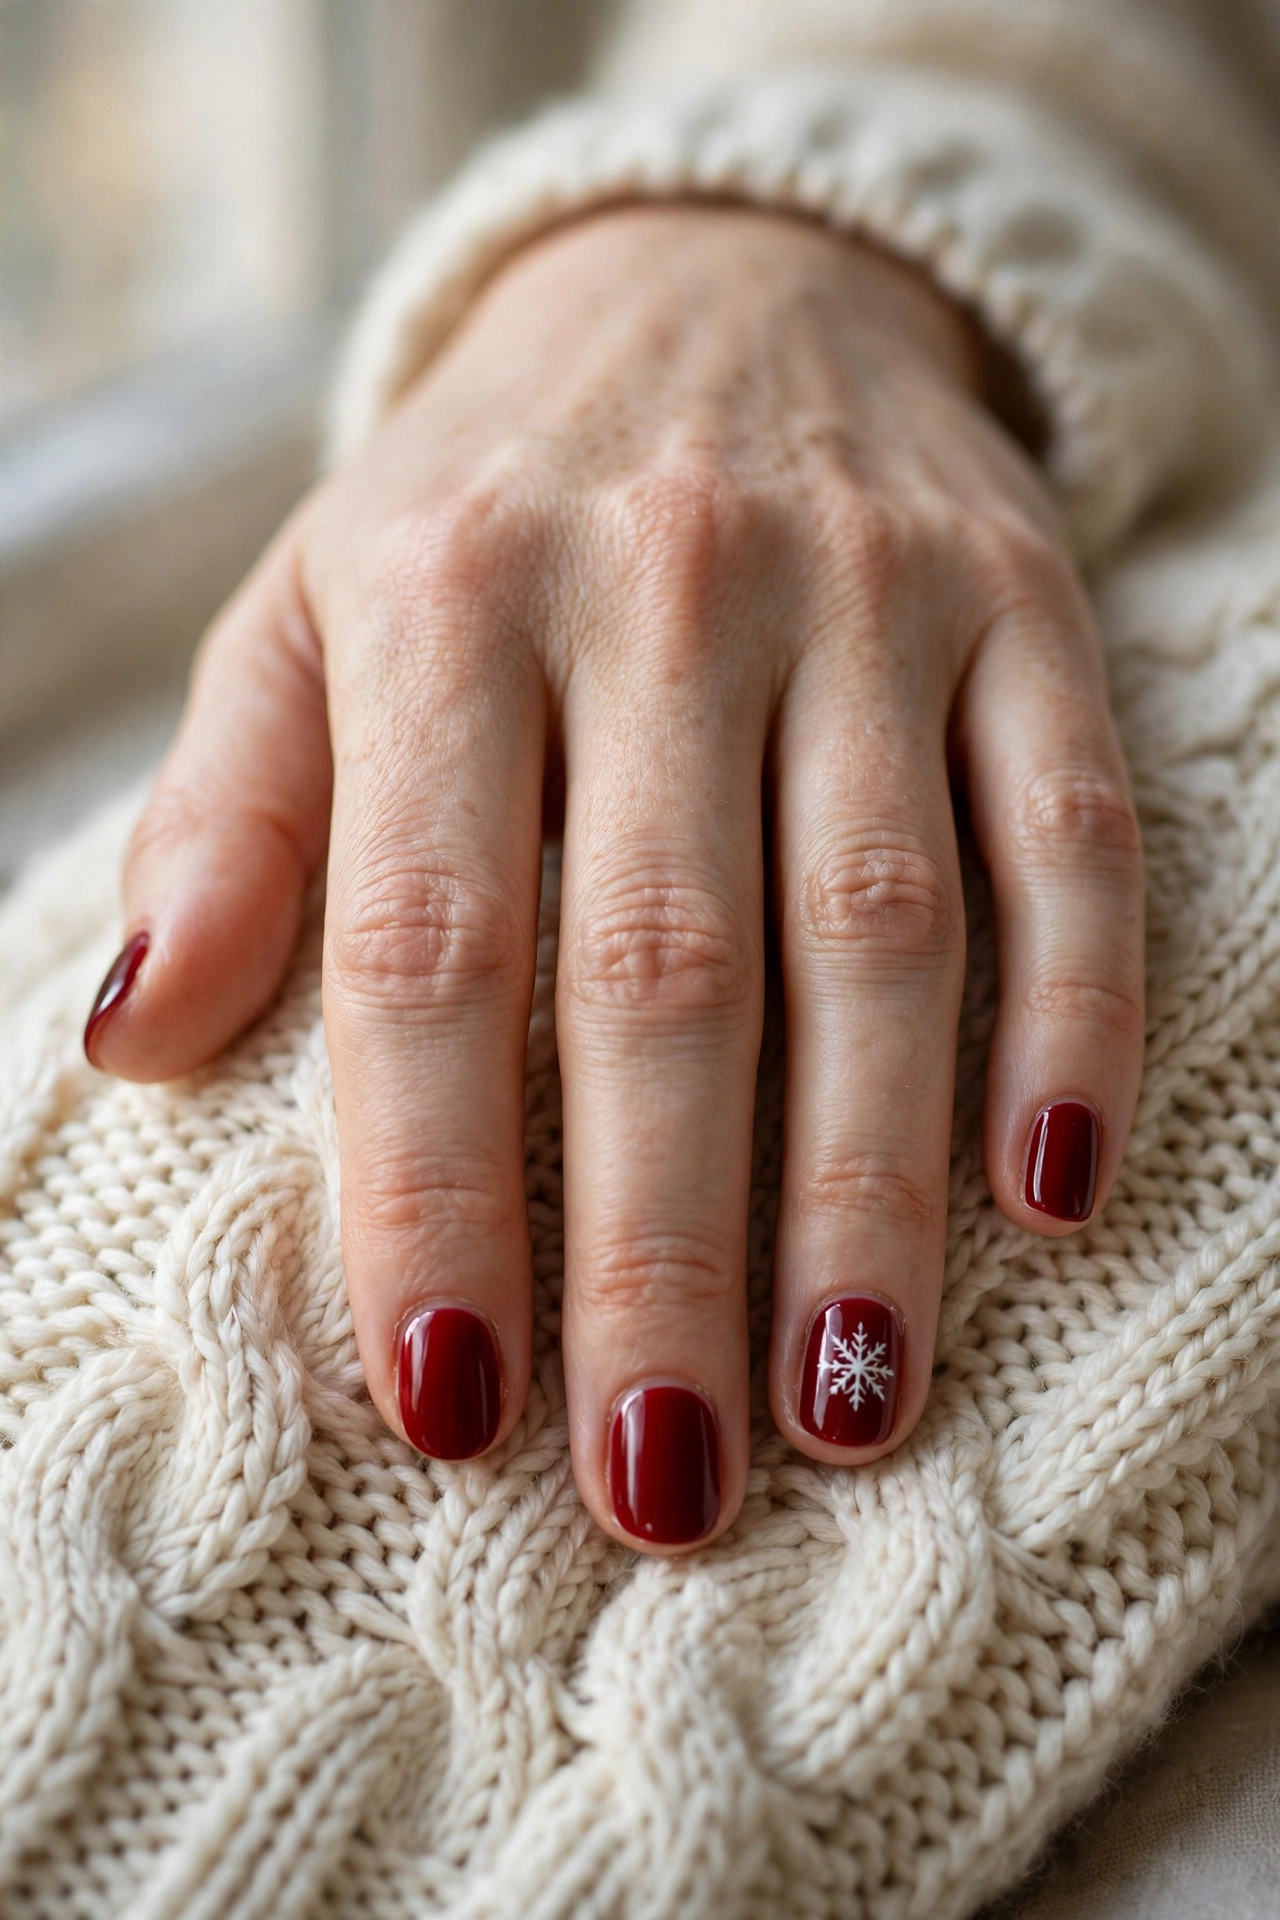
3. Snowflake Accent Nail
One detailed nail is always easier than ten, which is why the accent-nail approach is the backbone of so many easy designs. Paint nine nails in a deep holiday red, then make the ring finger the feature: a slightly deeper or matching red base with a single white snowflake drawn using a fine brush or a toothpick — one small cross, one X over it, and tiny dots at the ends of each line. Nobody expects geometric perfection; real snowflakes are irregular too. Keep the flake on the small side so it reads delicate rather than busy. This design suits any length, and it is a kind choice for beginners because the other nine nails are a simple solid color that dries fast and forgives mistakes.
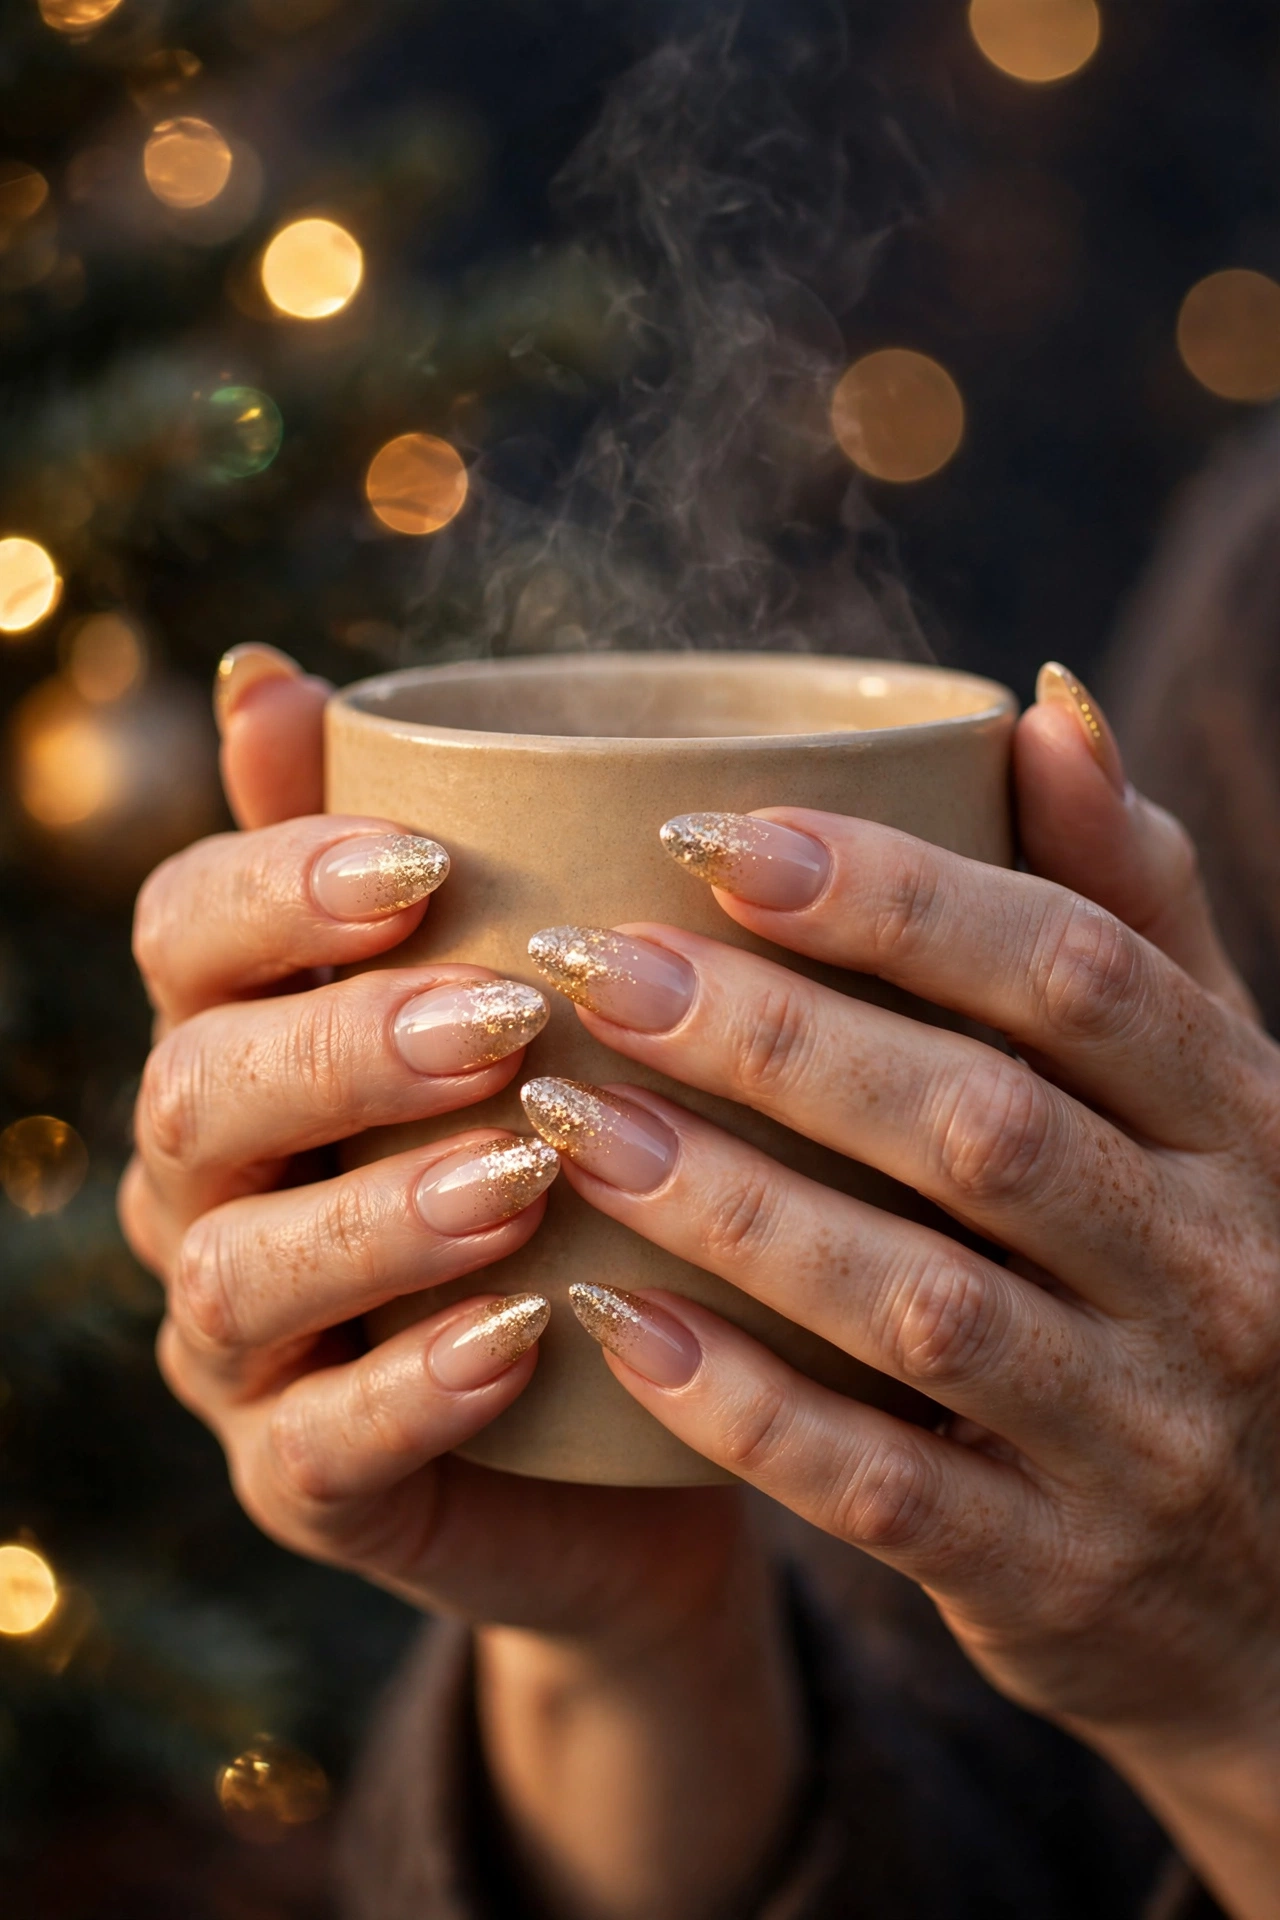
4. Gold Glitter Gradient Tips
A glitter gradient gives you sparkle without committing to full glitter nails, and it is one of the most forgiving techniques in this whole list. Start with a sheer nude or pale pink base. Then take a gold glitter polish and dab most of the brush off on the bottle neck — you want very little product — and stipple it onto the top third of each nail. Add a second, denser dab right at the very tips. The sparse-to-dense fade hides every uneven edge, which is exactly why it works. It looks especially pretty on almond and oval shapes, catches candlelight at dinner parties, and grows out gracefully because the base near the cuticle is nearly bare. Seal it with a smooth top coat so the glitter lies flat.
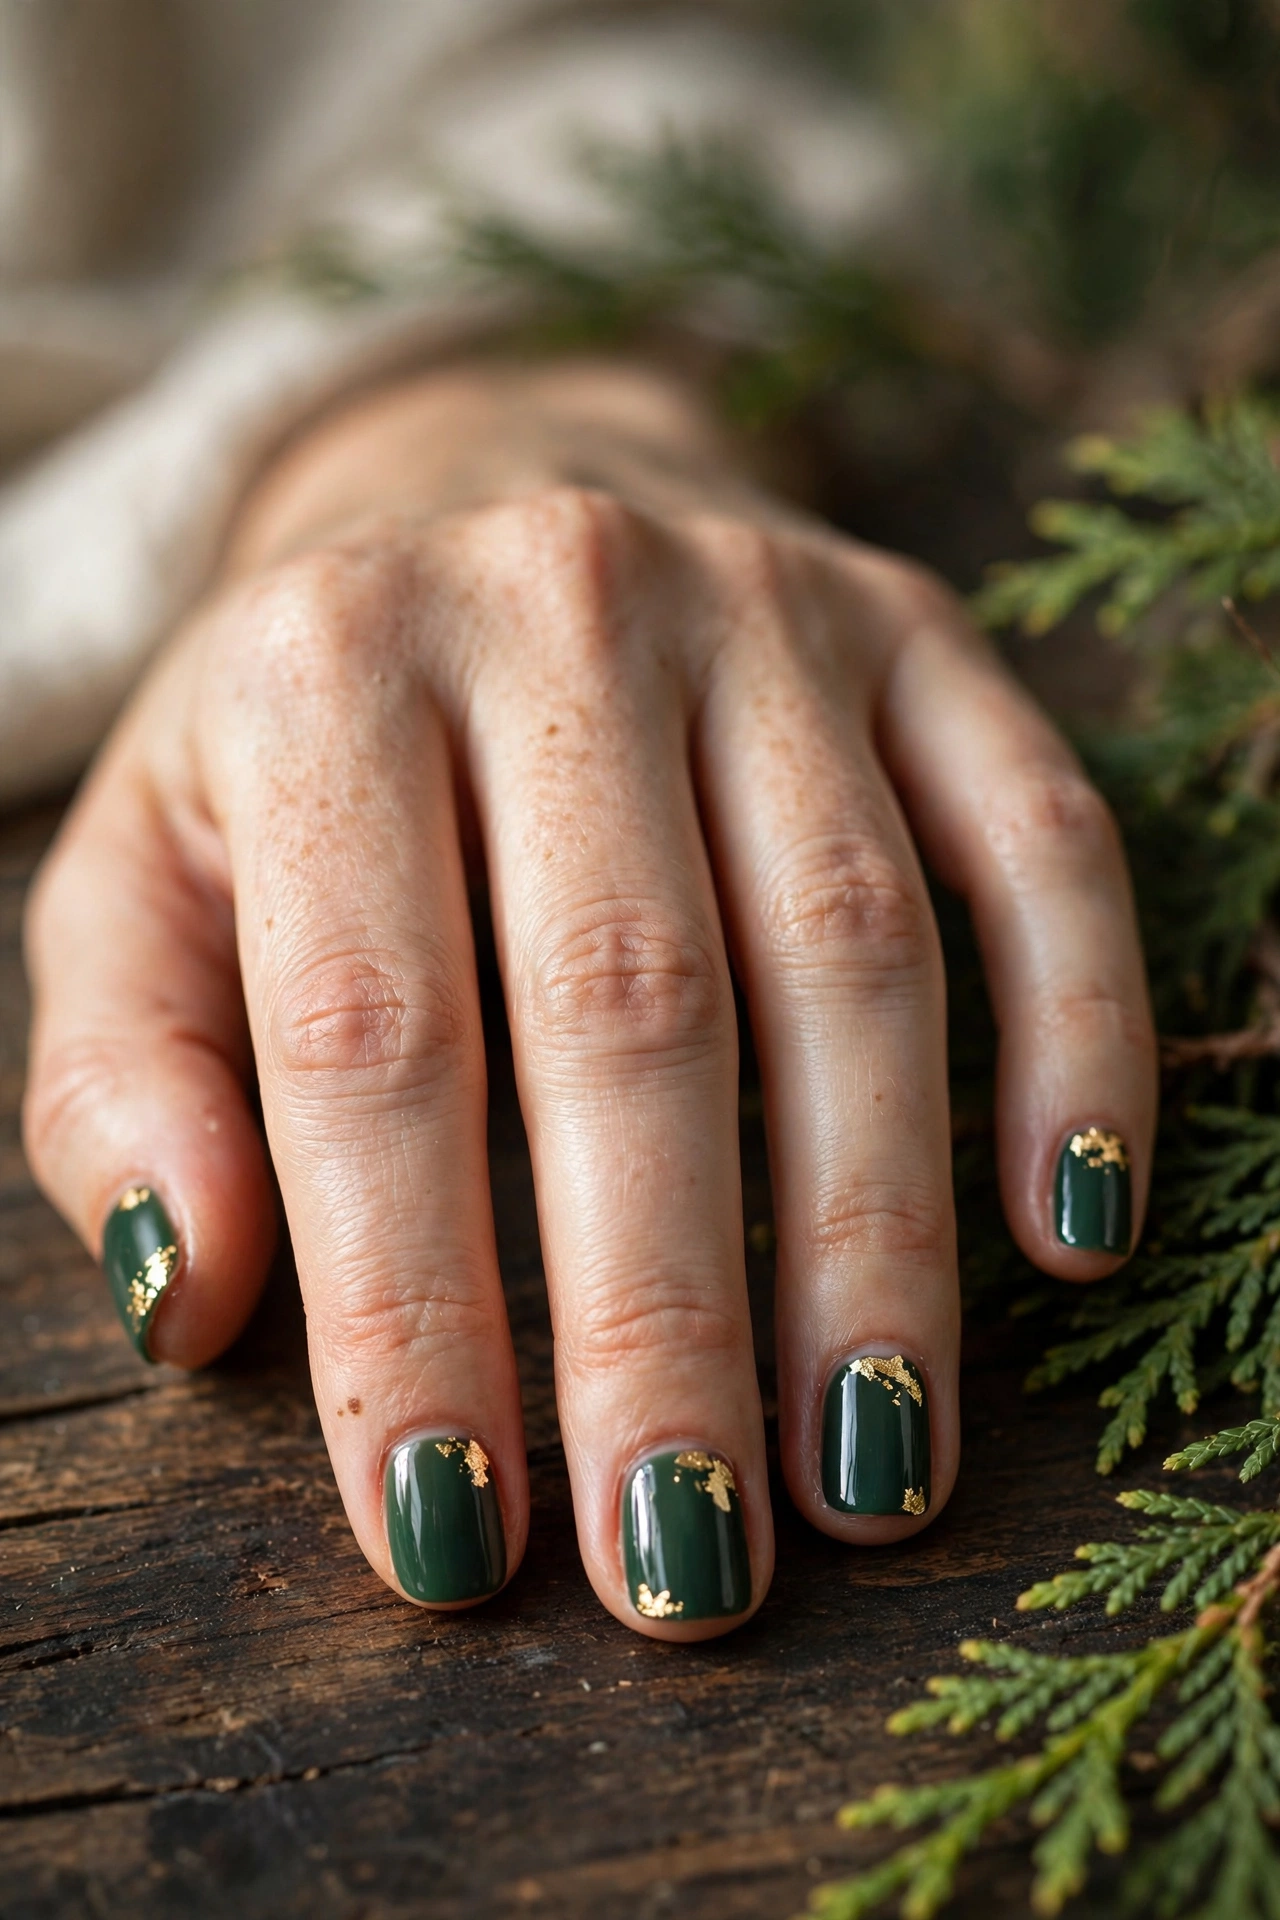
5. Evergreen and Gold Foil
Deep evergreen is the season’s most wearable alternative to red — rich, a little unexpected, and flattering against winter skin that has lost its summer color. On its own it already looks deliberate, but a few flecks of gold foil take it somewhere more festive without asking for any drawing skill. Press small pieces of gold foil flake onto the tacky surface of the second coat, focusing near one corner of each nail rather than covering the whole surface, then seal everything under a glossy top coat. The irregular shapes catch light differently on every nail, which is the charm of it. This design holds up well on short nails, and the dark color makes hands look polished even with minimal length.
6. Red French Tips
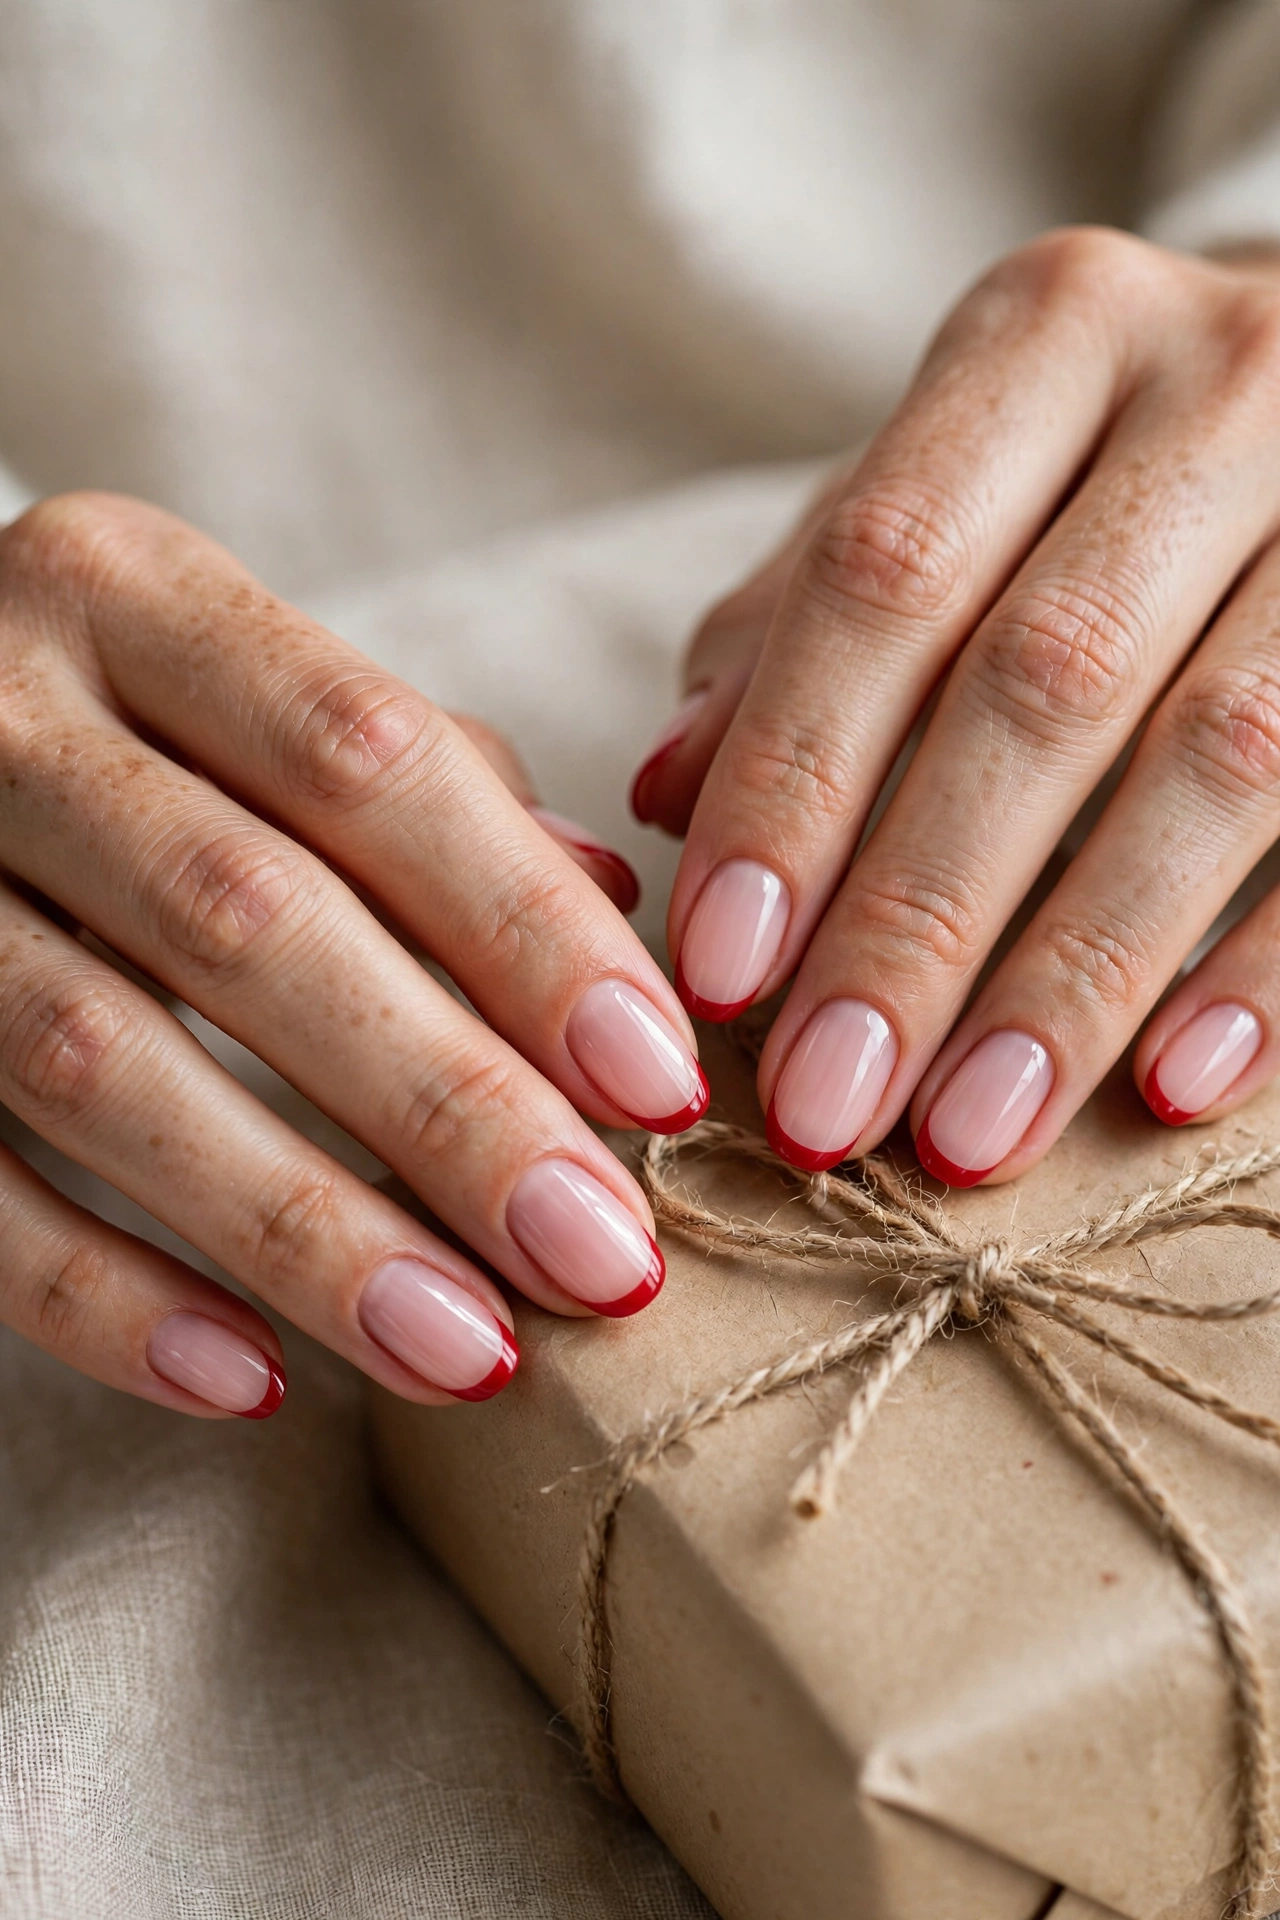
If you love the clean look of a French manicure but want it to feel like December, simply swap the white tip for red. The structure stays the same — a sheer pink or milky nude base with a colored smile line — but the result is instantly seasonal. Freehanding the tip is easier than it looks if you paint it in two short strokes from each side toward the center, and nail guides or the edge of a piece of tape make it easier still. Keep the tip modest on short nails and a little deeper on almonds. A glossy finish keeps it looking fresh, and because the base is sheer, regrowth at the cuticle stays almost invisible through the busy last weeks of the year.
7. Cozy Burgundy Plaid
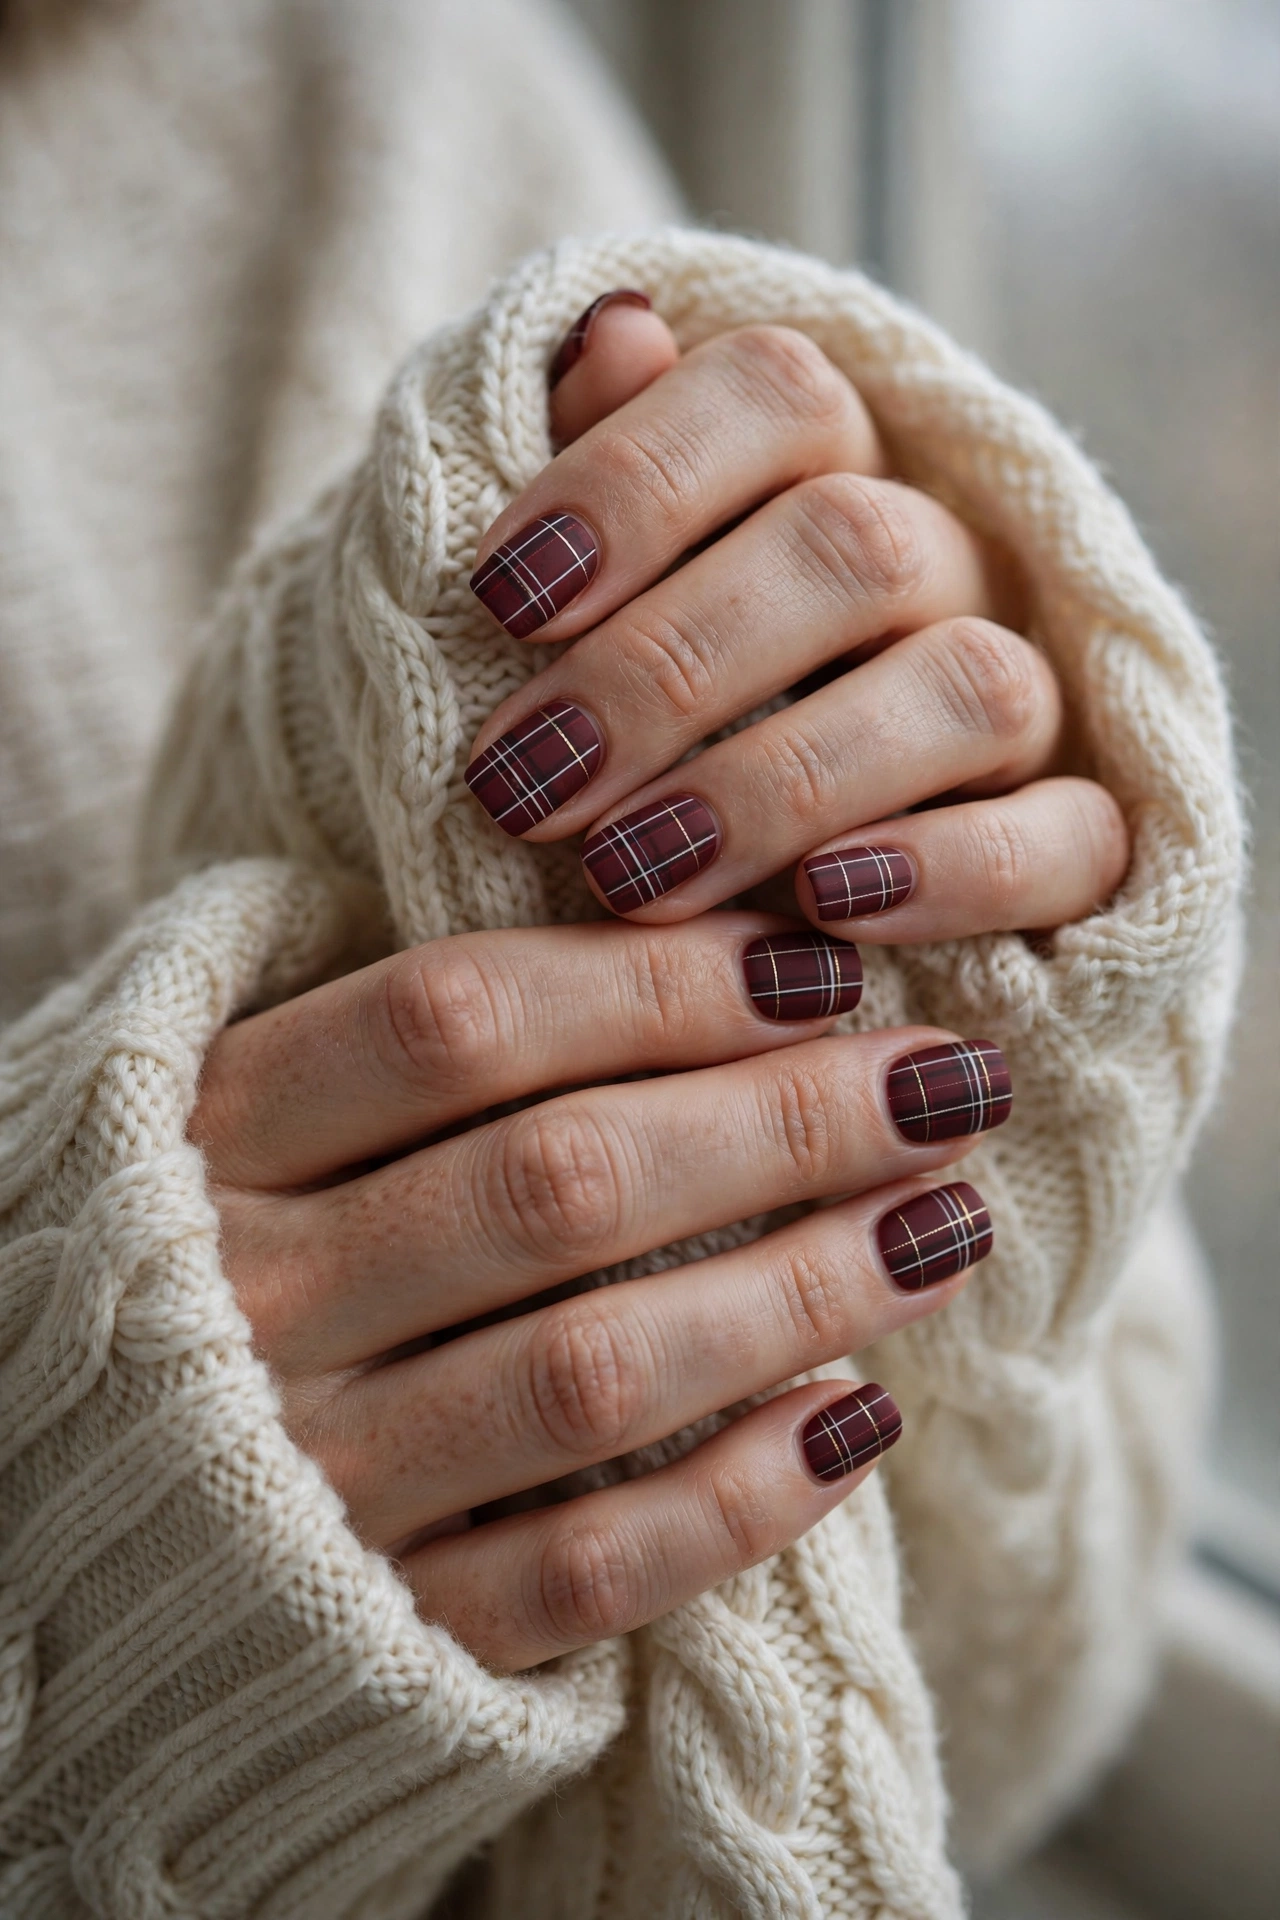
Plaid looks complicated until you break it into its parts: it is only ever straight lines laid over a base color. Start with a burgundy or deep berry base. Once dry, use a thin striping brush to add two vertical and two horizontal lines in a slightly lighter red or soft white, leaving space between them. Where the lines cross, dab a fine line of gold for that woven, fabric-like detail. Perfection is not the goal — real flannel is soft-edged too, and a slightly imperfect line reads as cozy rather than wrong. This design pairs well with sweater weather and suits medium square or squoval nails best, since the grid needs a little surface. A matte top coat makes it look even more like actual flannel.
8. Nude with Tiny Gold Stars
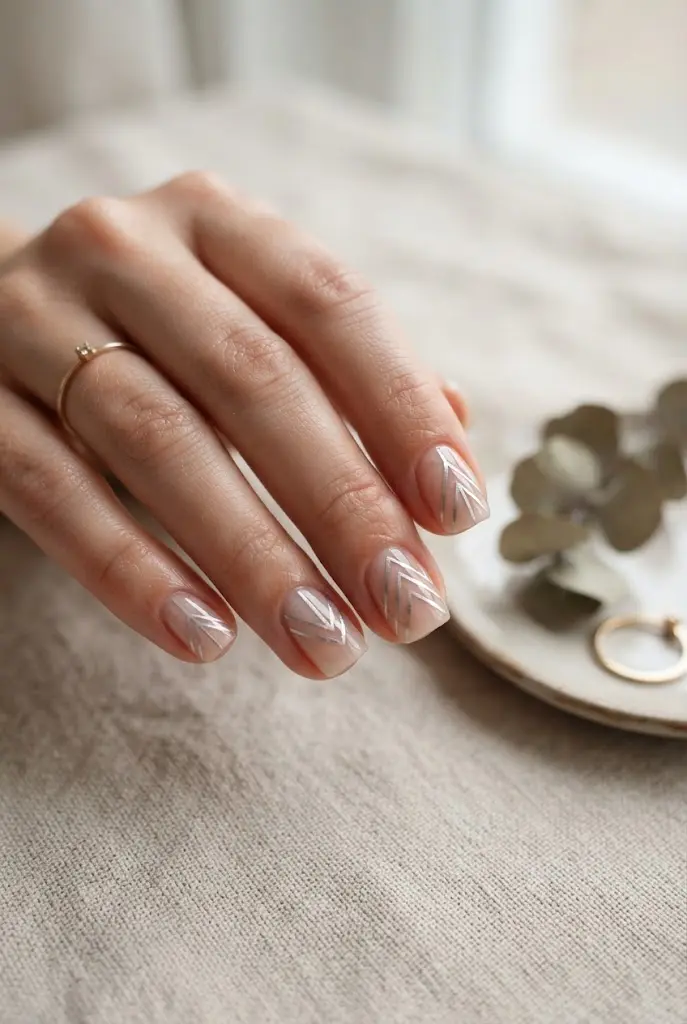
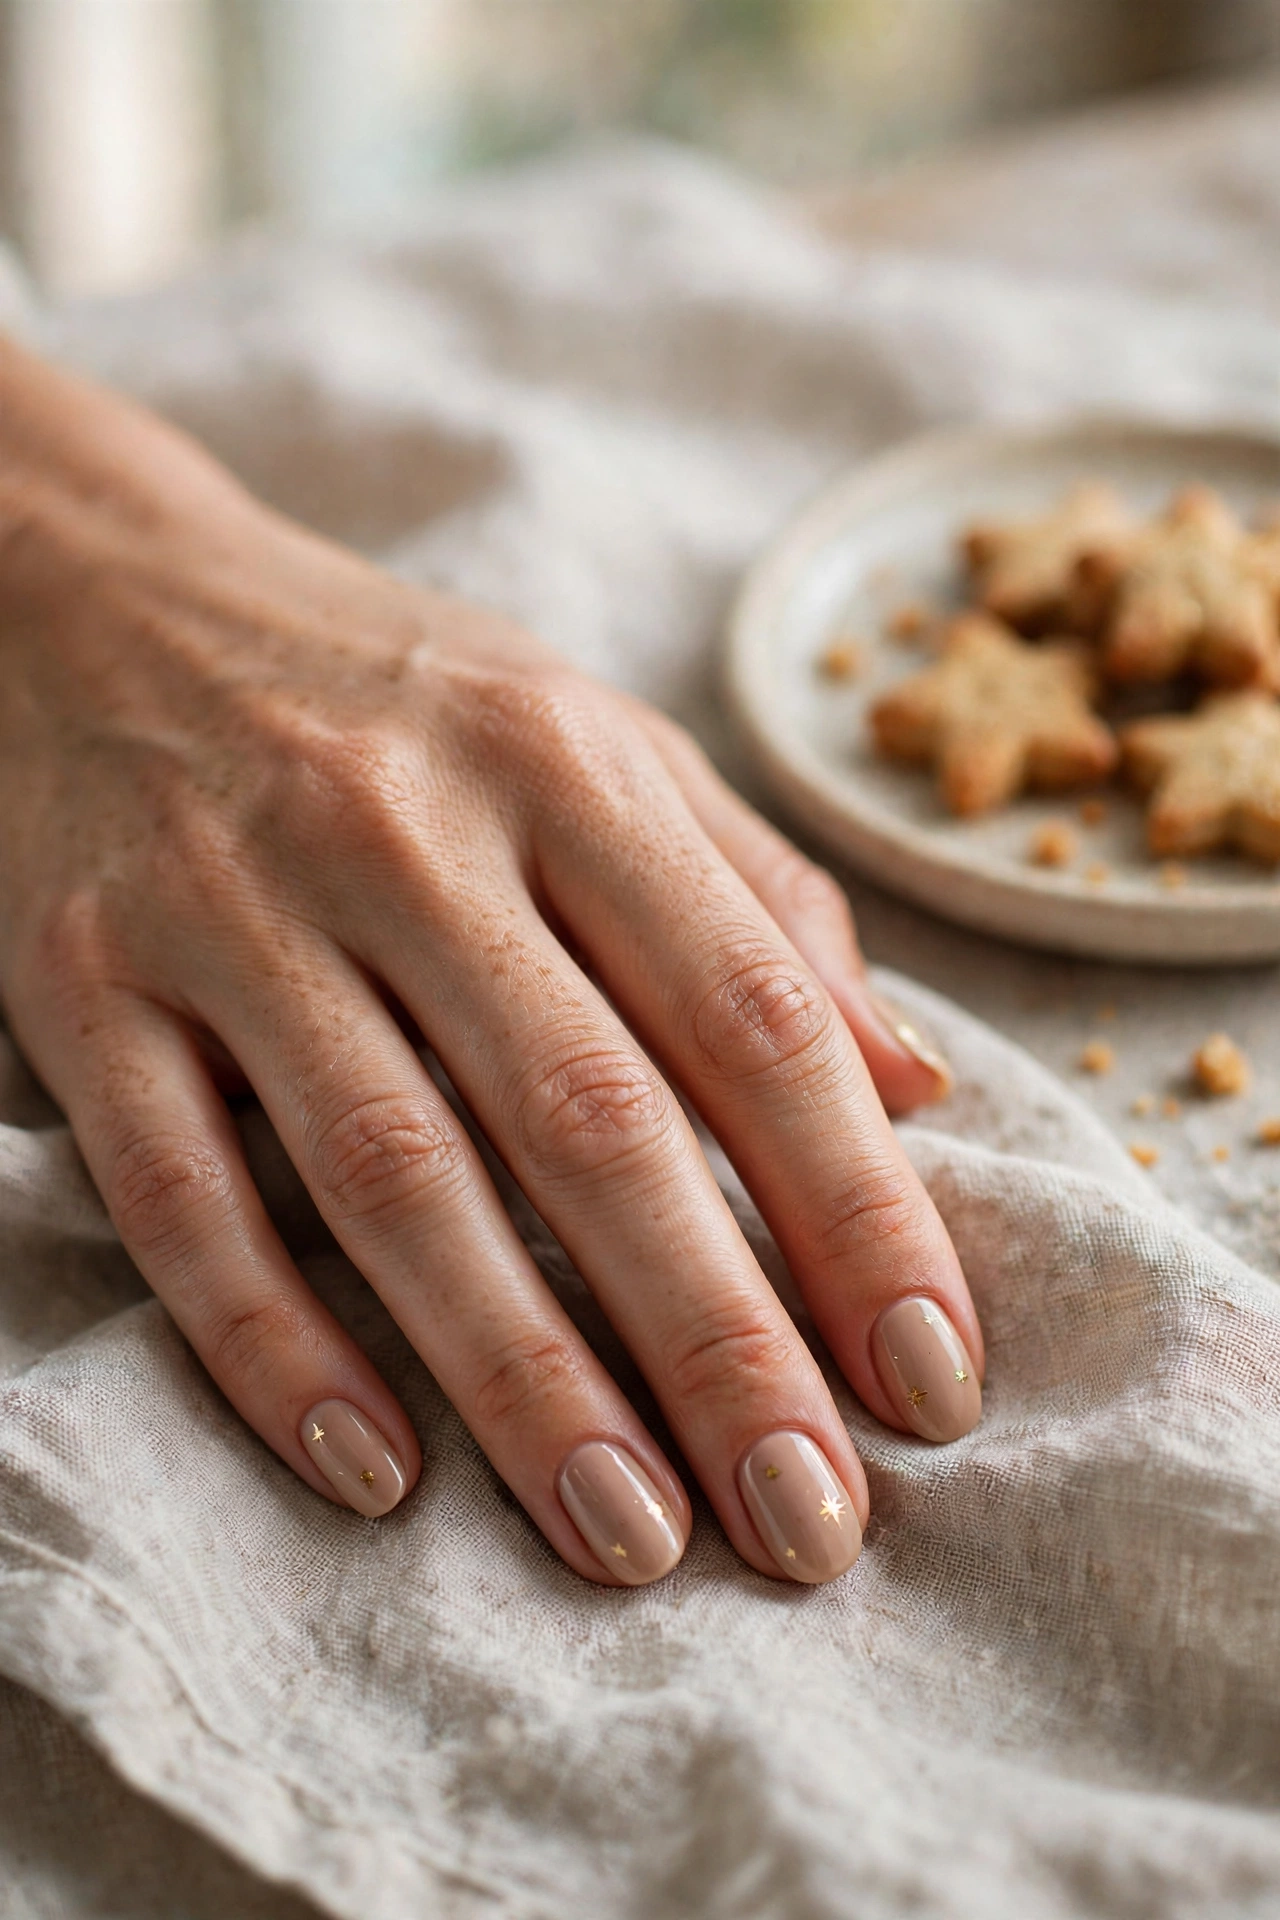
For anyone who finds red and green too literal, this is the quiet way to do Christmas nails. A warm nude base — choose a shade close to your skin tone with a hint of pink — keeps hands looking neat, and a few tiny gold stars carry the whole holiday message. Star-shaped glitter from a glitter topper polish is the easiest route: fish out individual stars with a toothpick and place one or two per nail, off-center for a more natural scatter. Nail stickers work just as well and are even faster. Keep the rest of the nail bare so the stars have room to shine. The look suits every shape and length, lengthens the appearance of short nails, and will not clash with a single outfit you wear all season.
9. Matte White with One Glitter Accent
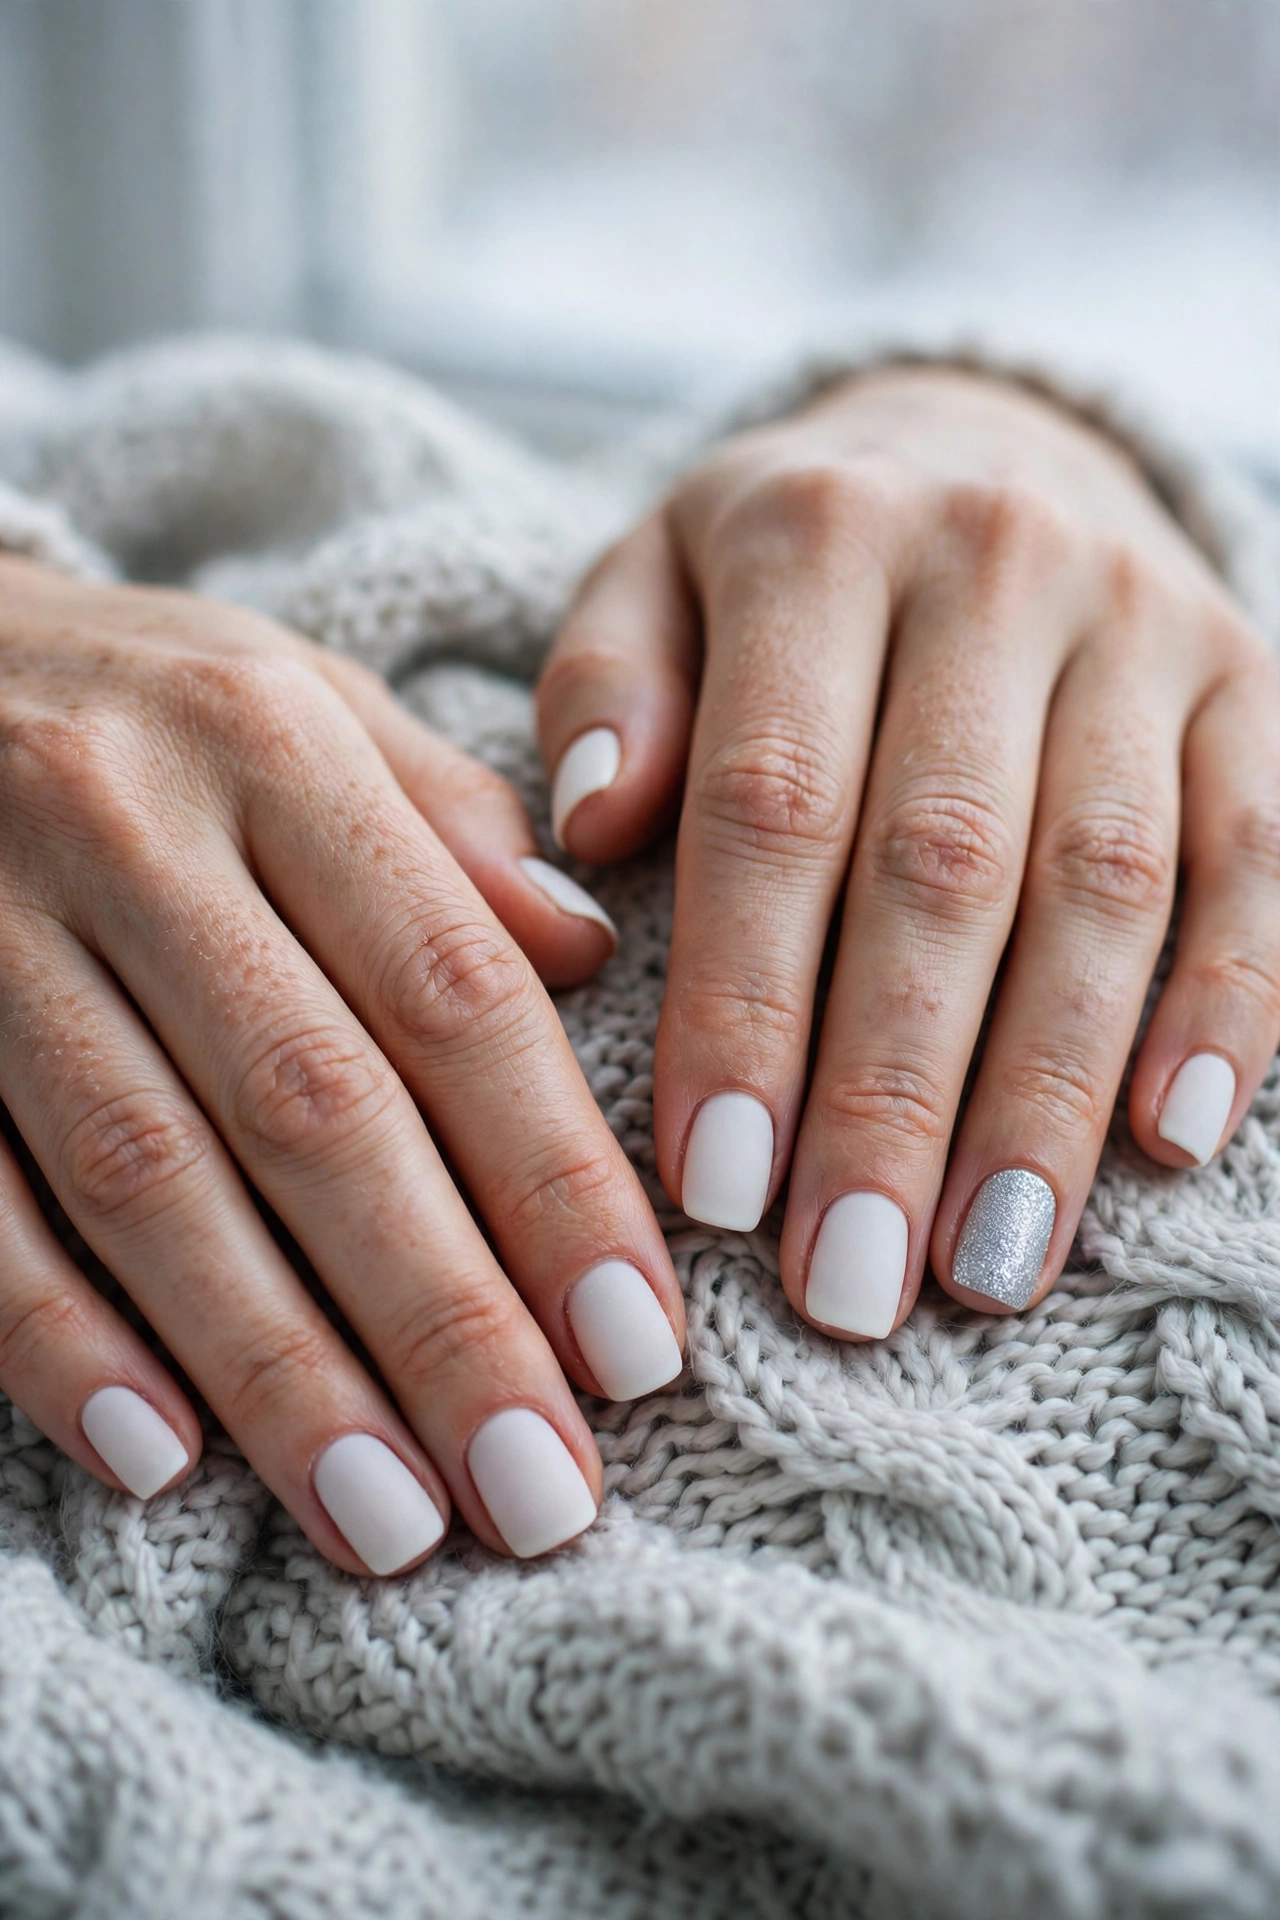
White nails in winter feel like fresh snow — clean, bright, and surprisingly easy to pull off. The matte version has a soft, frosted quality that looks more expensive than it is. Paint all ten nails in an opaque white, using three thin coats if your polish needs it to avoid streaks, then finish nine of them with a matte top coat. On one accent nail, skip the matte finish and layer a silver or white glitter polish instead; the single sparkling nail keeps the set from feeling plain and gives your eye somewhere to land. White shows every flaw around the cuticle, so take thirty extra seconds with a clean-up brush. It is a striking choice for holiday photos and works on short to medium lengths.
10. Gingerbread Icing Dots
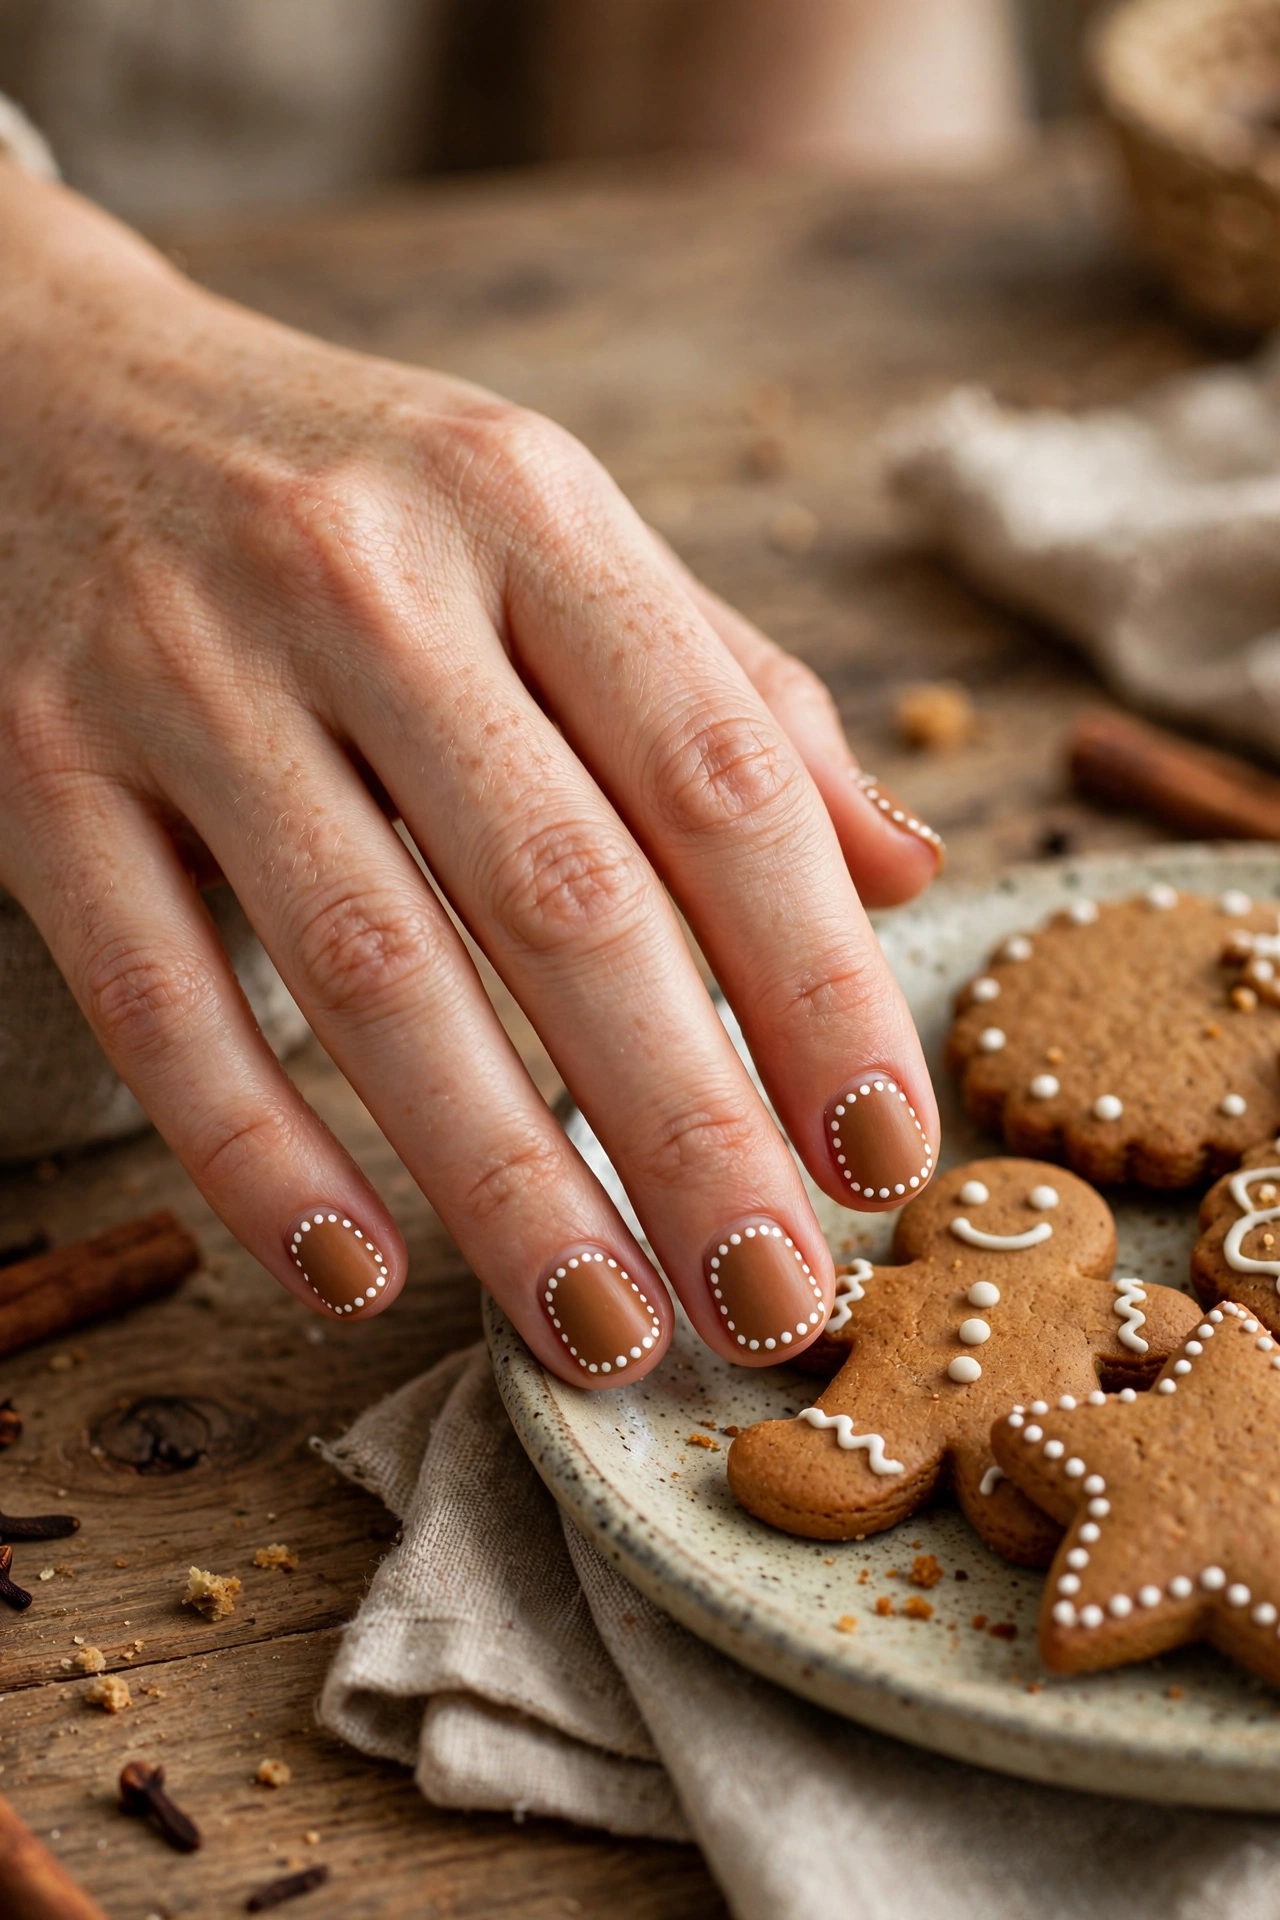
This playful design borrows its look from piped royal icing on gingerbread cookies. The base is a warm, spiced medium brown — think gingerbread rather than chocolate. Once it has dried, use the small end of a dotting tool, or the tip of a bobby pin, to add simple white patterns: a row of dots along one edge of the nail, a tiny zigzag, or a small dot flower at the center. Keep the patterns simple and repeat the same one on every nail so the set looks intentional. Because dots are the easiest nail-art move there is, this is a genuinely beginner-friendly design, and the brown base is forgiving about wear. It suits short and medium nails and always gets a reaction at cookie exchanges.
11. Reindeer Accent Nail
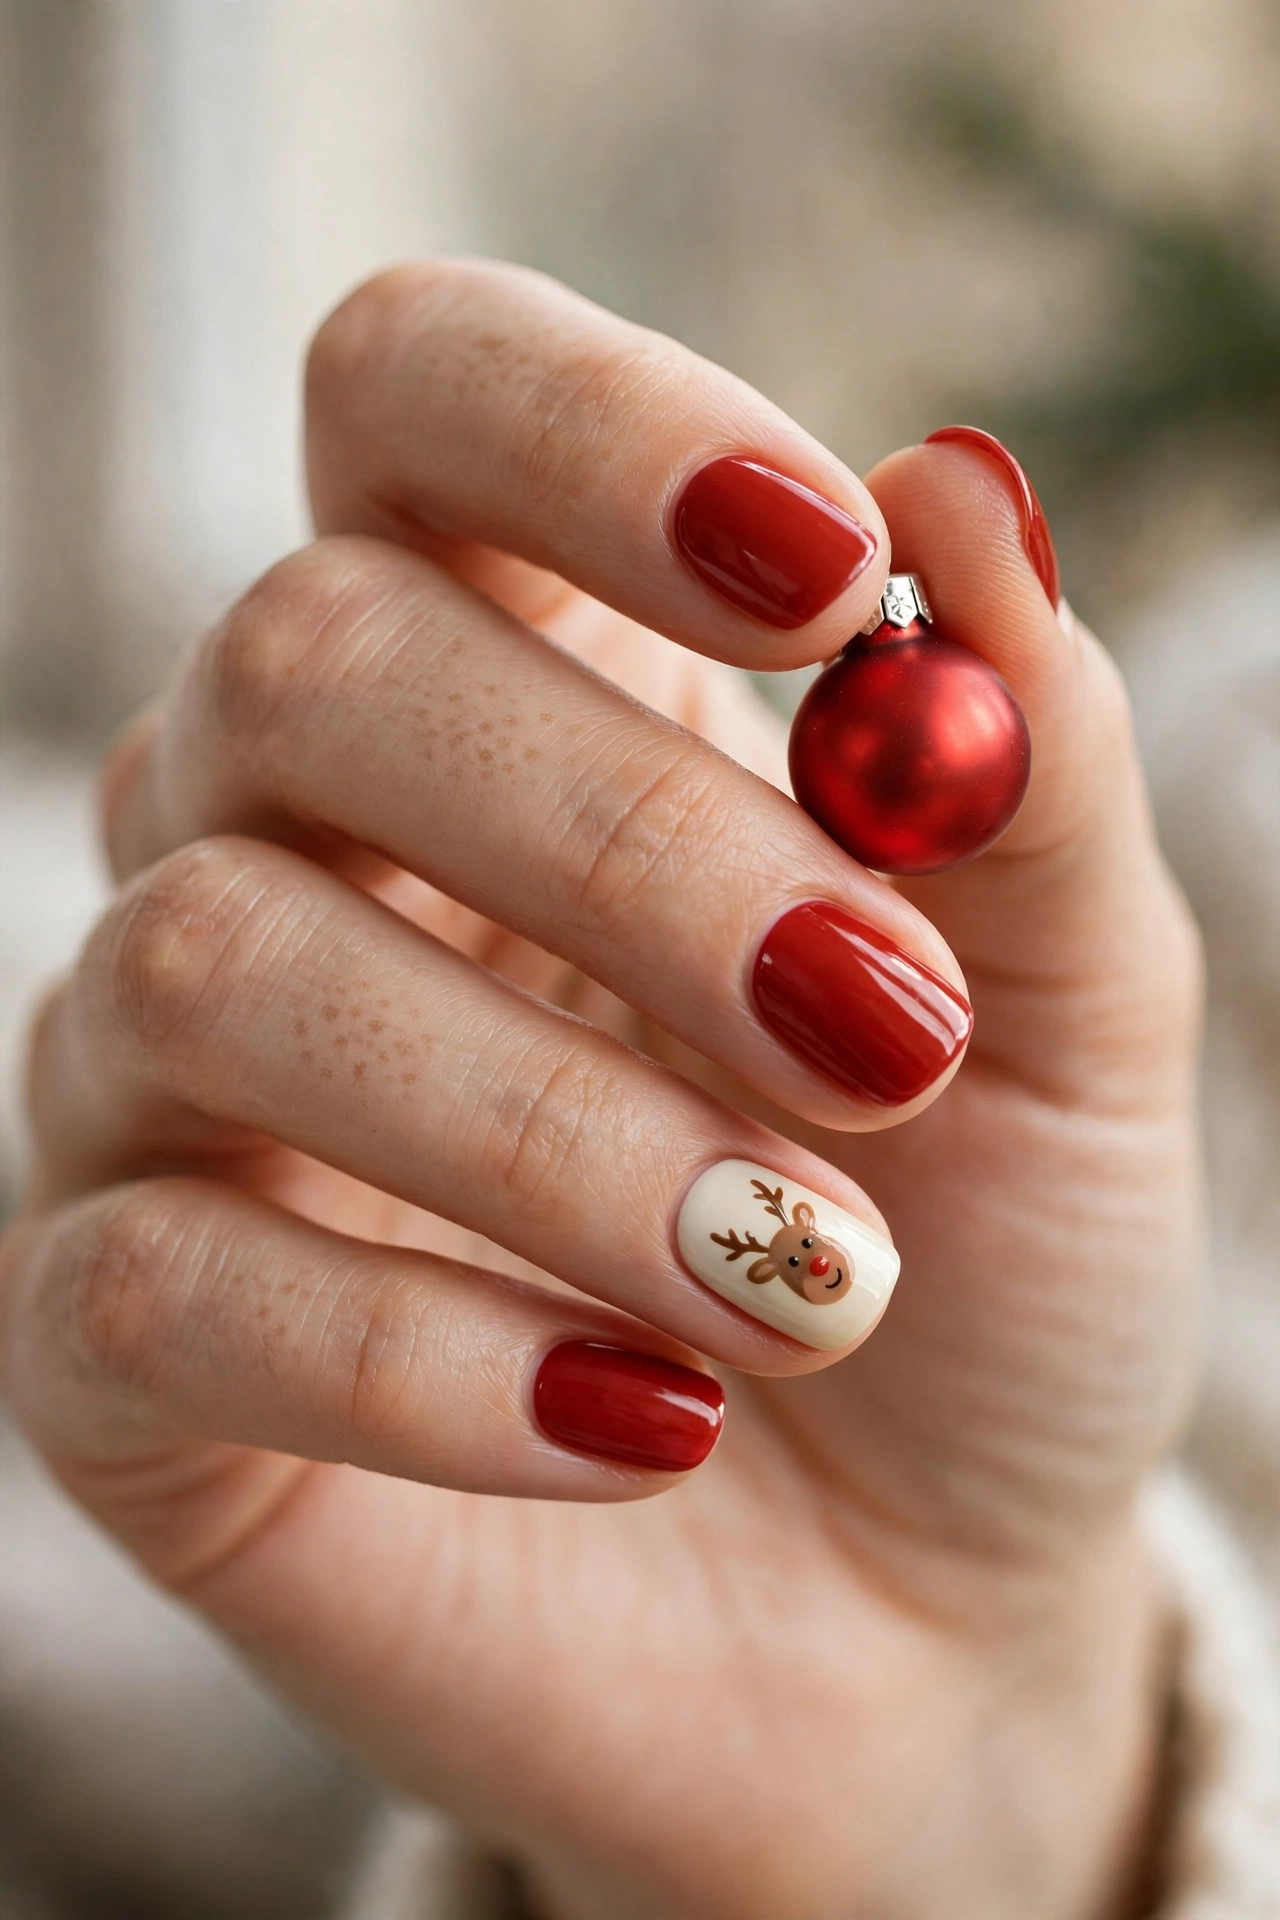
A tiny reindeer face sounds ambitious, but broken down it is just shapes you already know how to make: one brown oval for the head, two smaller dots for ears, two short curved lines for antlers, and a red dot for the nose. Paint the accent nail a soft cream or pale beige so the brown design shows clearly, and keep the remaining nails in a coordinating solid — the same gingerbread brown, or a warm red to match the nose. Use a toothpick for the antlers; sketchy lines actually suit the hand-drawn charm. This is the design children notice first and adults ask about, and because only one nail carries the artwork, the whole manicure still comes together quickly. Best on medium nails, which give the little face enough room.
12. Silver Chrome Shine
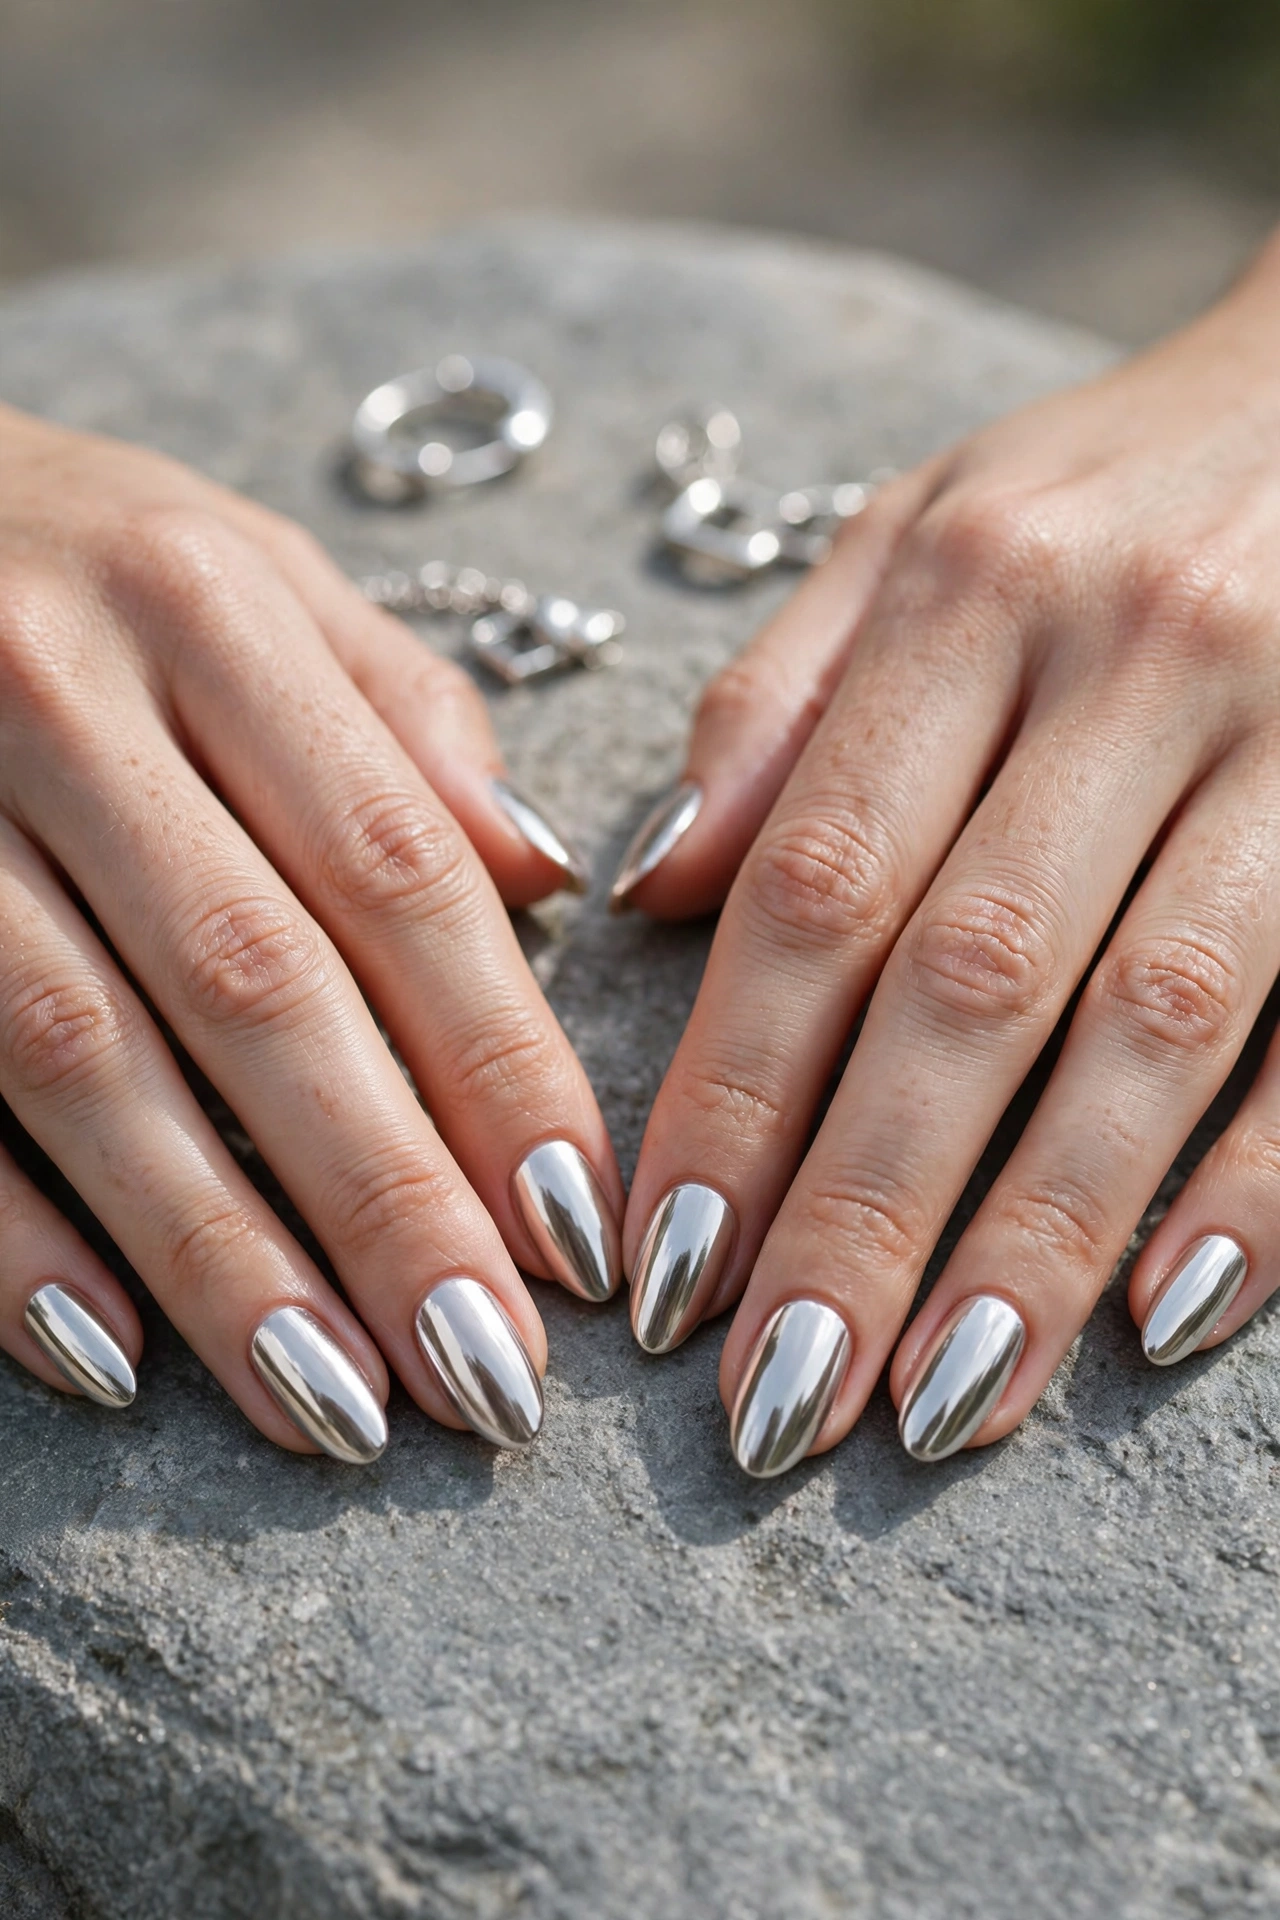
Chrome nails have a mirror-like finish that looks high-tech, but the at-home version is simpler than the photos suggest. Chrome powder is rubbed over a layer of gel-effect or no-wipe top coat with a small sponge applicator, and the metallic shine appears as you buff — no drawing, no detail work. Over a pale grey or white base it gives an icy silver that fits the season without a single snowflake. If you do not own chrome powder, a metallic silver polish with a glossy top coat lands in a similar place, just a touch softer. The mirror finish shows ridges, so a ridge-filling base coat helps. Chrome looks most striking on almond and oval shapes, and it pairs well with silver jewelry and cool-toned winter outfits.
13. Deep Burgundy Gloss
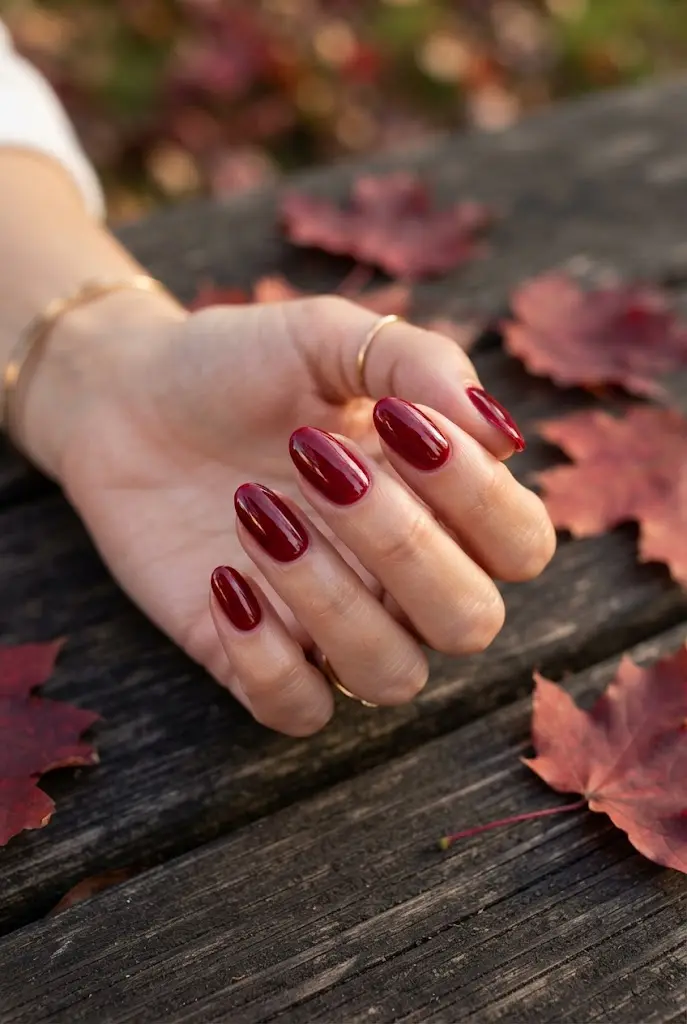
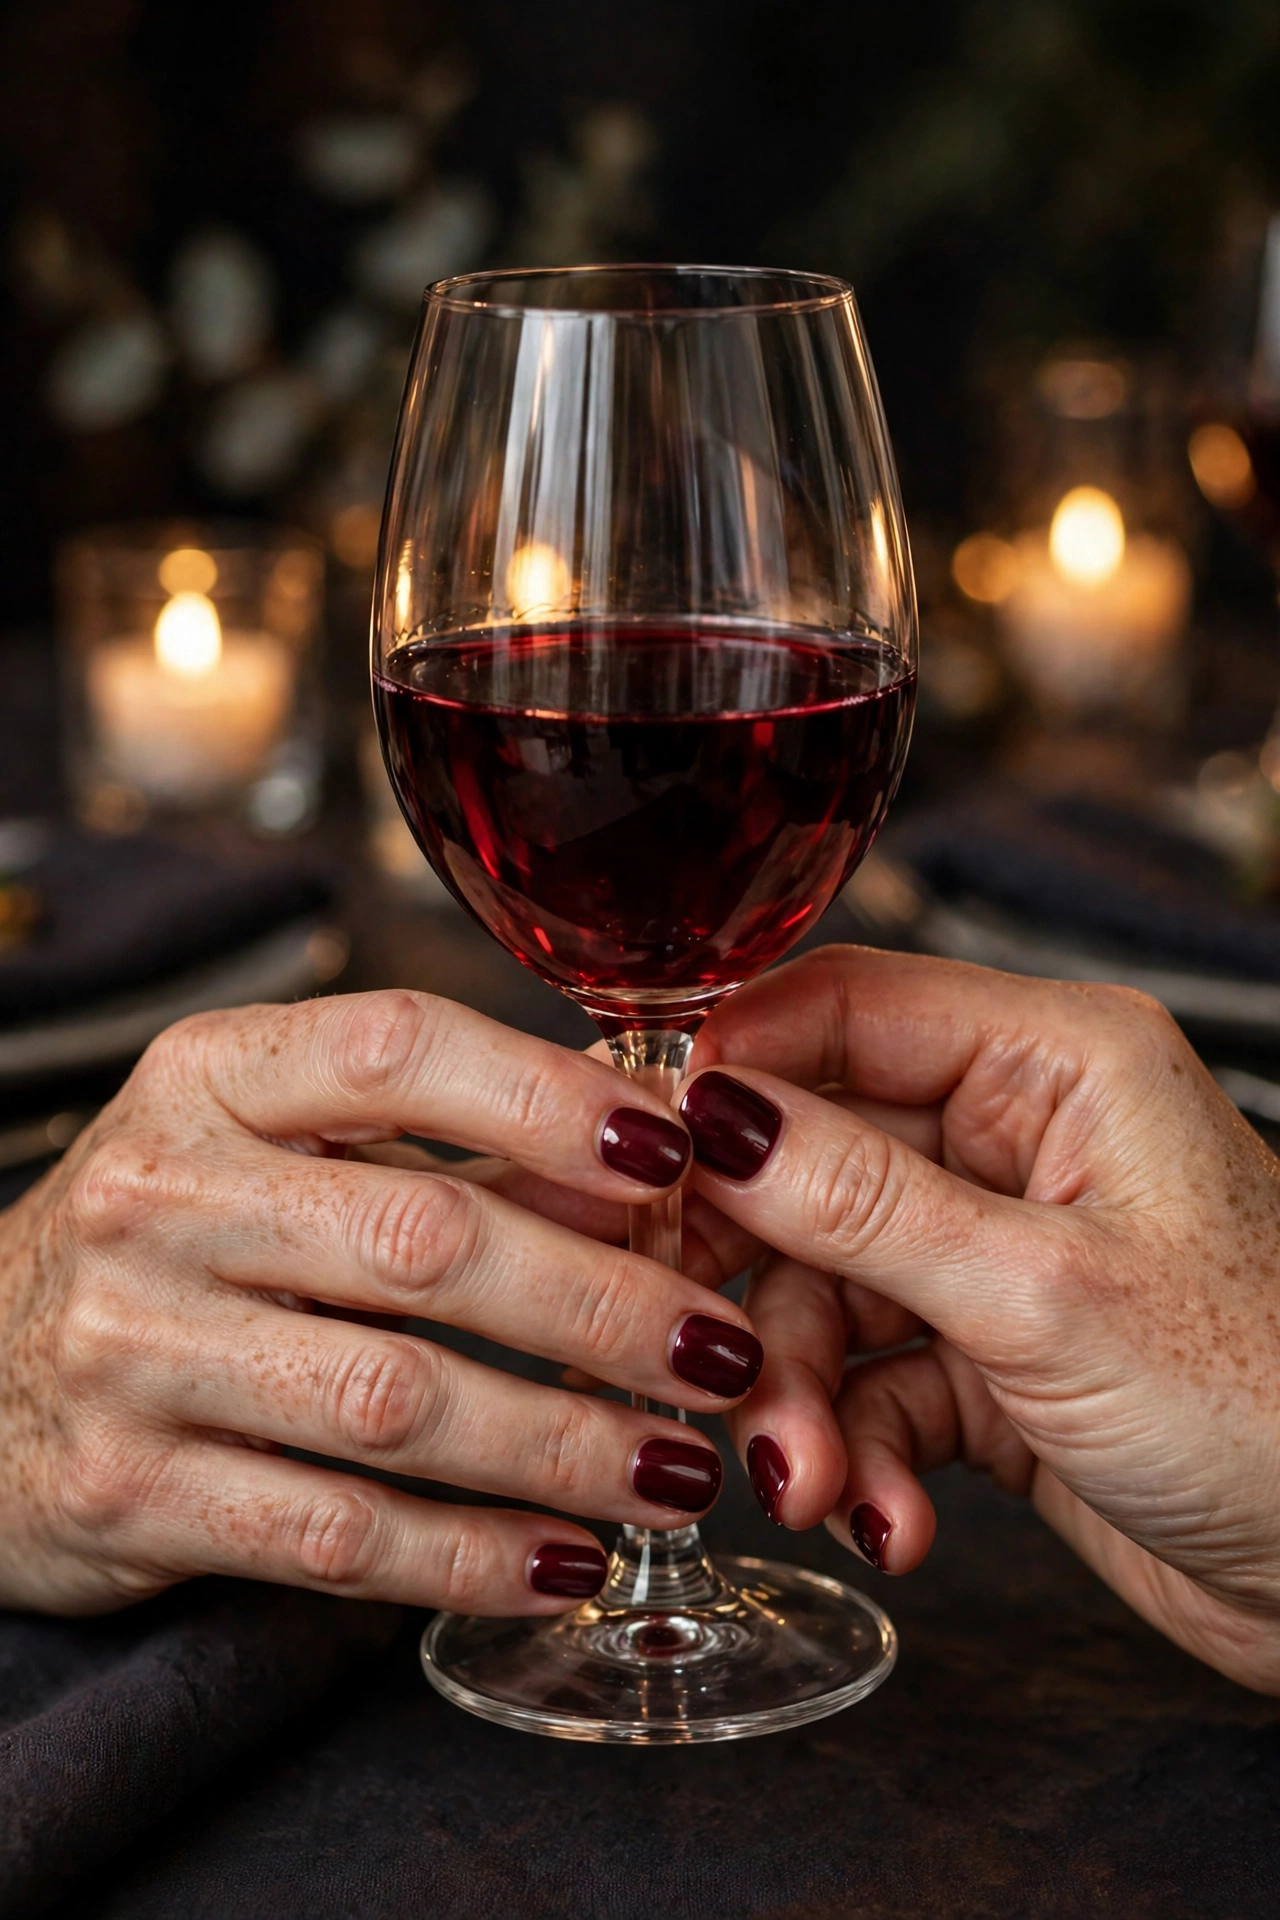
Burgundy is red’s more reserved sister — the one that works in a boardroom, at a formal dinner, and everywhere in between. A deep wine shade with a glass-like glossy top coat needs no art at all; the color itself is the statement. It is an especially good choice if your December calendar mixes work events with celebrations, because it never looks like a costume. Apply it in two careful coats, wrapping the polish slightly over the free edge to delay tip wear, and refresh the top coat on day three or four to bring back the shine. Burgundy flatters a wide range of skin tones and looks refined on short nails, which makes it a practical pick for anyone who types, cooks, or wraps presents all week.
14. Soft Pink Snowfall Dots
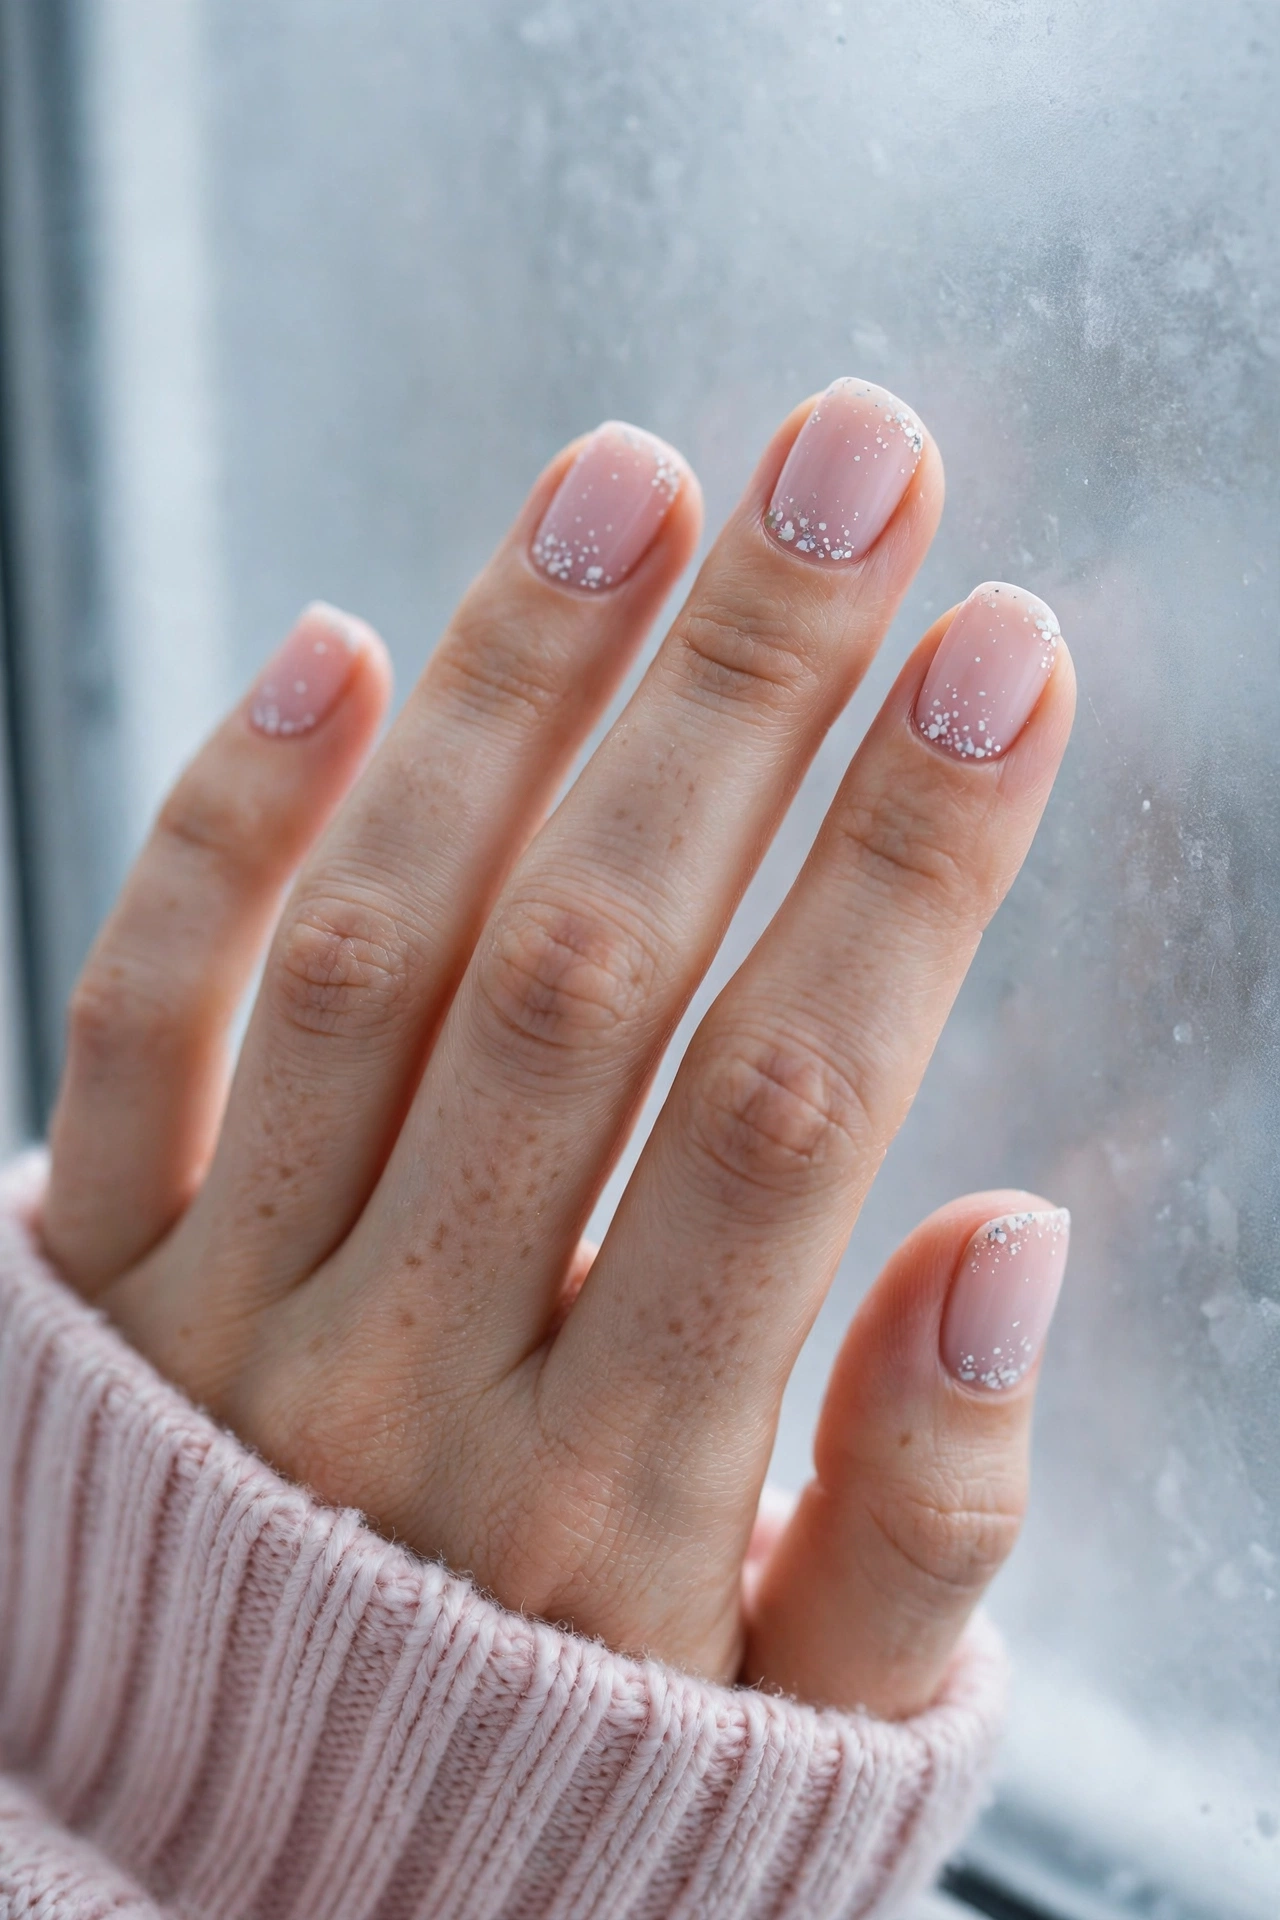
Not every Christmas manicure has to be red and green. A soft, milky pink base with tiny white dots scattered like falling snow is gentle, romantic, and about as easy as nail art gets. The trick is restraint and randomness: dip the smallest end of a dotting tool in white polish and place dots of slightly different sizes across each nail, clustering a few more near the tips, as if snow is settling there. Leave some space empty so the design breathes. A glossy top coat melts the dots into the base and gives the whole thing a finished, jelly-like softness. This one is lovely on short nails and a good pick for anyone whose workplace calls for subtle nails, or who simply prefers a quieter palette in December.
15. Midnight Navy Snowflakes
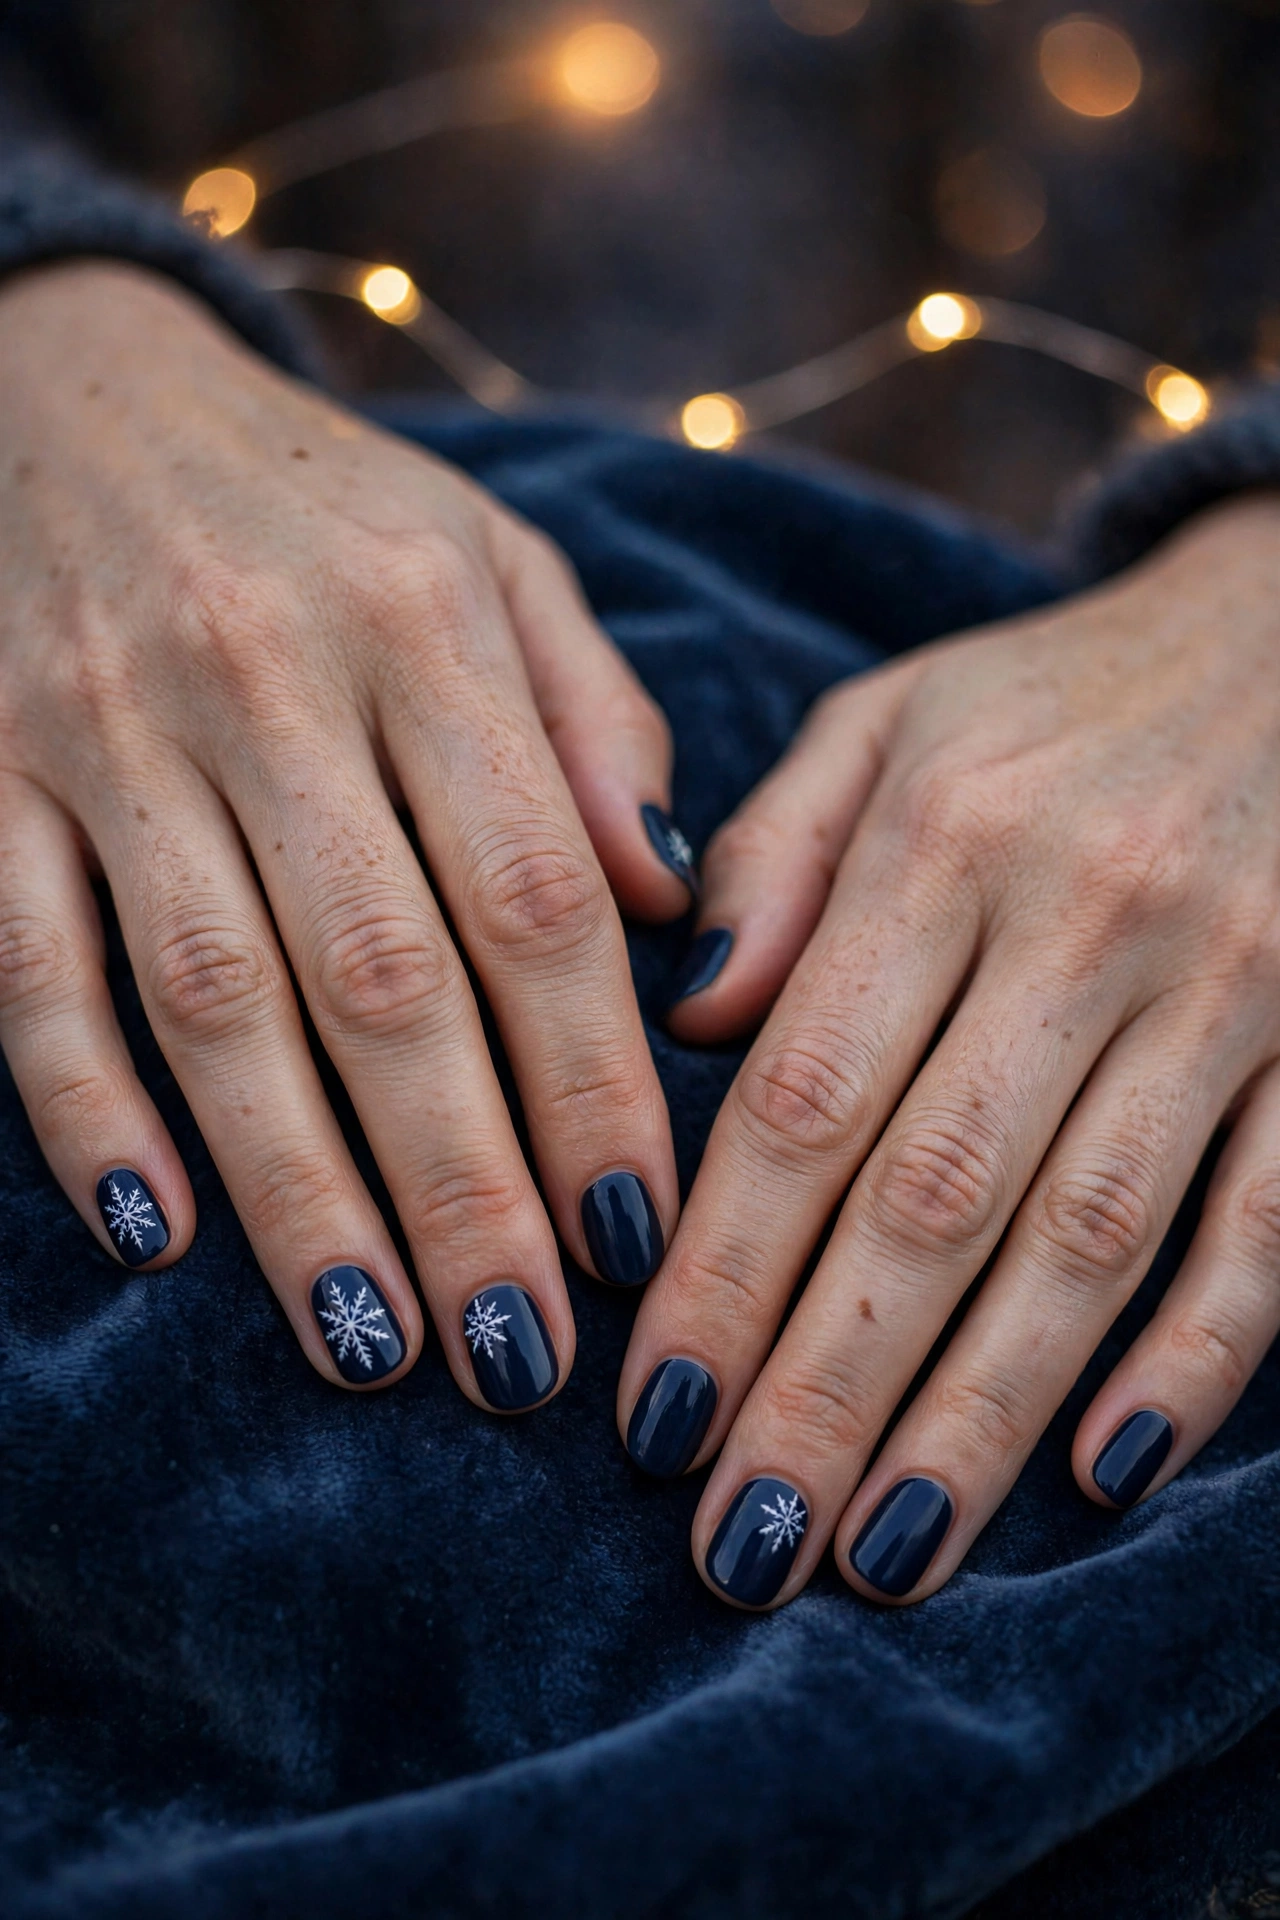
Navy is the underused color of the holiday season, and it makes white snowflakes look genuinely wintry — like designs on a night sky. Paint all nails in a deep midnight blue, then add one or two small white snowflakes per nail using the same simple cross-and-X method: a short vertical line, a horizontal line, and two diagonals, with the tiniest flicks at the ends if you feel confident. You do not need a flake on every nail; three decorated nails and two plain ones often look more designed than ten busy nails. A glossy top coat deepens the blue and makes the flakes sit into the surface. Navy suits medium lengths well and offers a welcome change for anyone who wears red every year.
16. Hot Cocoa Ombré
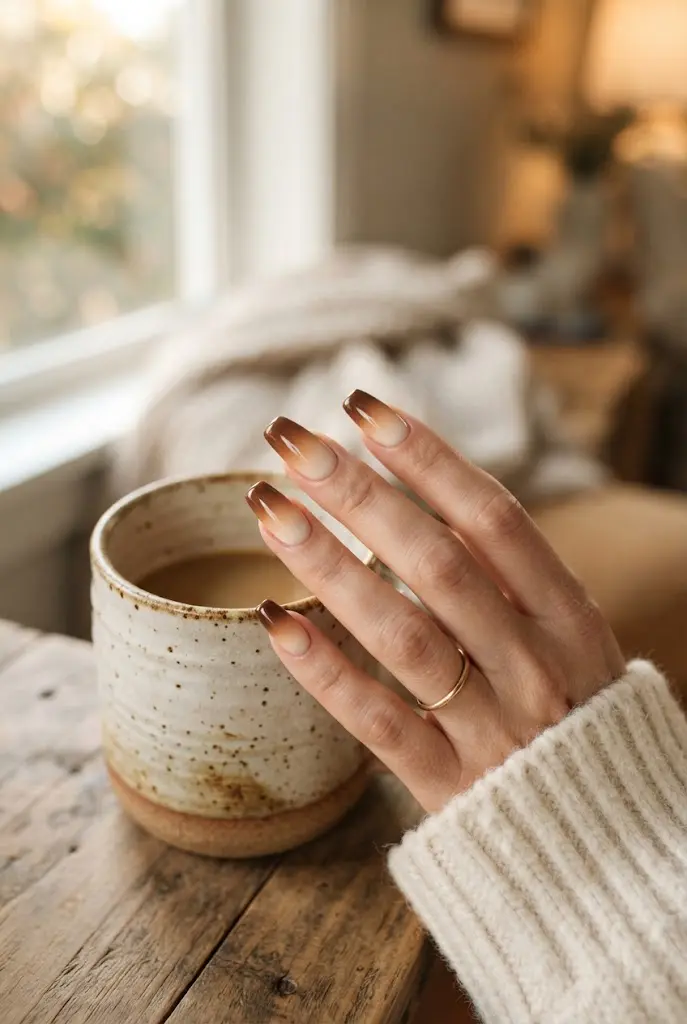
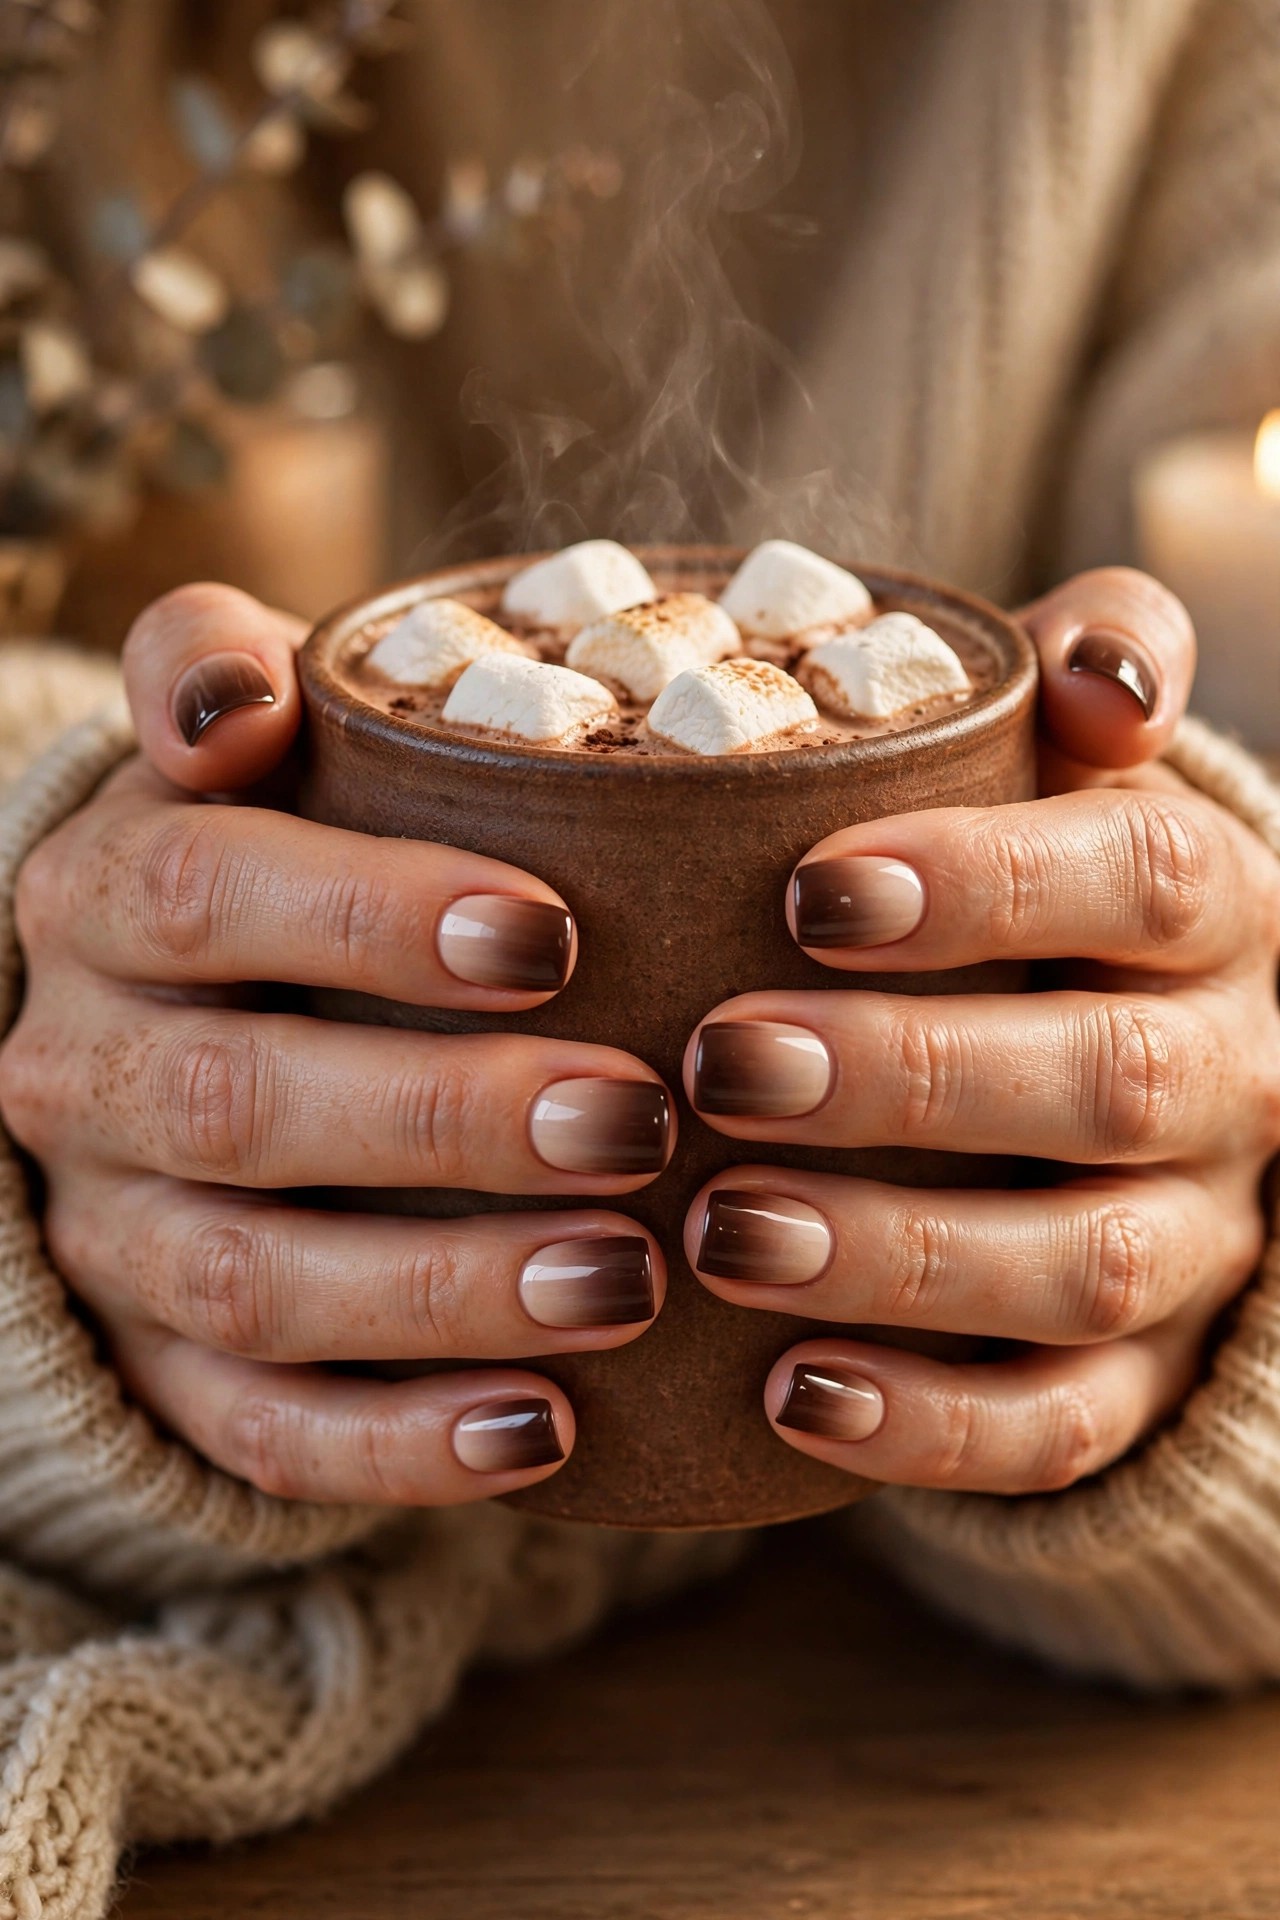
A sponge gradient is the easiest way to get a blended, professional-looking fade, and a run of cocoa browns — from creamy beige at the cuticle to deep chocolate at the tip — feels made for December. Paint stripes of three brown shades side by side on a makeup sponge, dab it gently over each nail two or three times, and the colors melt into one another. The sponge leaves a slightly speckled texture at first; a glossy top coat smooths it into a proper gradient. Clean-up around the skin takes a minute with a brush, or apply liquid latex or tape beforehand if you want to skip that step. The neutral palette goes with everything, works on any length, and transitions gracefully into January.
17. Peppermint Swirl Tips
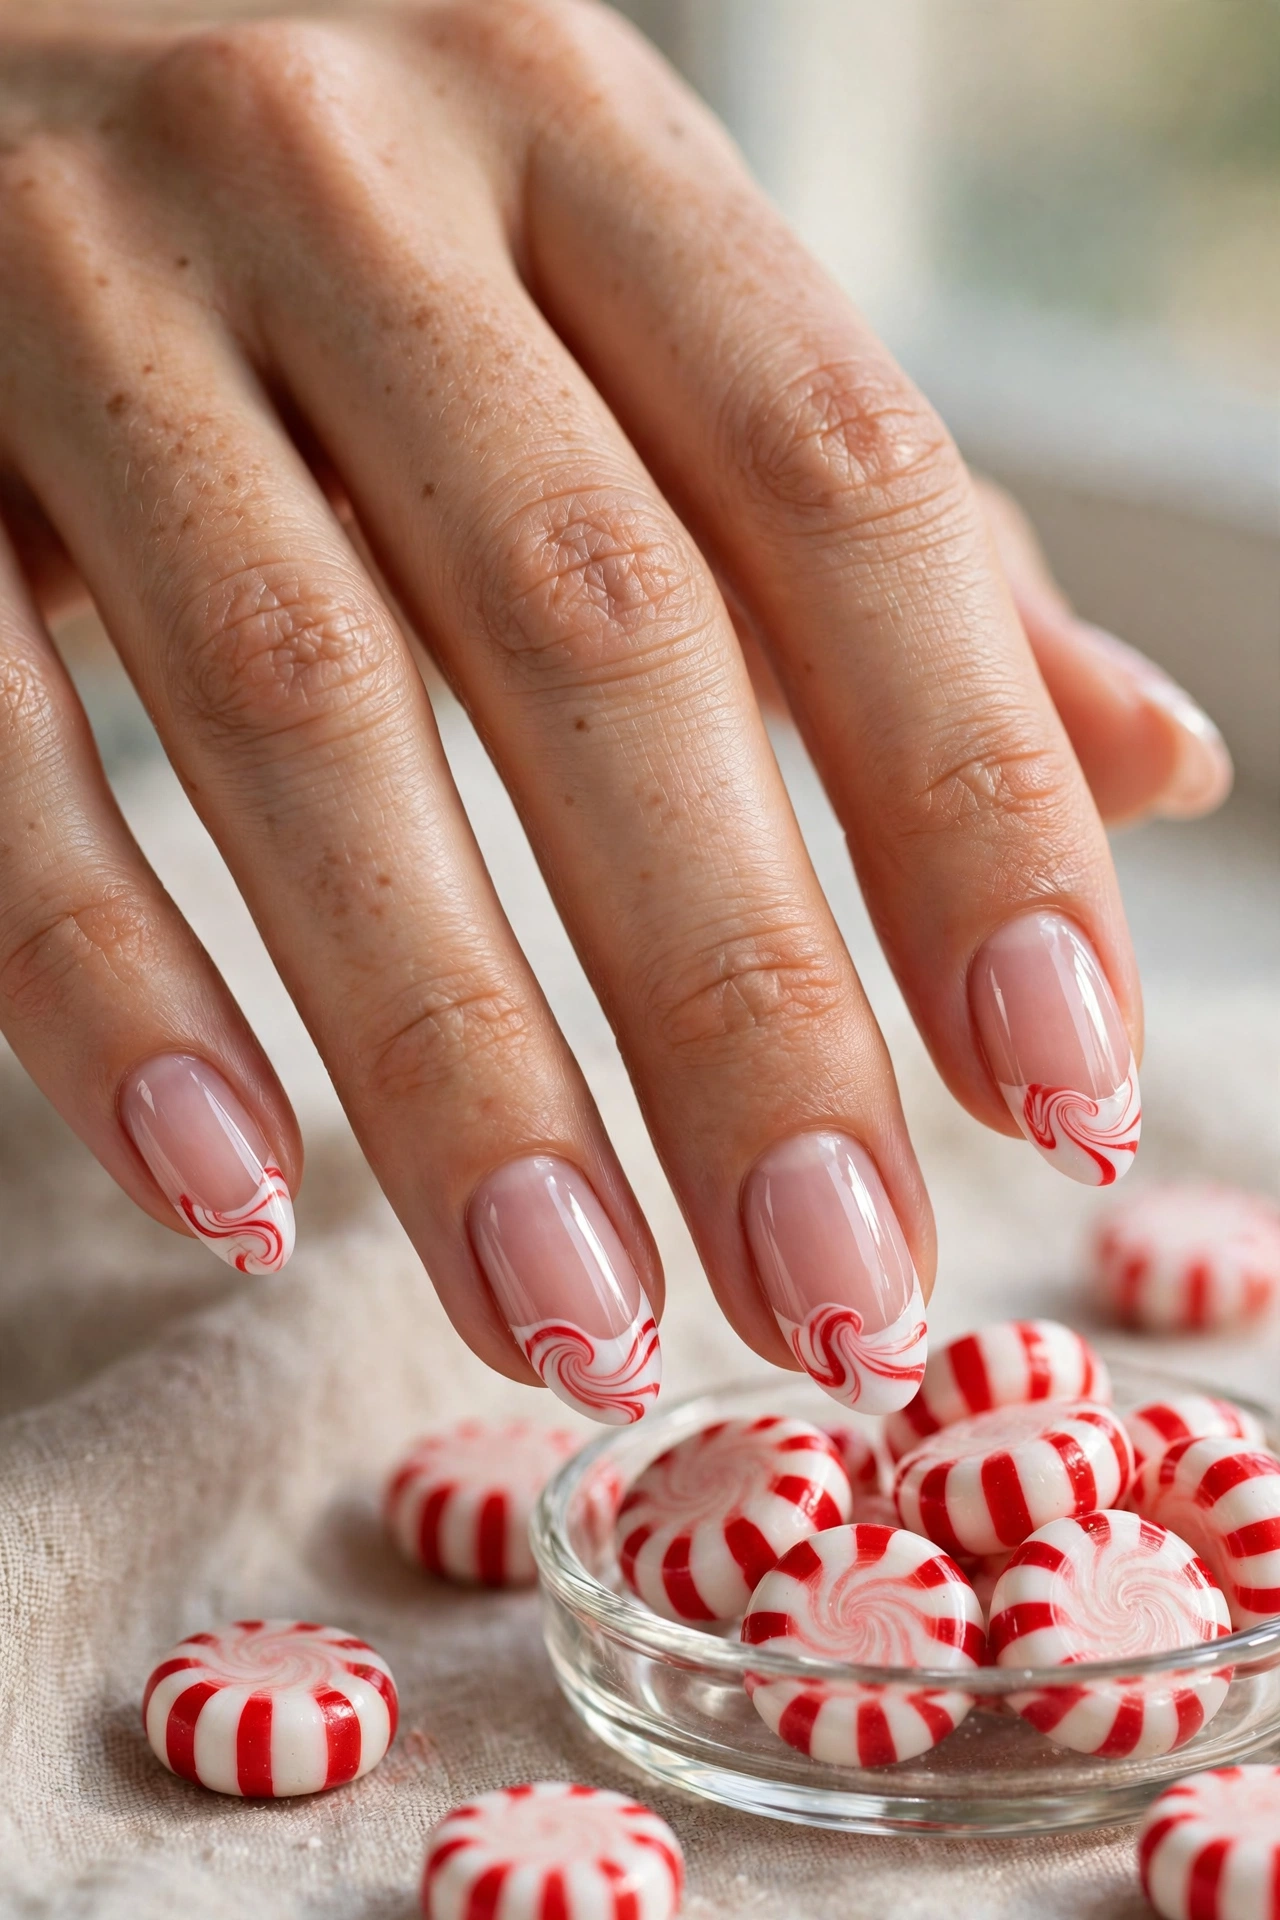
This design takes the candy cane idea and softens it into something more wearable: instead of striping the whole nail, only the tips get the peppermint treatment. Keep the base a sheer, healthy pink, then paint the tip area white. While the white is wet, drag a fine brush or toothpick dipped in red in two or three loose S-curves across the tip and pull gently, so the red swirls into the white like the surface of a peppermint candy. It does not need to match from nail to nail — the swirl is abstract by nature. Keep the swirled section shallow on short nails and deeper on longer ones. A glossy top coat is essential here; it levels the swirl and adds the candy shine.
18. Full Gold Glitter
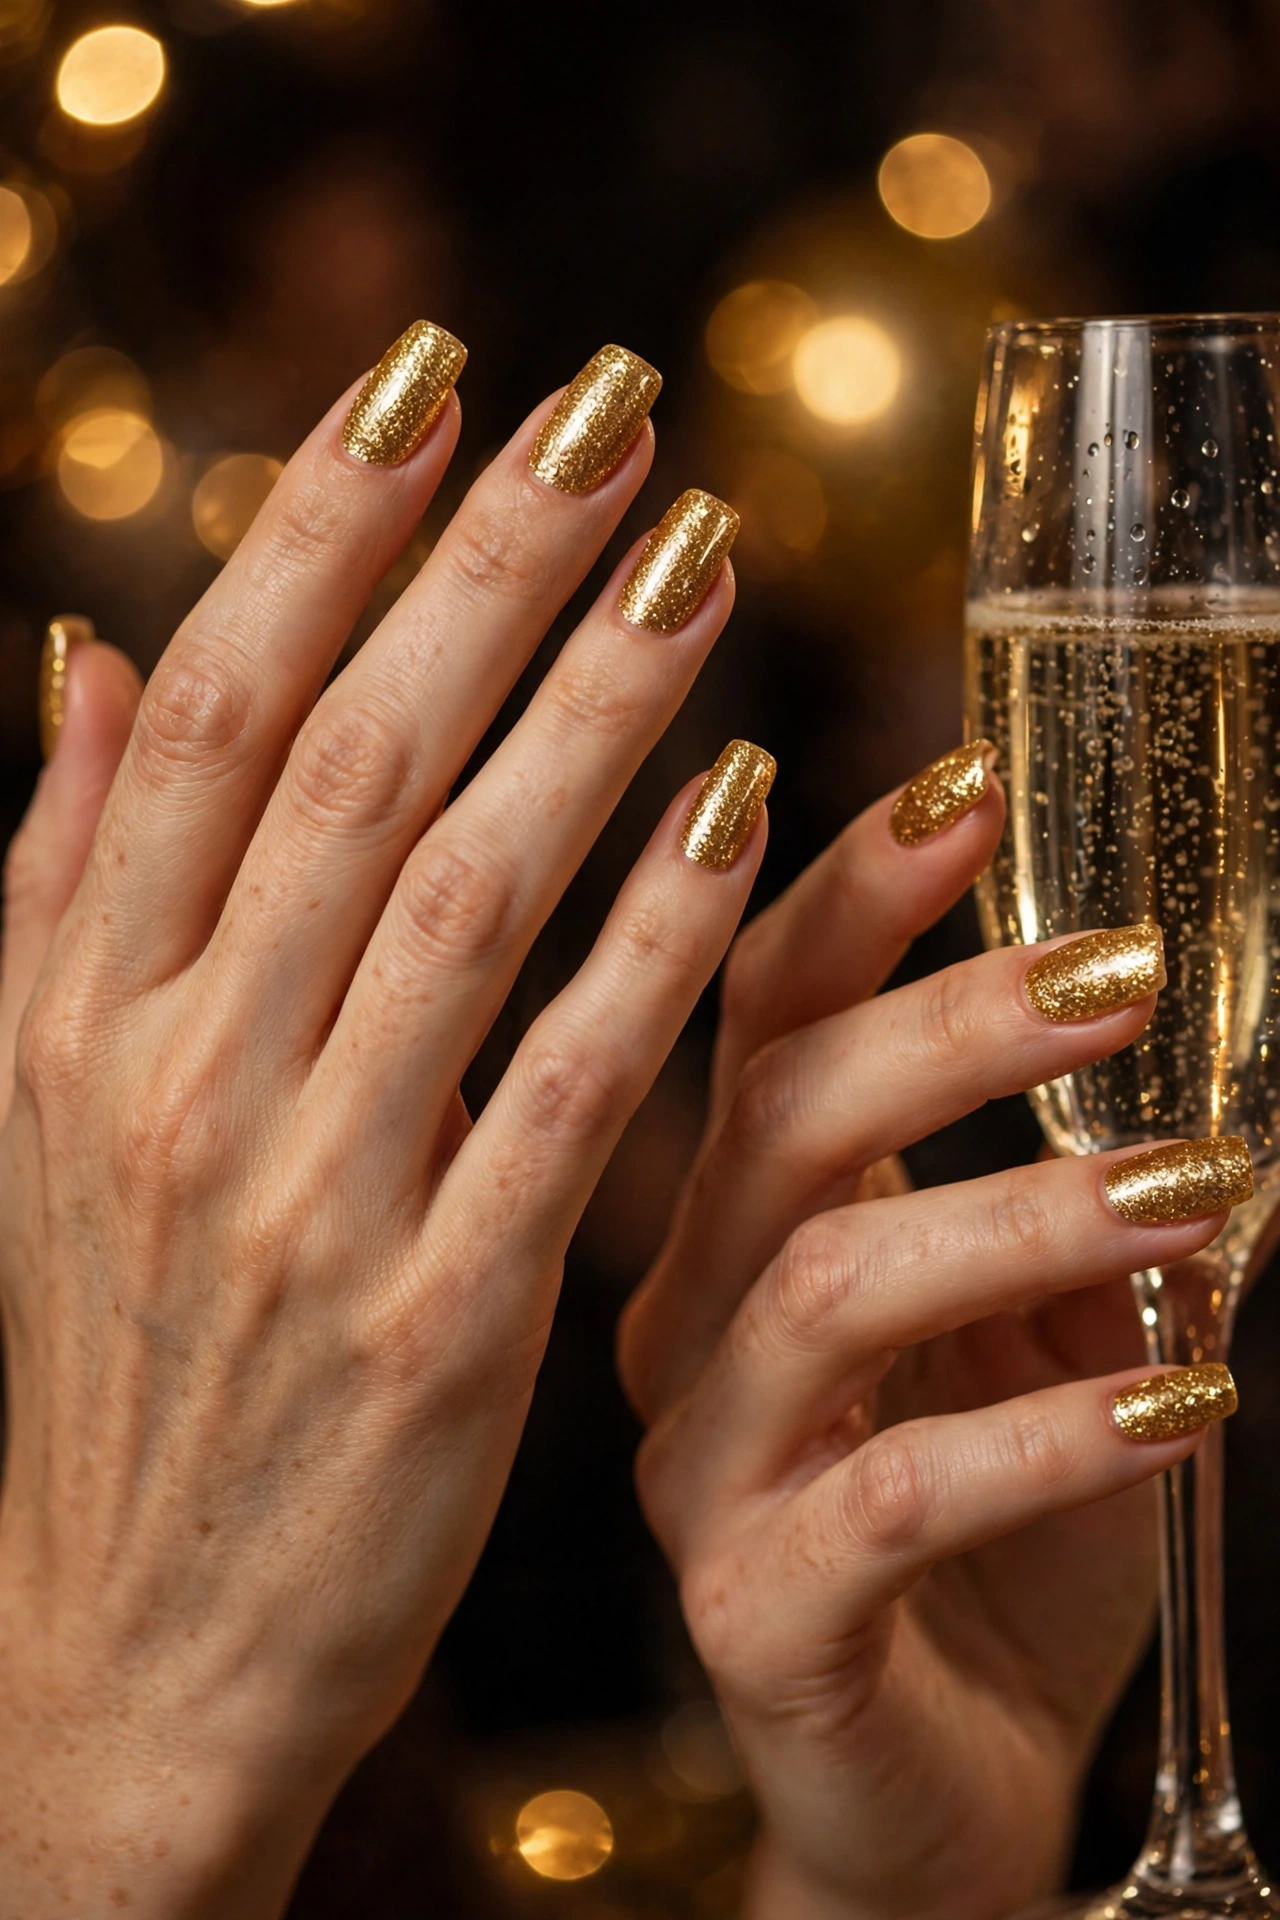
When the calendar says party and you have ten minutes, full gold glitter is the answer. A dense glitter polish — the kind packed with fine and medium particles — can reach near-full coverage in two to three coats, and its textured sparkle hides every imperfection underneath, including less-than-perfect nail surfaces. It needs no base color, no tools, and no steady hand, because there are no lines to keep straight. The one worthwhile extra step is a generous glossy top coat, ideally two layers, to smooth the glitter’s natural roughness and make it gleam under party lighting. Removal takes patience later — the foil-and-remover soak method helps — but for a New Year’s Eve or office-party manicure, the payoff is hard to beat on any nail length.
19. Minimal Holly Accent
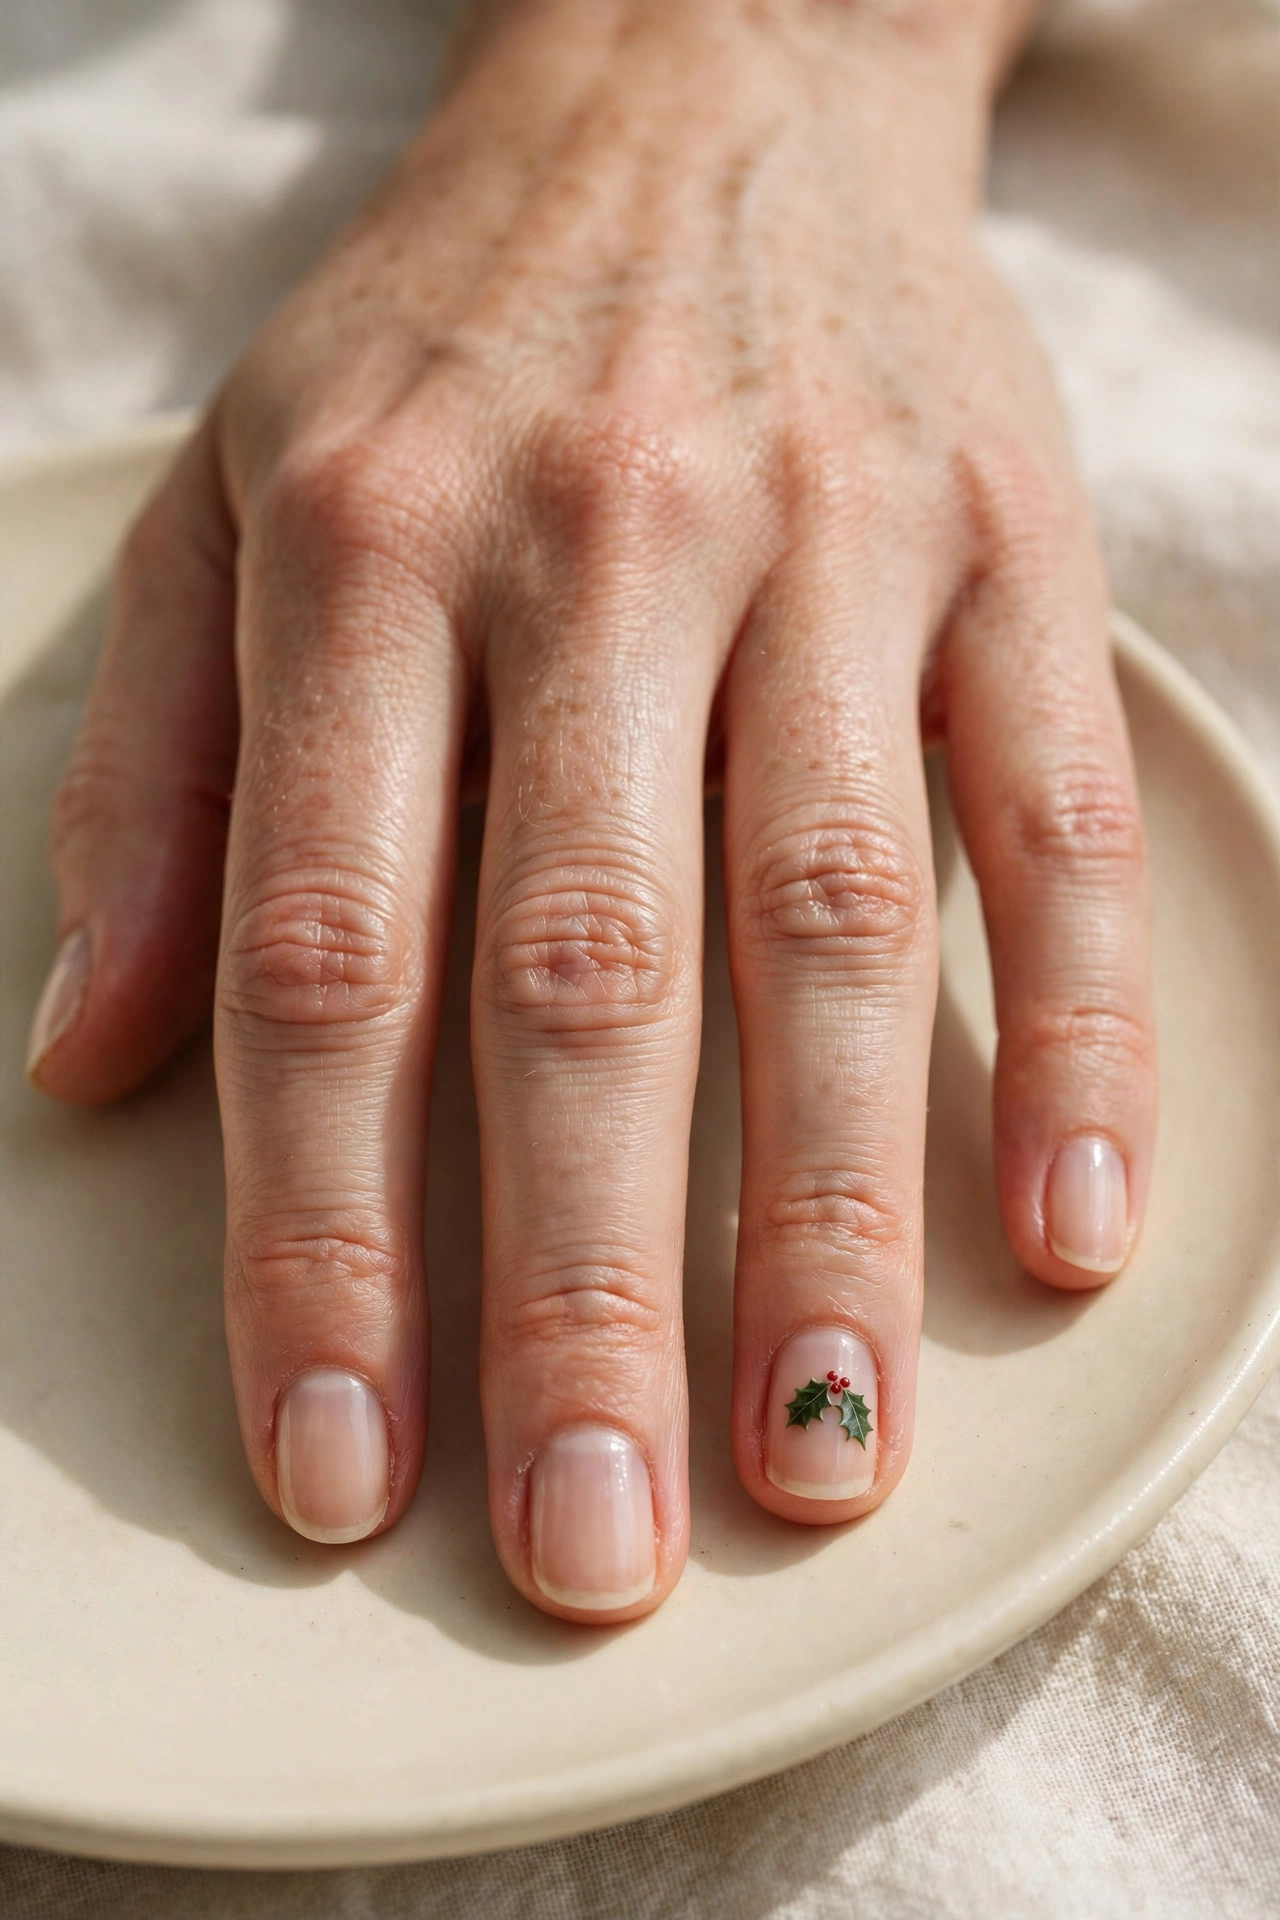
Minimalists, this one is yours: ten barely-there nude nails and a single sprig of holly doing all the talking. On the ring finger of one hand, paint two small pointed leaves in a deep green — two short teardrop strokes angled away from each other — and add three tiny red dots clustered where the leaves meet, for the berries. That is the entire design, and its restraint is what makes it look considered. The nude base can be a sheer one-coat wash if you like a natural look, or built up for more coverage. Because the art is small, it works beautifully on short nails, and it stays appropriate for every setting from school concerts to formal dinners.
20. Frosted Ice-Blue Fade
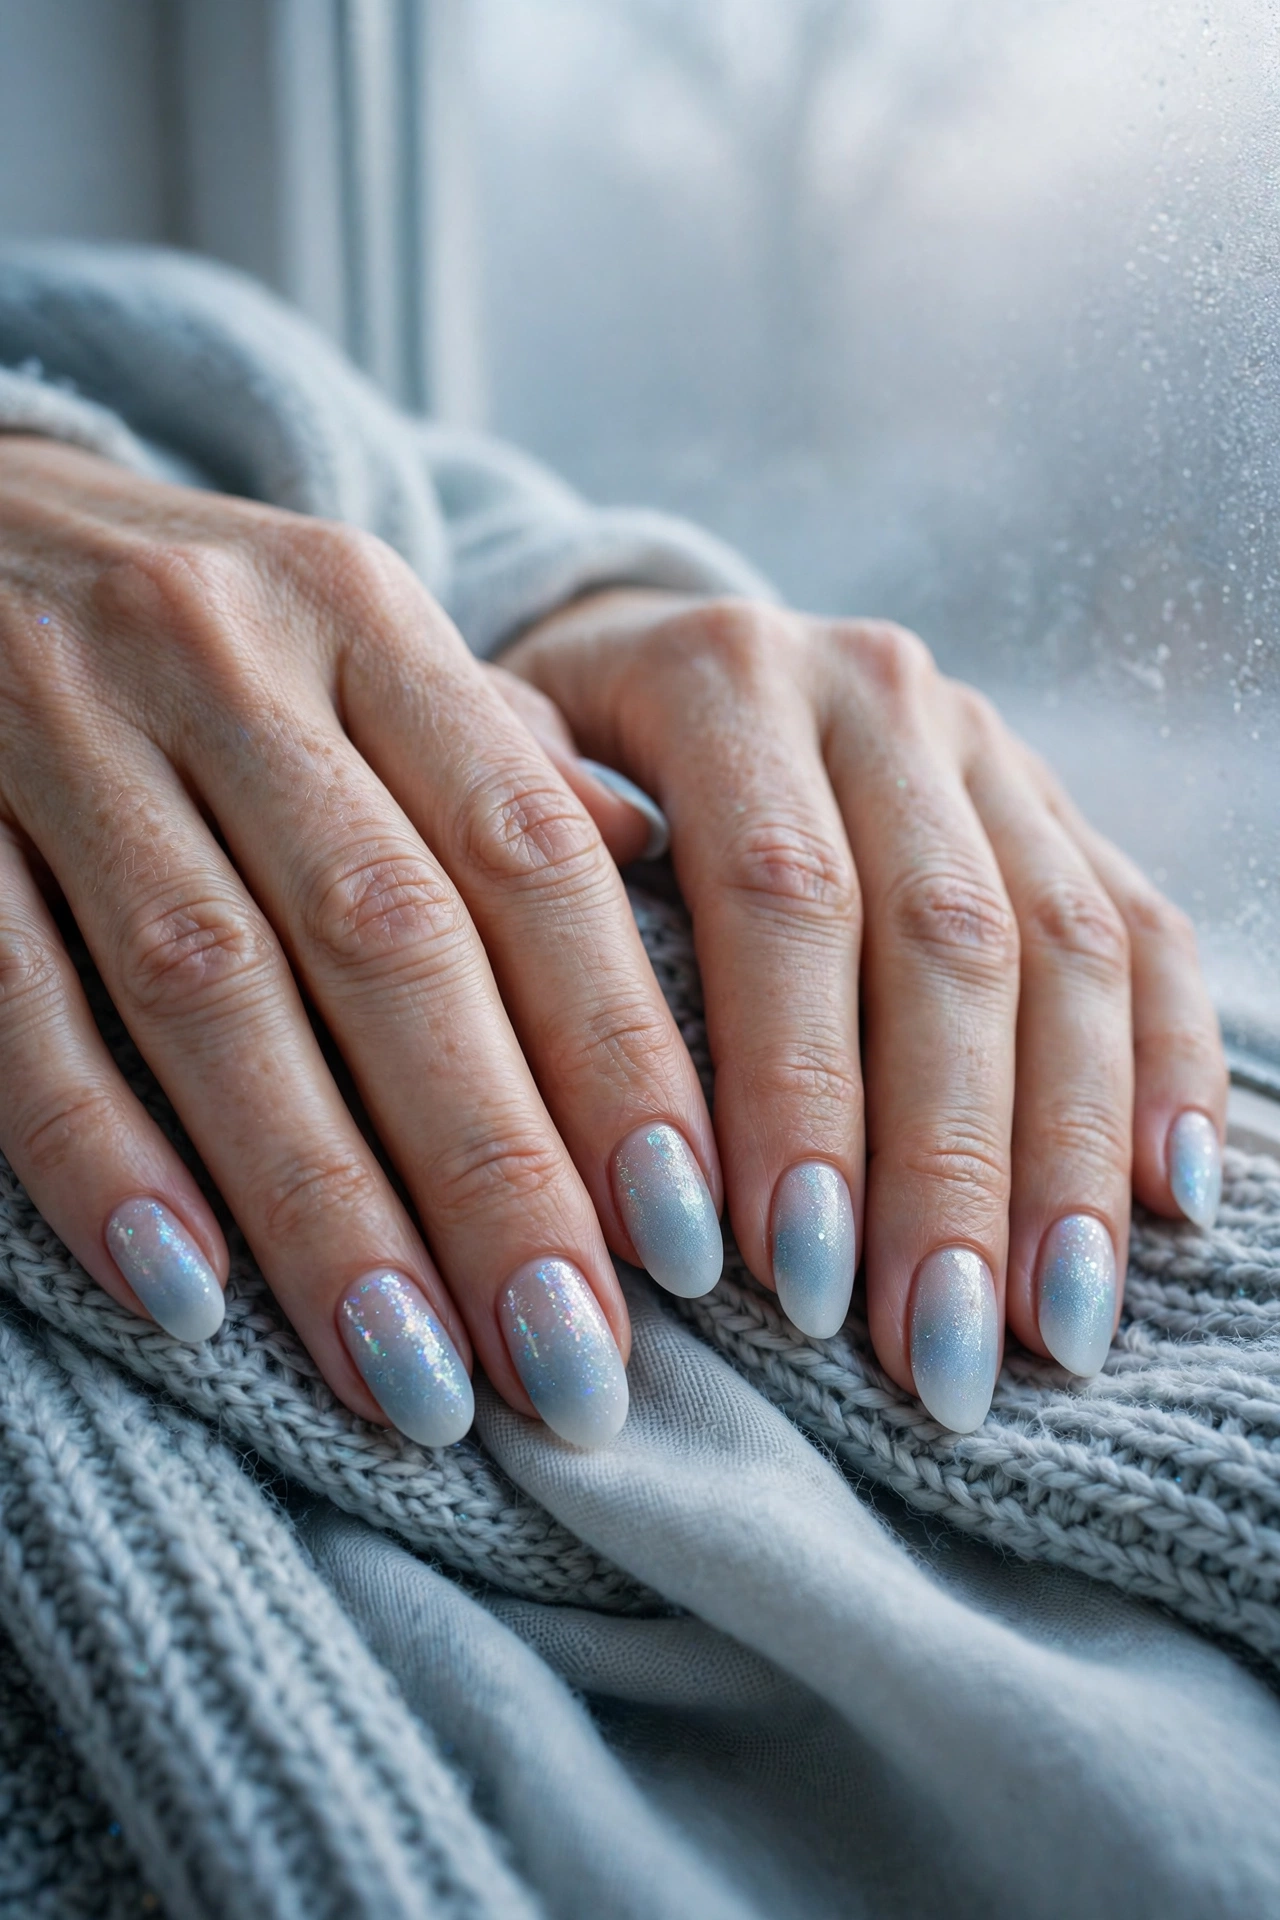
Think of the pale blue of early-morning frost on a window, fading up from a clear base into soft white tips. This gradient uses the sponge method: paint pale ice blue and white side by side on a makeup sponge and press it lightly onto the top half of each nail, keeping the color concentrated at the tips and feathering it toward the middle. The result is a cold, airy fade that feels wintry without a single drawn motif. A very fine iridescent glitter topper, used sparingly, adds the sparkle of ice crystals catching light. This design is particularly pretty on almond and oval shapes, where the fade has length to travel, and its soft colors make it a gentle option for anyone easing into holiday nails for the first time.
21. String Lights on Deep Green
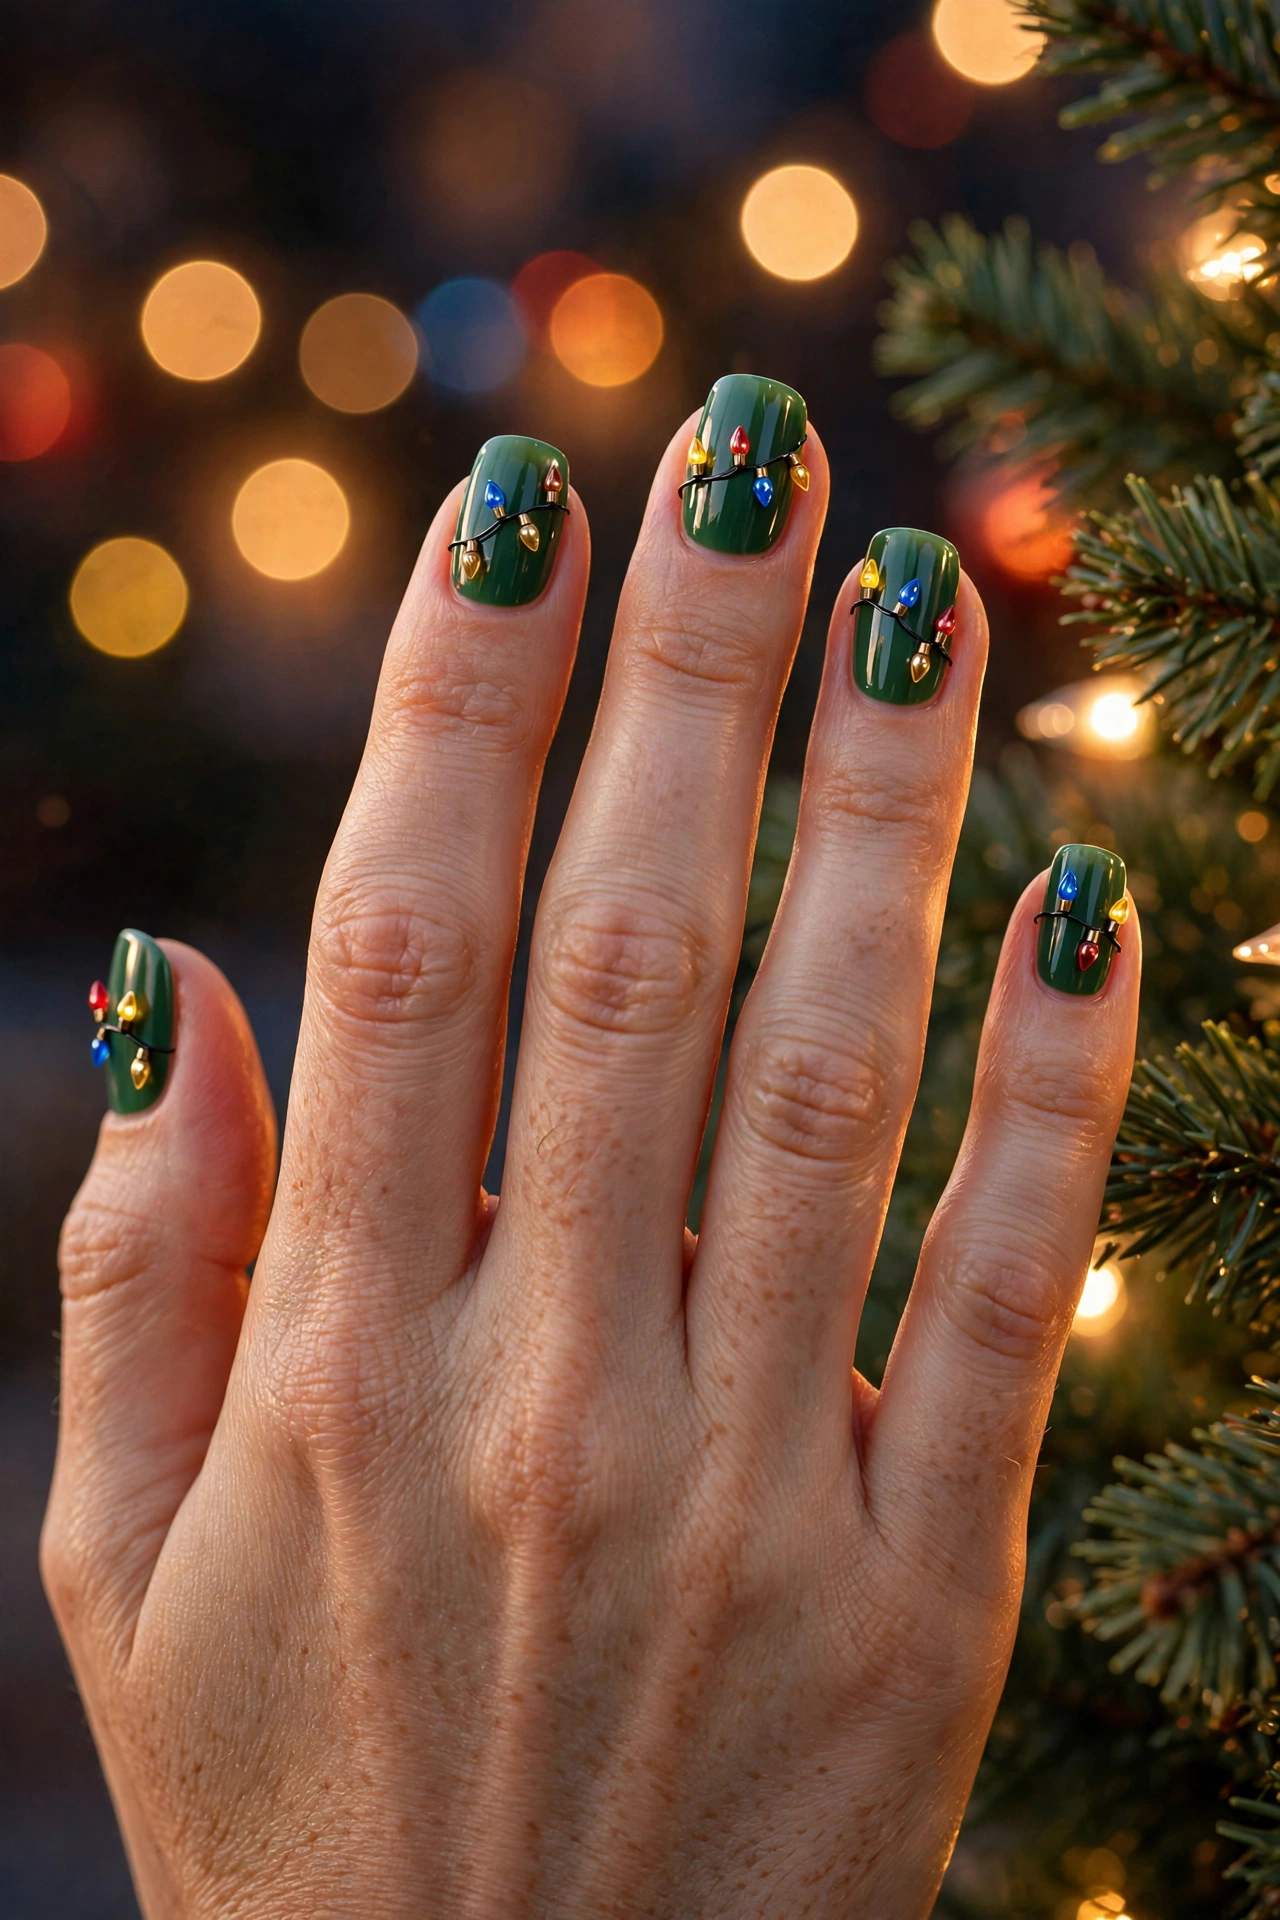
A string of tiny Christmas lights winding across a dark nail is one of the most charming designs of the season, and it is built entirely from dots. Start with a deep green — black works too — and let it dry completely. With a fine brush, draw one thin, gently curving line in black or dark grey across each nail, swooping it like a draped wire. Then, along the line, place small dots in red, gold, warm yellow, and a little blue, each one a bulb. A dot of white at the top of each bulb suggests the glass highlight. The dark base makes the colors glow by contrast, so the effect is bigger than the effort. It suits medium nails best, where the wire has room to curve.
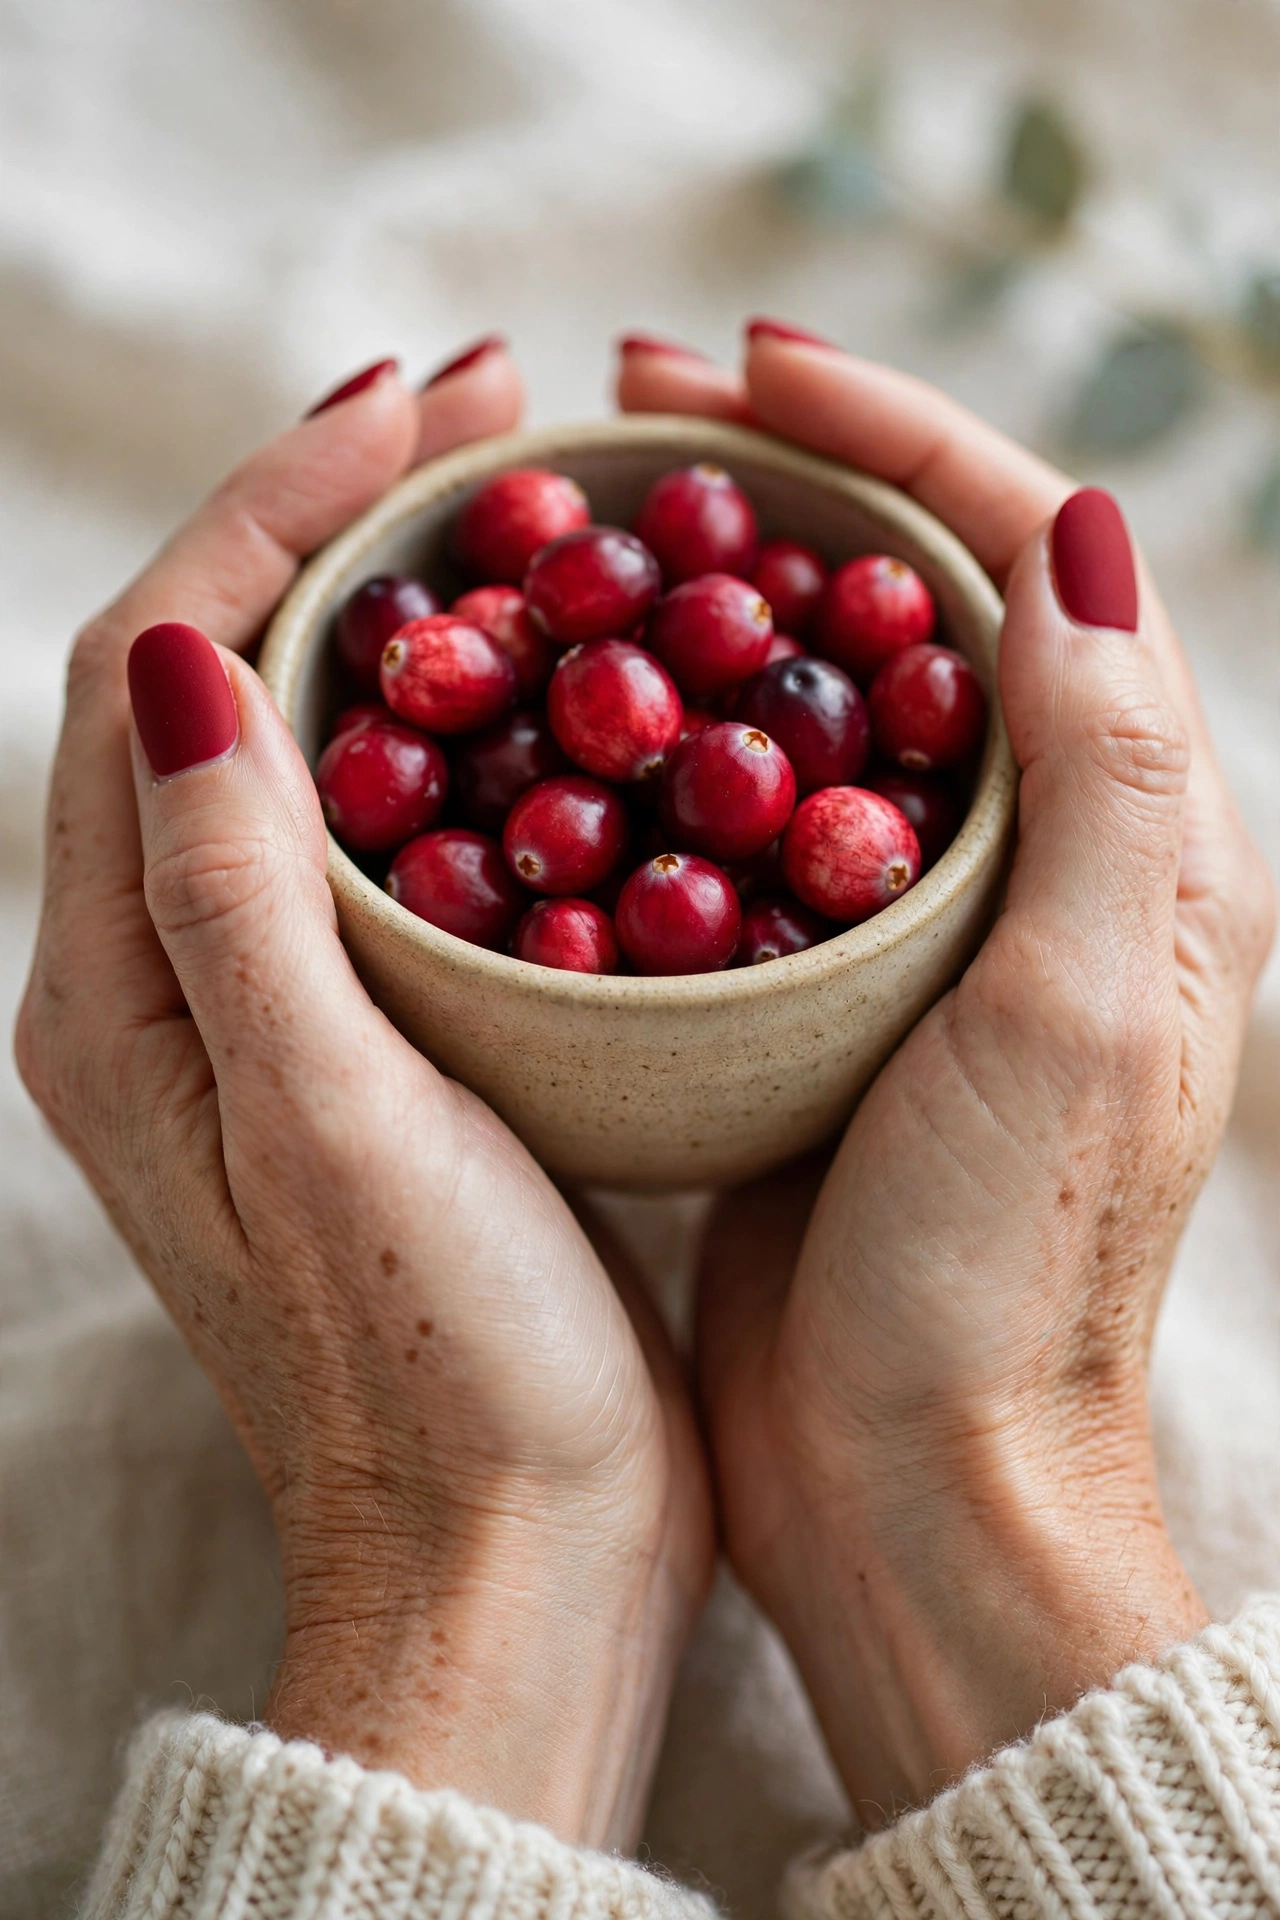
22. Matte Cranberry
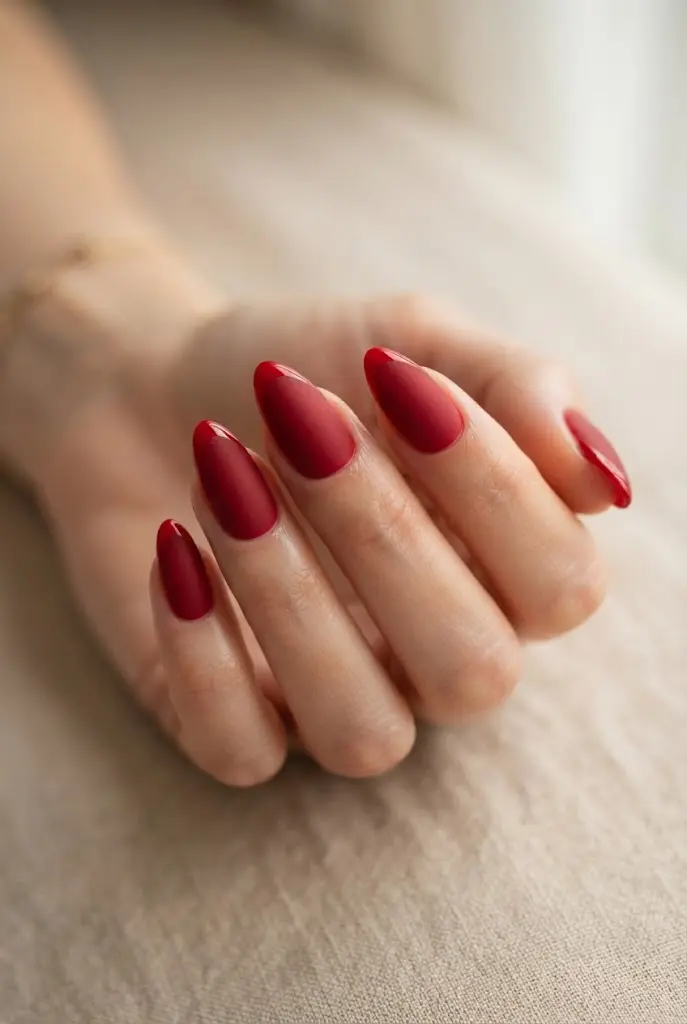
Matte finishes change a color’s whole personality, and cranberry — that deep pink-red between berry and wine — becomes soft and velvety the moment the shine comes off. The application could not be simpler: two coats of cranberry polish, then a matte top coat once it has dried. No art, no accents, no tools. What you get is a manicure that reads modern and understated, and that pairs as easily with a grey sweater as with a black dress. Two honest notes: matte top coats show wear a little sooner than glossy ones, so expect to refresh around day four; and matte finishes look best on smooth nails, so a gentle buff beforehand is worth it. On short and medium nails, this is one of the most grown-up looks in the collection.
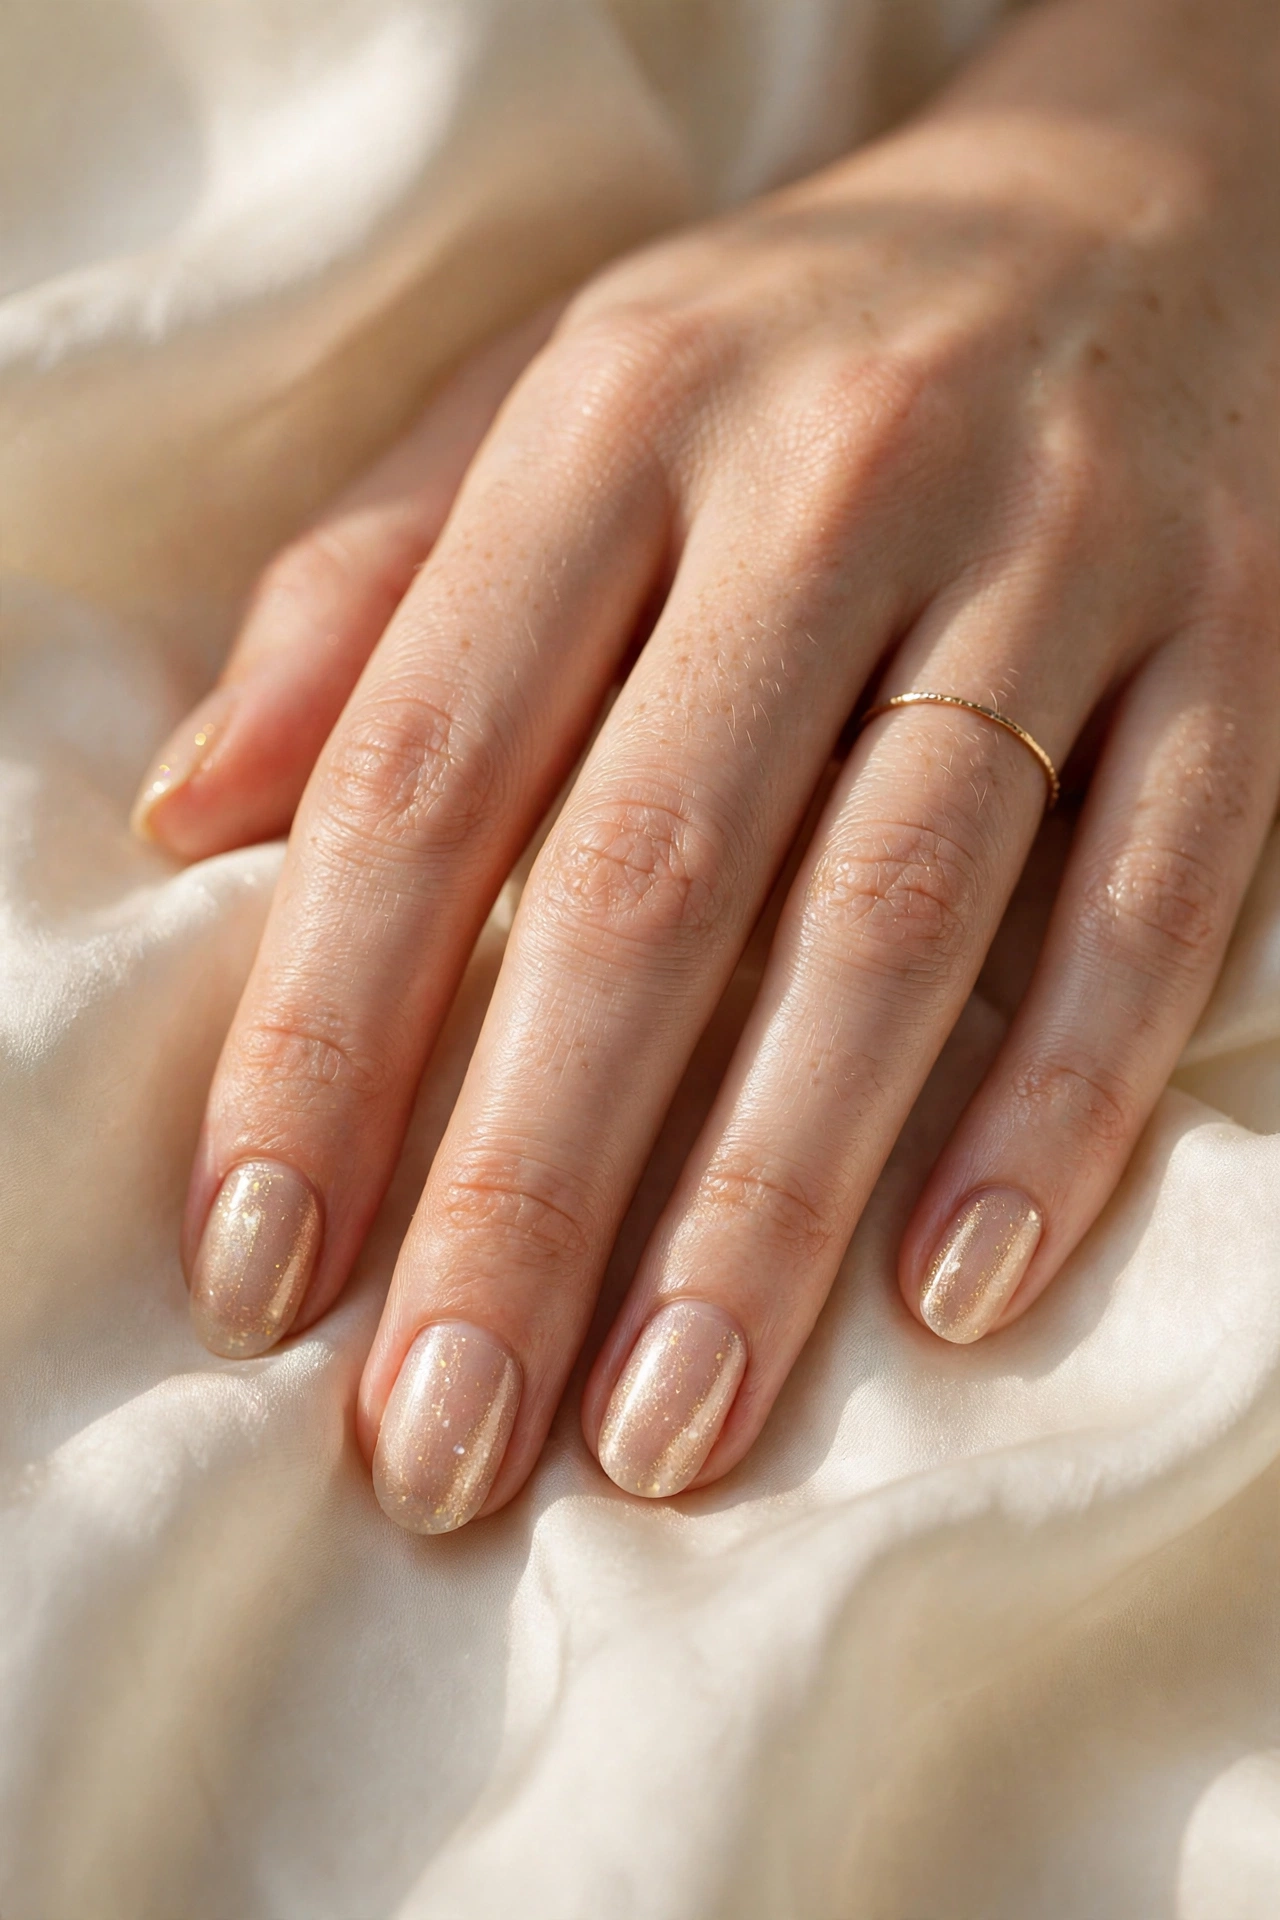
23. Champagne Shimmer Sheer
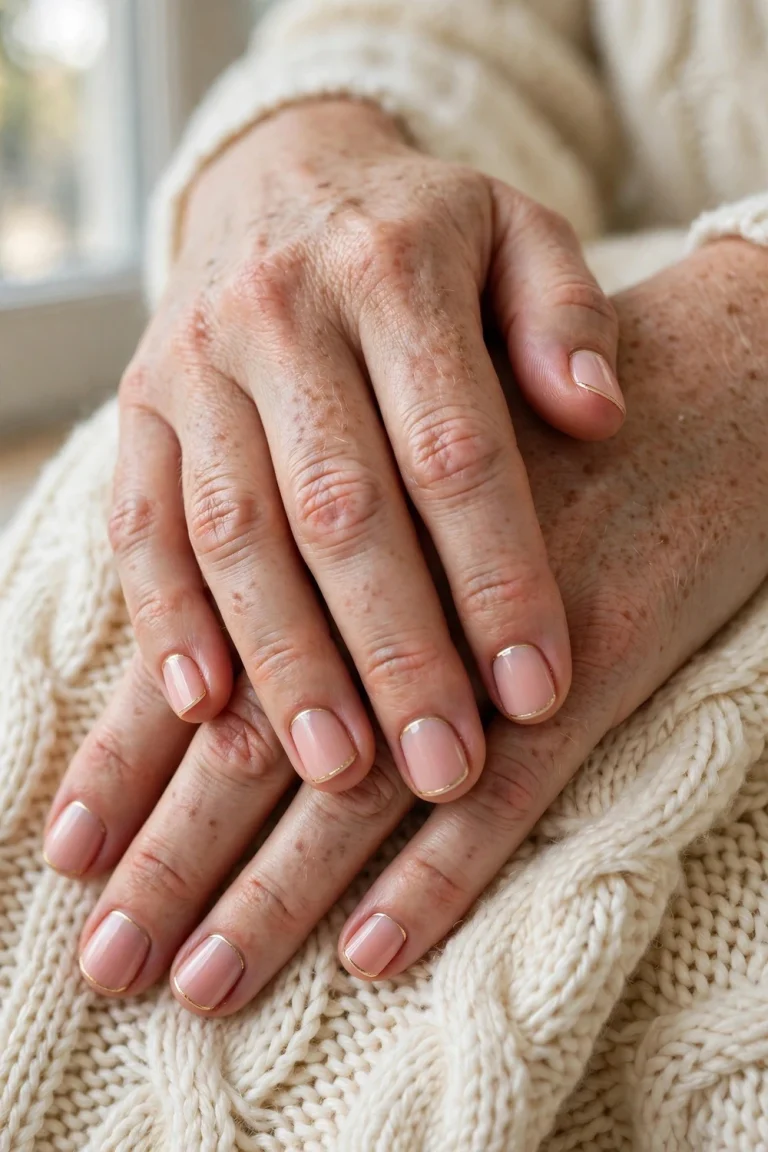
Sheer champagne shimmer is the manicure equivalent of good lighting — it makes natural nails look healthier and more polished without announcing itself as a “design.” One or two coats of a translucent gold-pearl polish even out the nail’s color, add a fine champagne sparkle that moves in the light, and that is all. It is the fastest manicure here, and also the most forgiving: there is no visible edge at the cuticle, so it can grow out for two weeks without an obvious line. For a slightly more festive version, concentrate a second coat just on the tips. This suits every shape, every length, and every skin tone depending on whether you choose a warmer gold or cooler pearl shimmer, and it never competes with rings or bracelets.
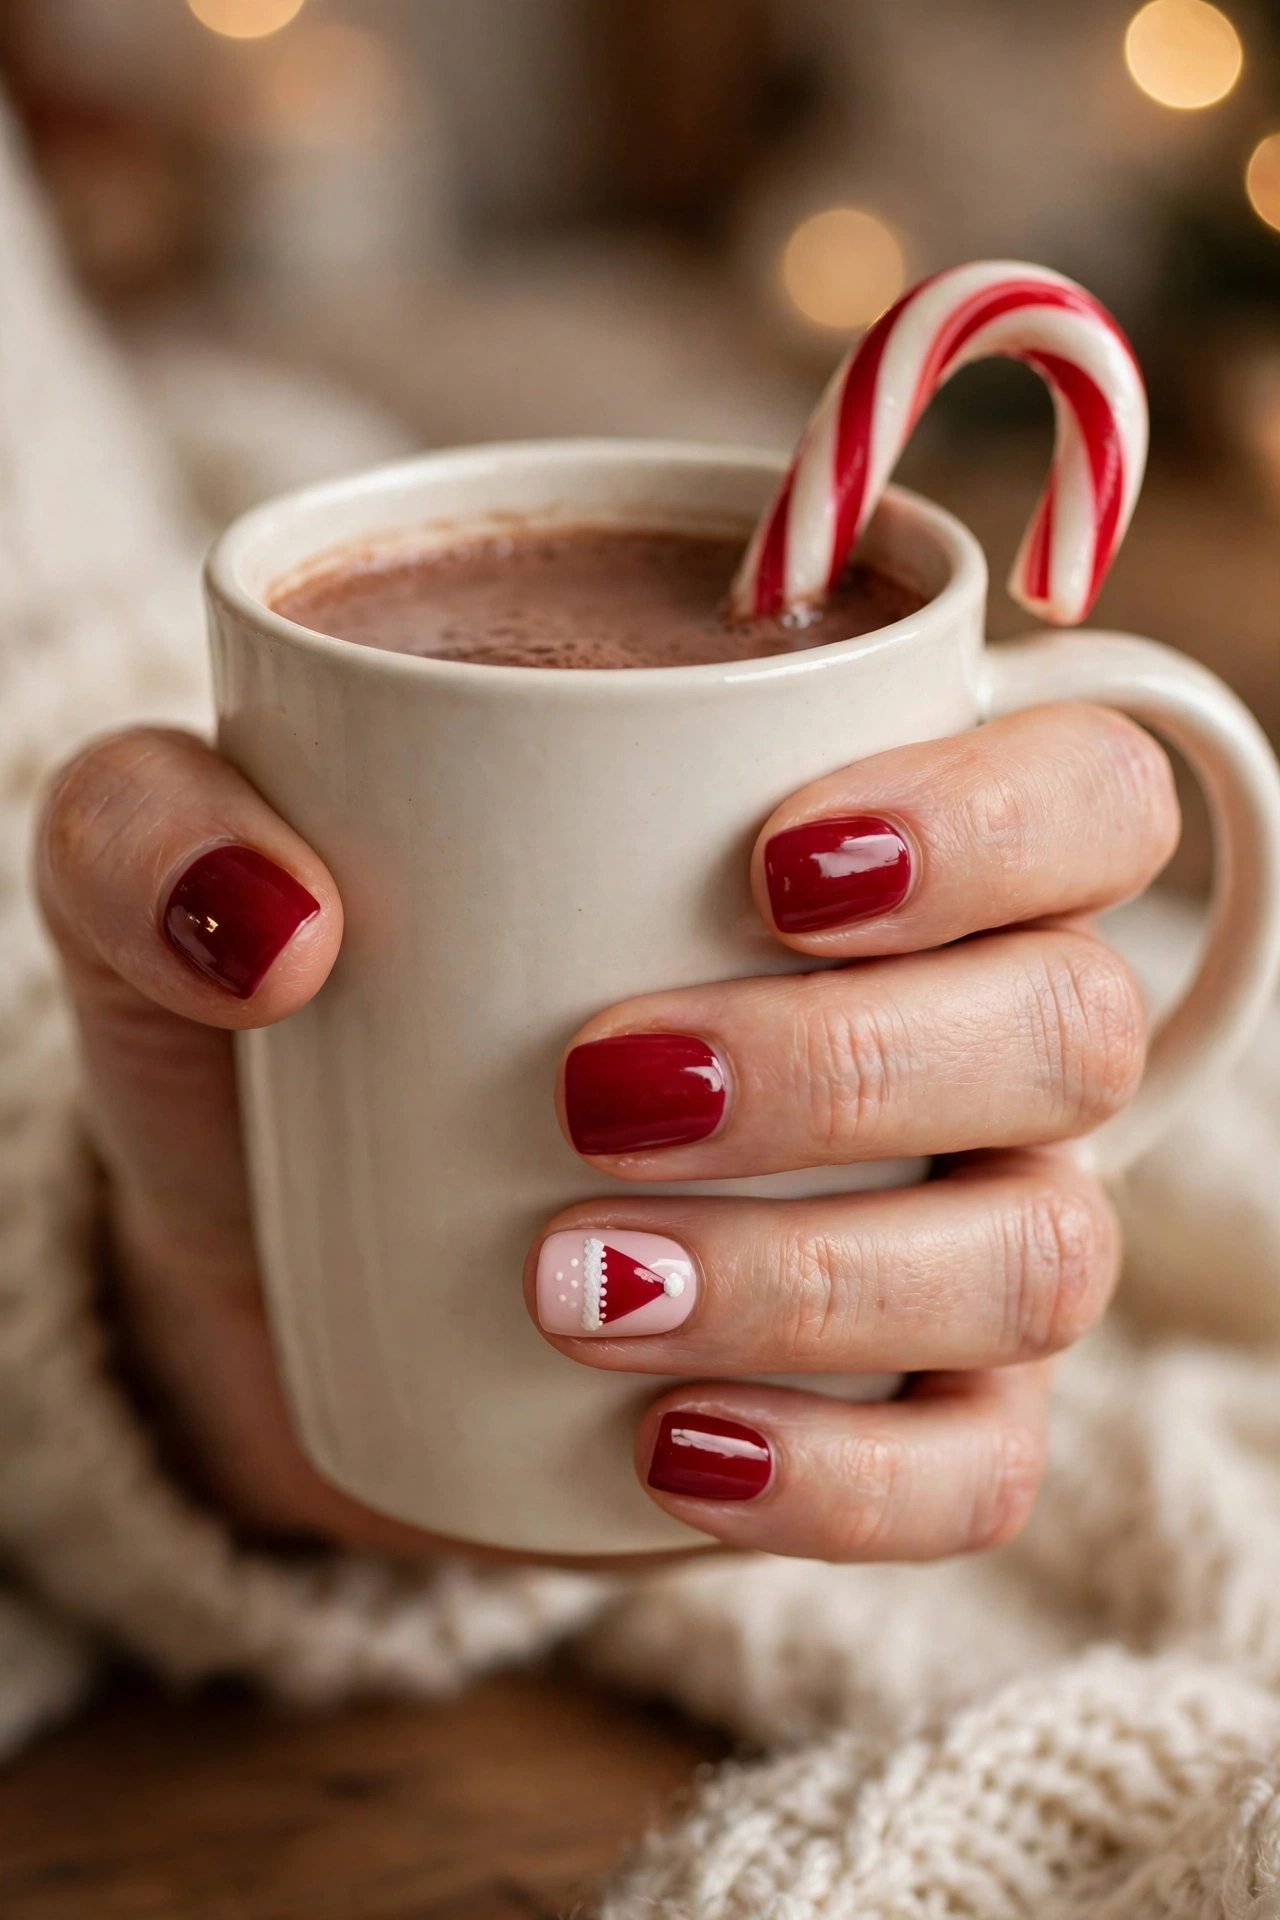
24. Santa Hat Accent
A Santa hat on one nail is cheerful without tipping into costume, and it is mostly one confident shape: on a nude or pale pink accent nail, paint a red triangle that starts wide at one corner of the tip and sweeps down diagonally, like a floppy hat. Add a row of small white dots along the hat’s bottom edge for the fur trim and one white dot at the pointed tip for the pom-pom. Keep the other nine nails in the same red as the hat so the set ties together. The dots do the detailed work, which keeps this firmly in beginner territory. It is a natural favorite for family photos and school or office parties, and it works on medium nails of any shape.
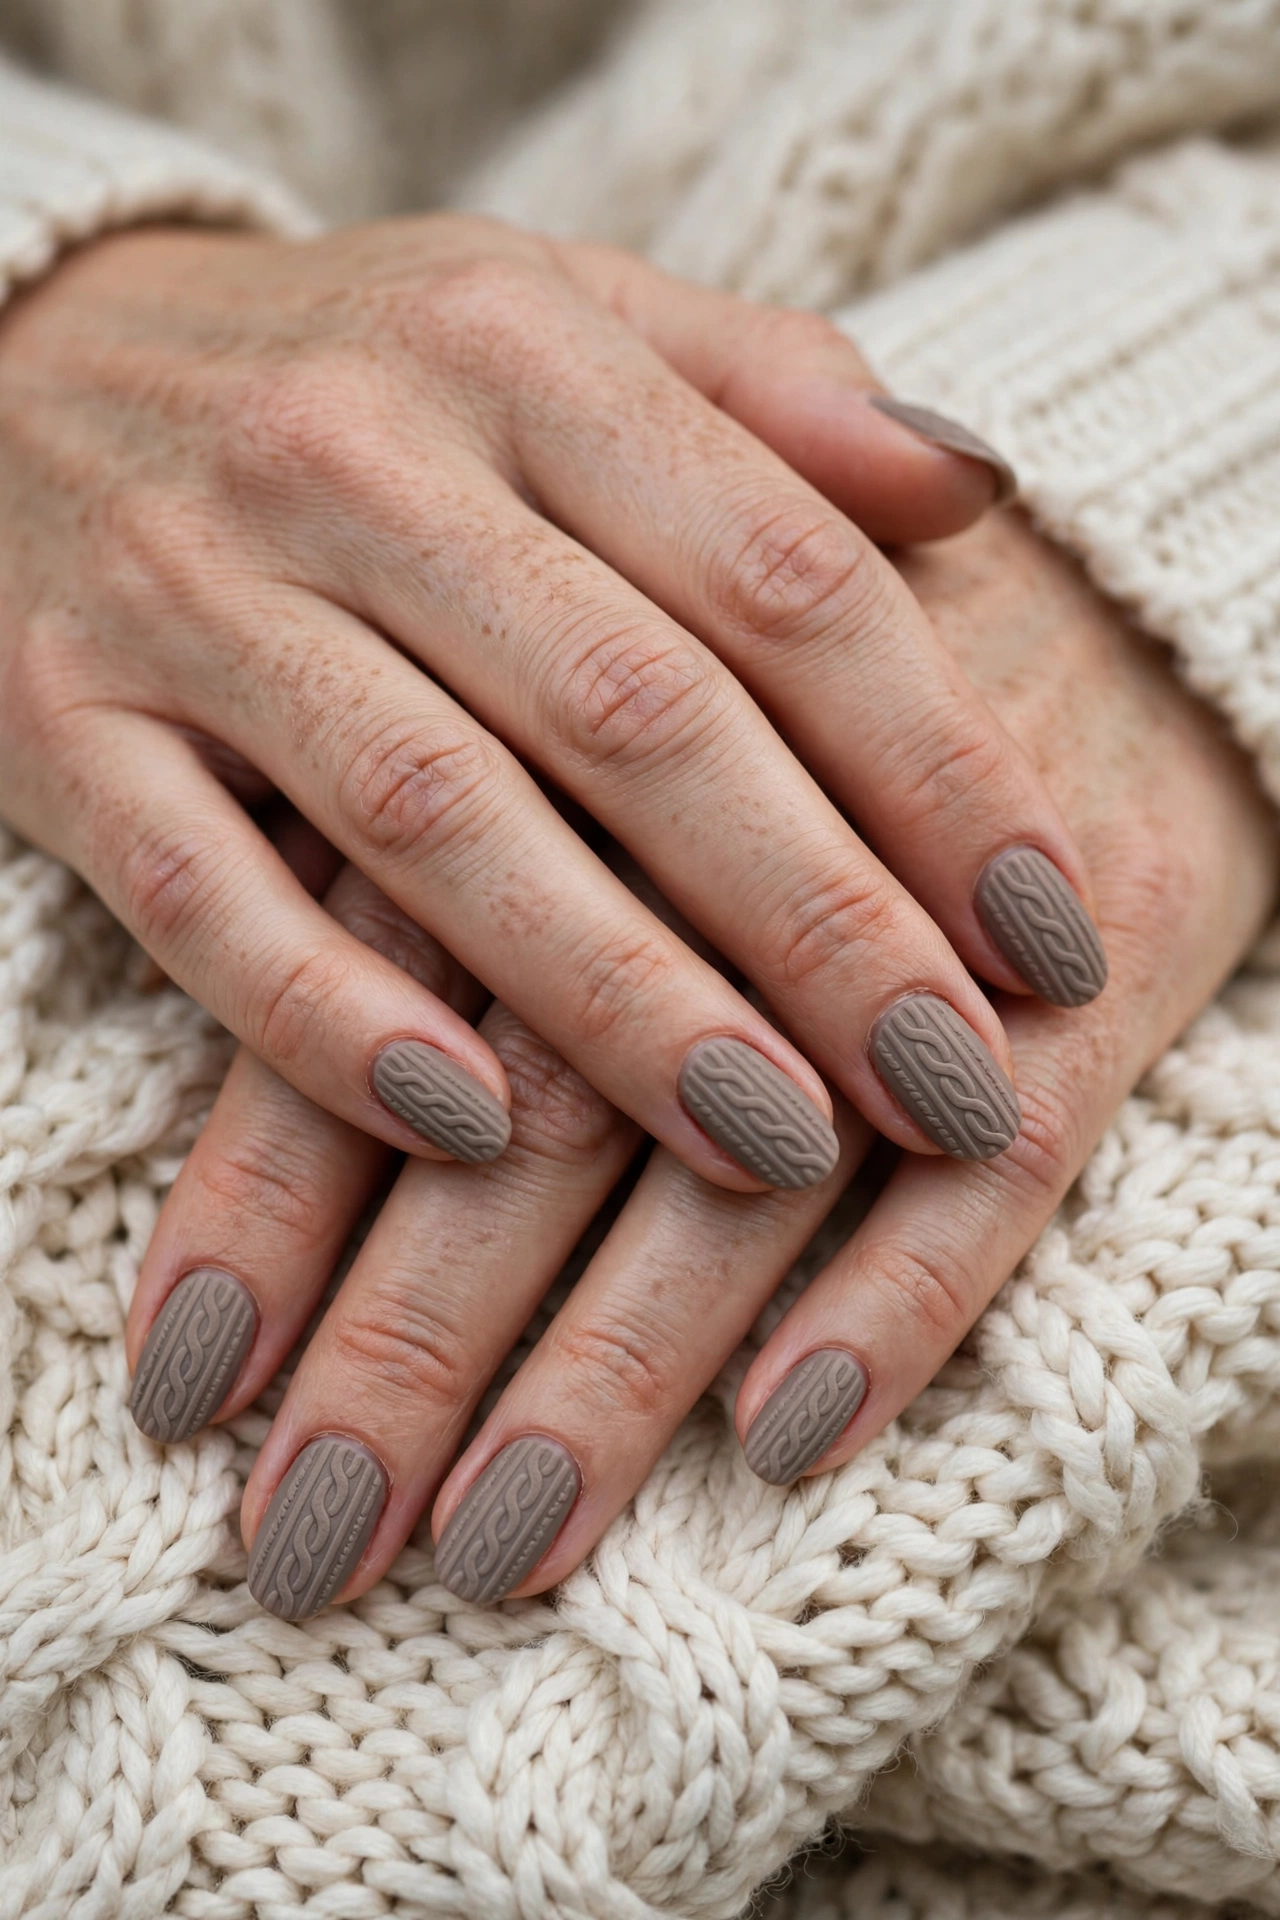
25. Cozy Sweater-Knit Texture
Sweater nails imitate the raised cables of a knitted jumper, and while the salon version uses thick gel, a home-friendly version works with regular polish and a matte finish. Start with a soft taupe, cream, or dusty rose base. Using a fine brush and slightly thickened polish — leave the bottle open for a few minutes so it turns a little syrupy — draw simple raised-look lines down each nail: a column of small V shapes or two vertical lines with short diagonal stitches between them. Keep the pattern loose; knits are soft, not geometric. Finish with a matte top coat, which sells the fabric illusion. The effect is subtle, touchable-looking, and made for the weeks when you practically live in knitwear. Medium lengths show the pattern best.
26. Green and Gold Half-Moons
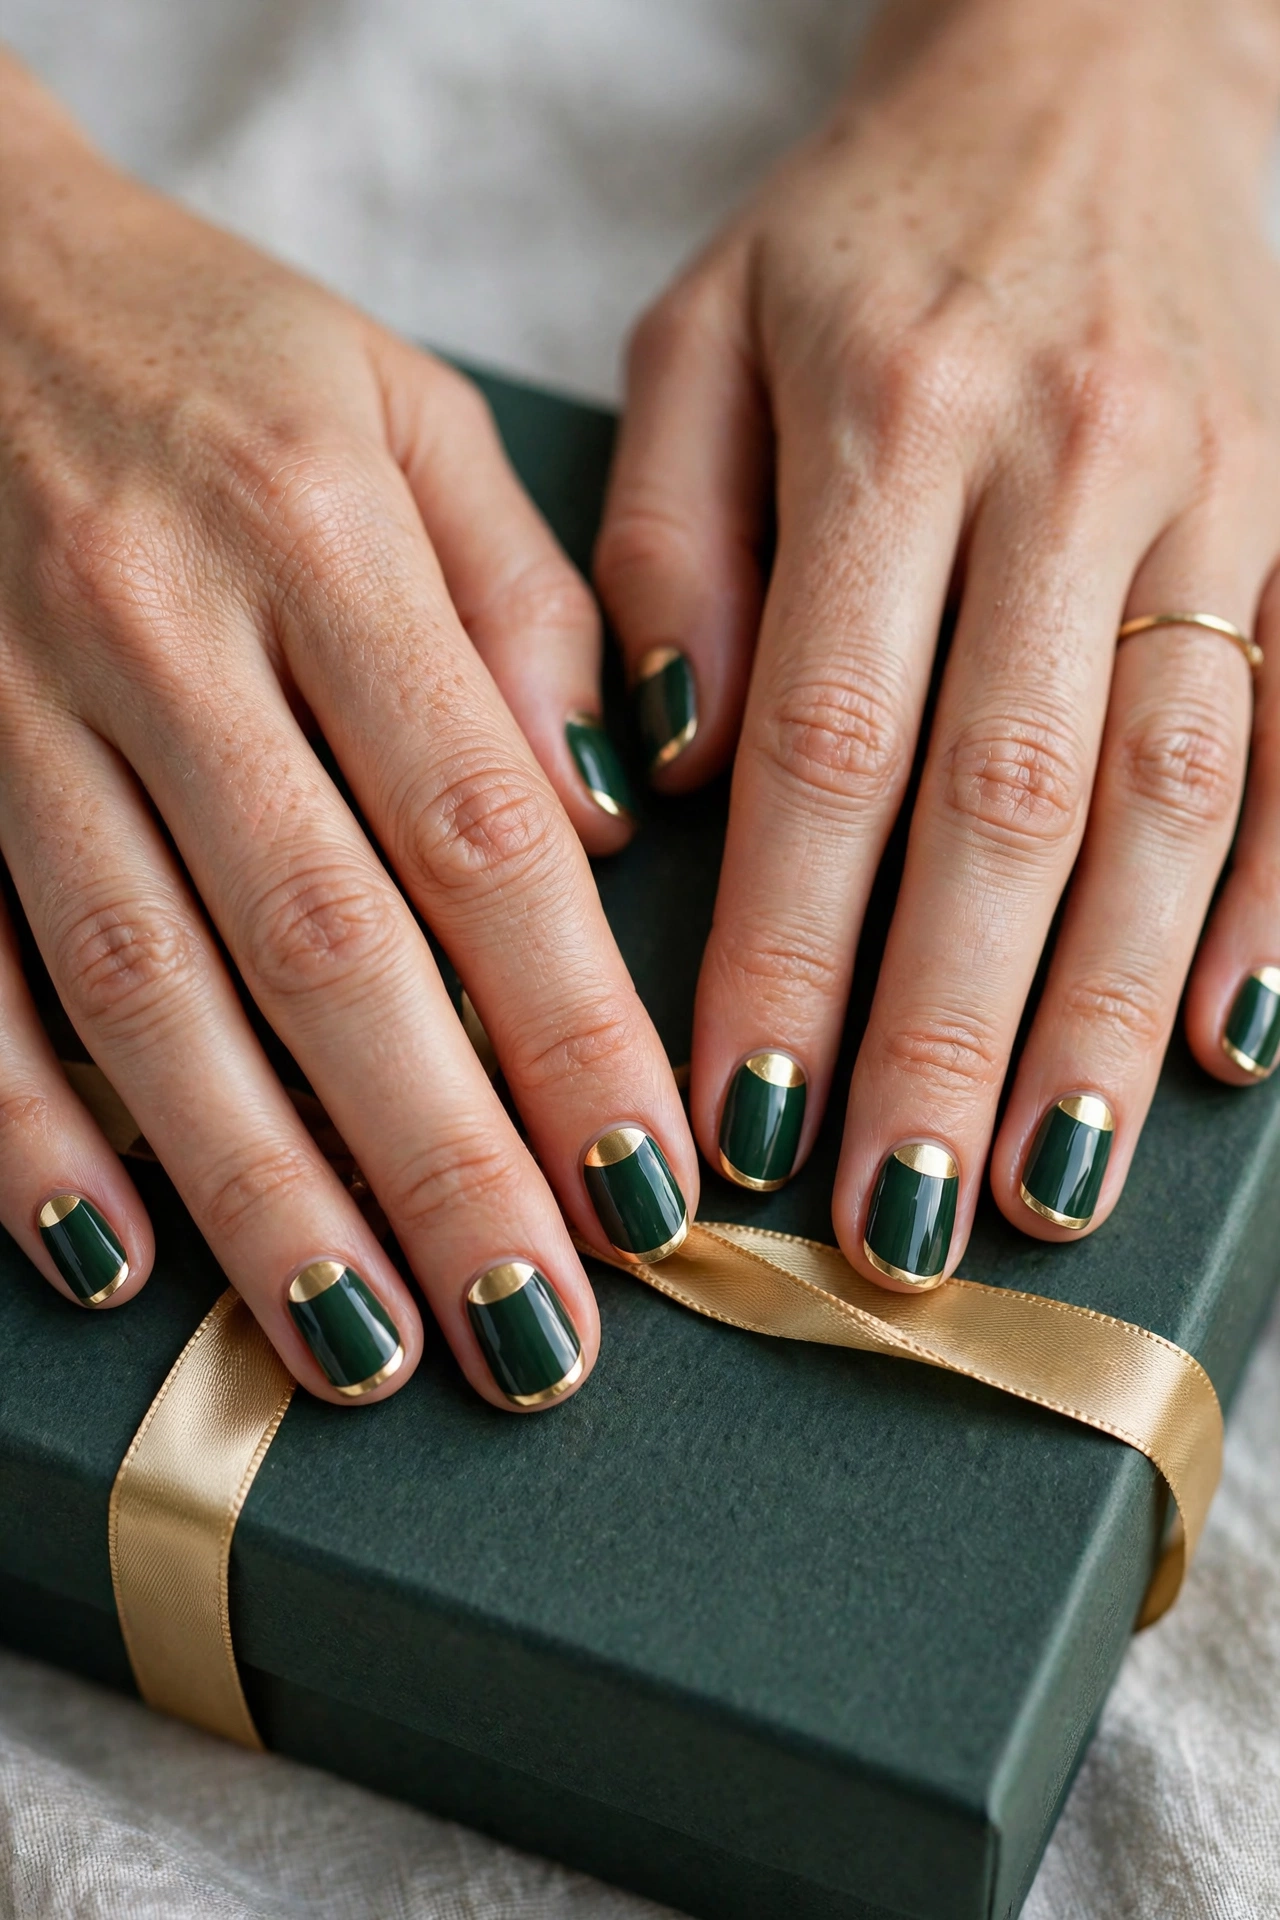
The half-moon manicure is a vintage style that happens to be very easy, because the little semicircle at the base of the nail is a built-in guide. Paint the whole nail gold first — a smooth metallic, not a glitter — and let it dry thoroughly. Then paint your deep green over the top, starting a few millimeters above the cuticle and leaving a neat gold crescent showing at the base of each nail. Paper hole-reinforcement stickers, the kind from an office drawer, make perfect stencils if your freehand line wavers: place one at the base, paint over it, peel while wet. The green-and-gold pairing is unmistakably festive and a little bit Art Deco, and it flatters oval and almond shapes especially well.
27. Blush Pink Glitter Topper
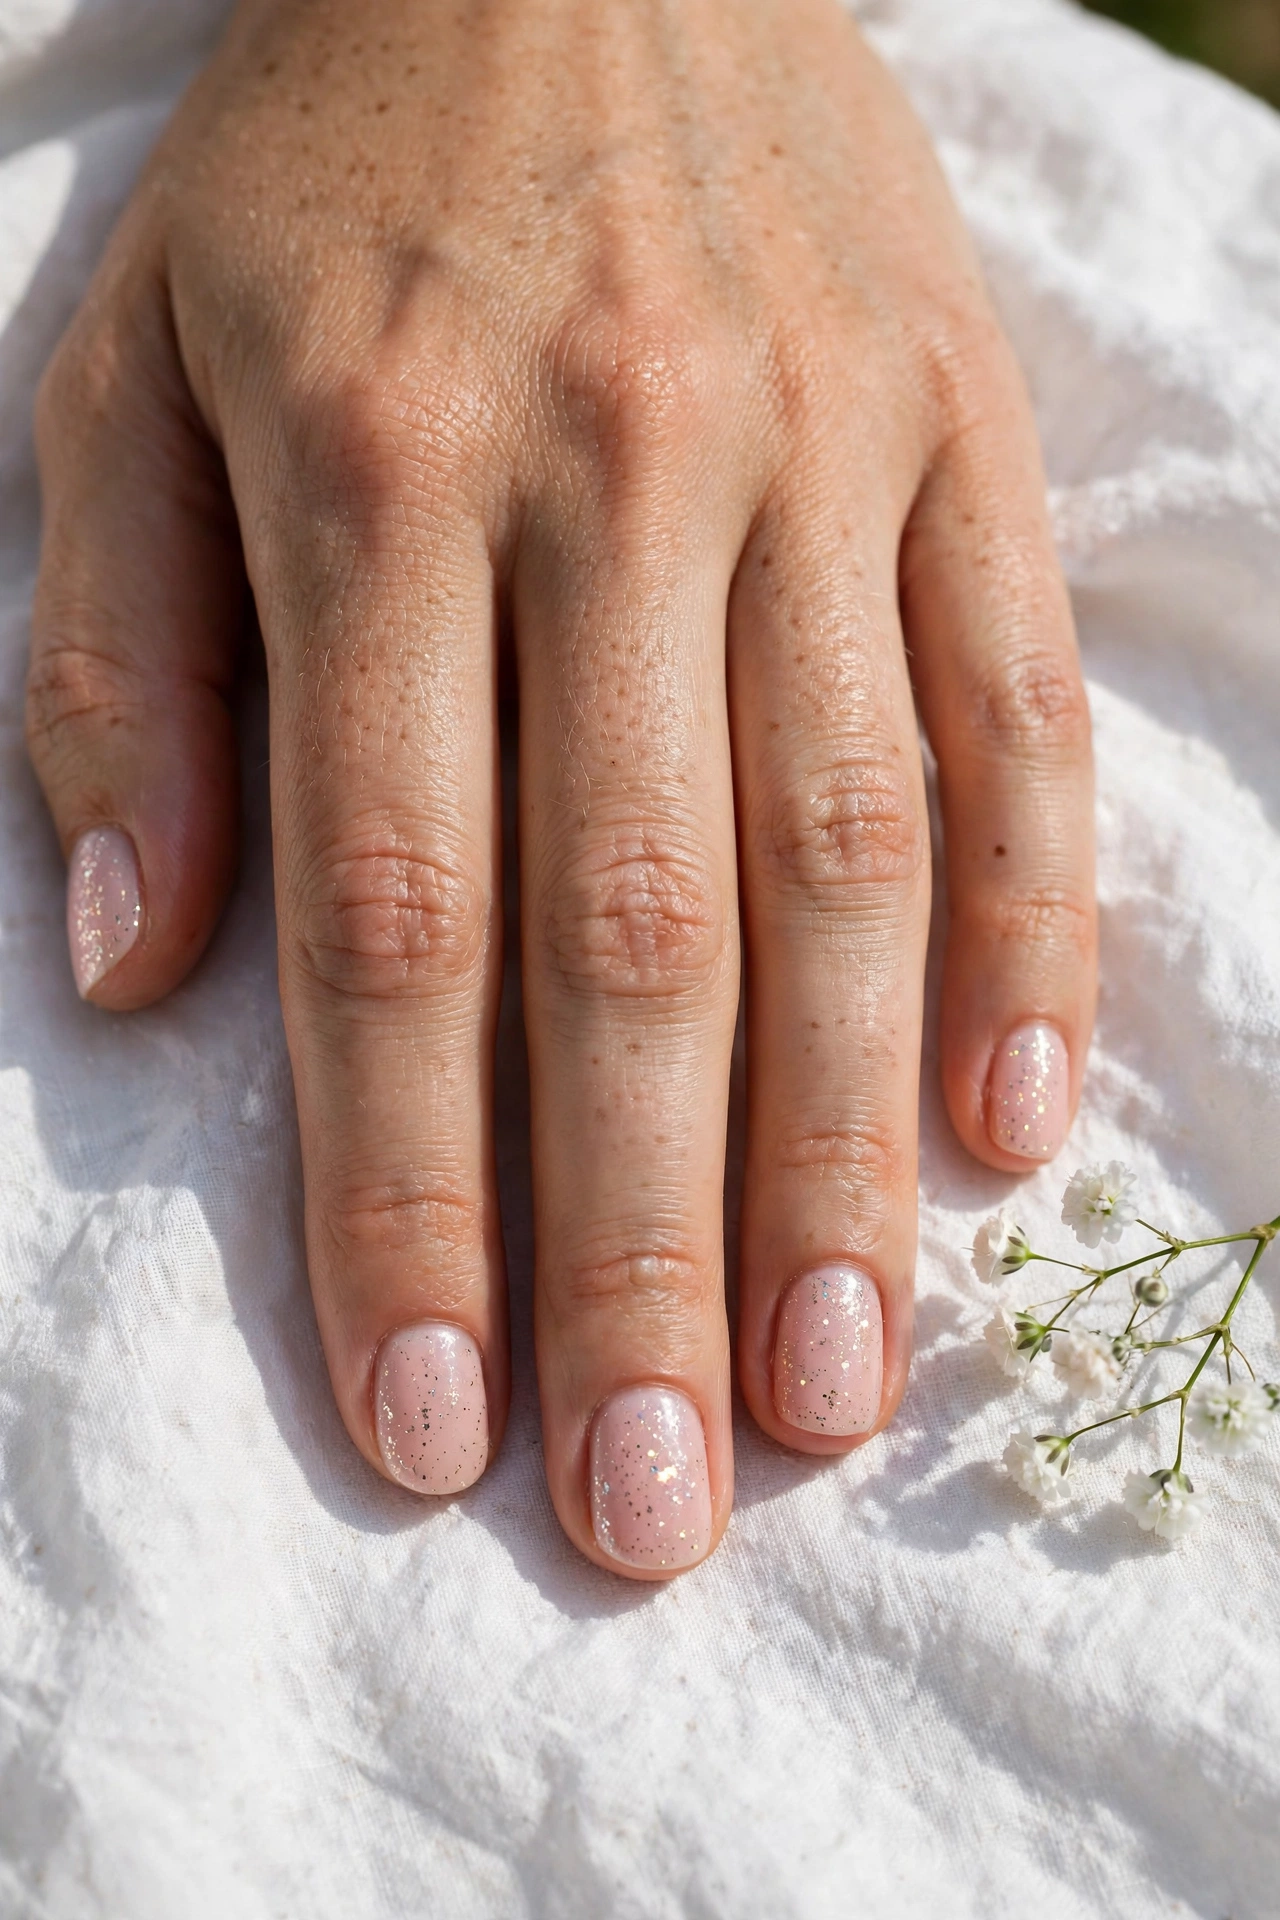
If your everyday manicure is already a soft blush pink, this is the five-minute holiday upgrade: keep your base exactly as it is and add one coat of a fine glitter topper — silver, gold, or iridescent micro-glitter suspended in a clear base. The clear base means the glitter lands sparsely and evenly with no effort at all, and because there is no hard edge or dense coverage, there is nothing to get wrong. Layer a second coat only on the tips if you want the sparkle to gather there. It catches light when you gesture, type, or hold a glass, and it extends the life of a manicure you already had by refreshing its surface. This works over any base color, on any length, and is the lowest-commitment design in this entire list.
28. Glossy Black with a Gold Accent
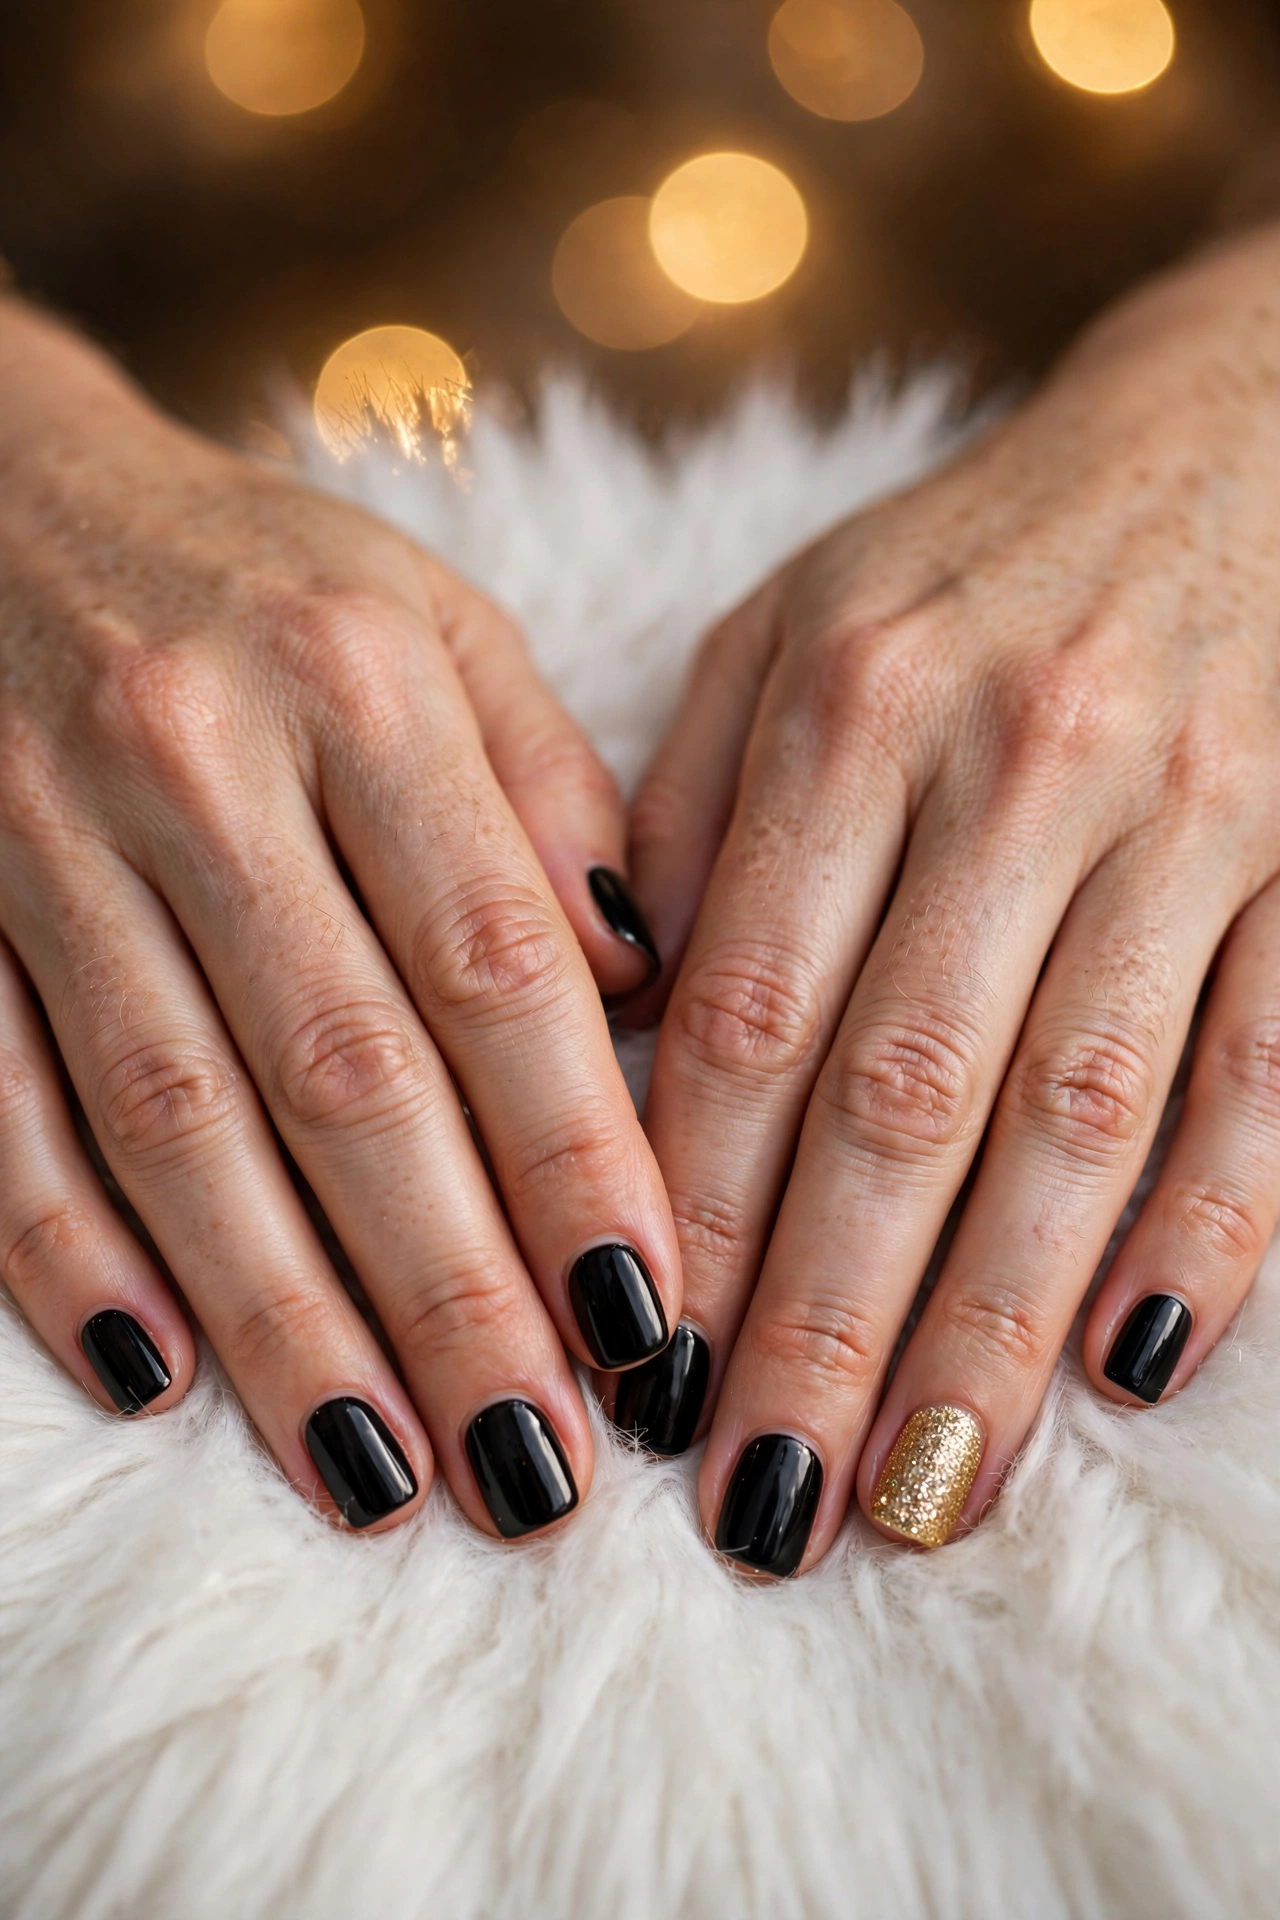
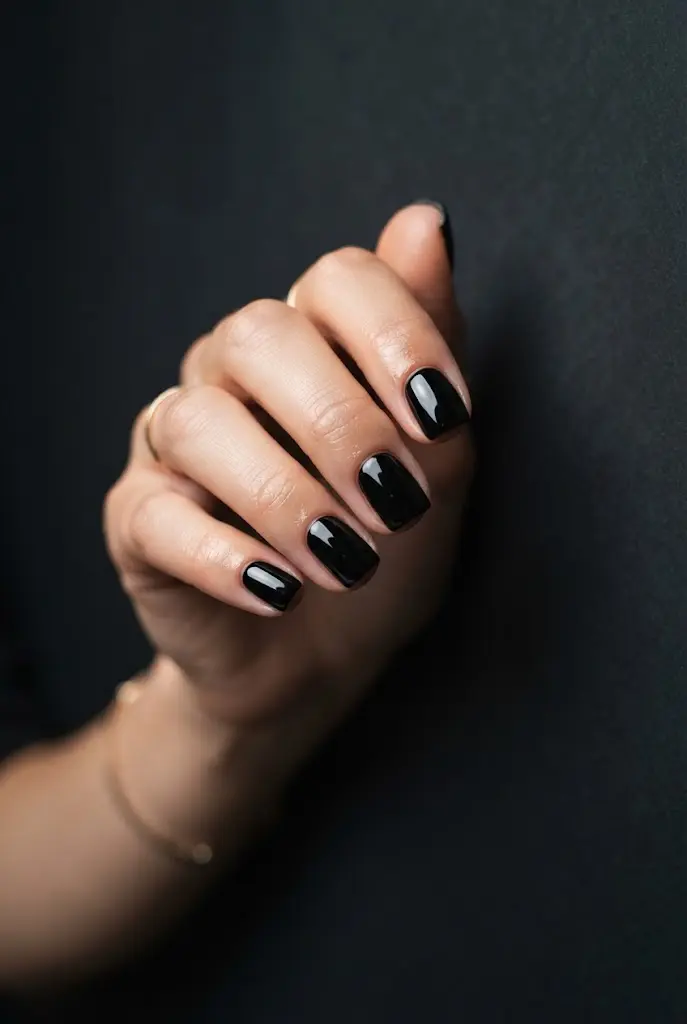
For the last parties of the season, glossy black is the sharp, dressy option — and it is just a solid color, applied carefully. Two coats of a true black polish with a glassy top coat look striking against winter whites, metallics, and jewel tones, and the manicure takes no longer than any other solid. Keep one accent nail in dense gold glitter to tie it to the celebrations and give the set a focal point. Black shows mistakes around the cuticle more than pale colors do, so paint in good light and clean the edges with a small angled brush. It is at its best on short-to-medium nails, where it looks neat and deliberate, and it carries straight through from Christmas week to New Year’s Eve without a change.